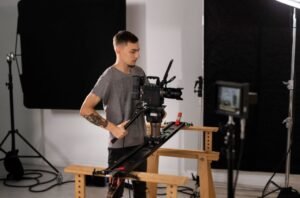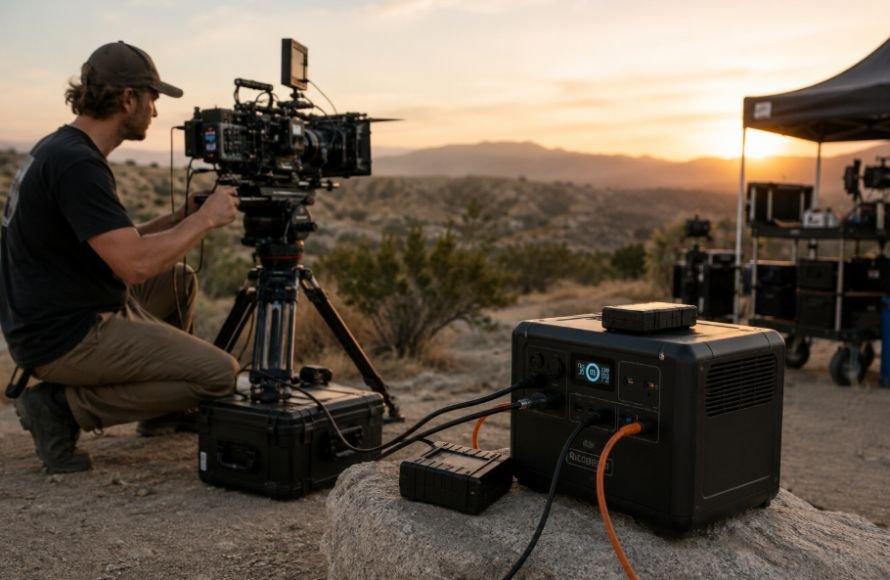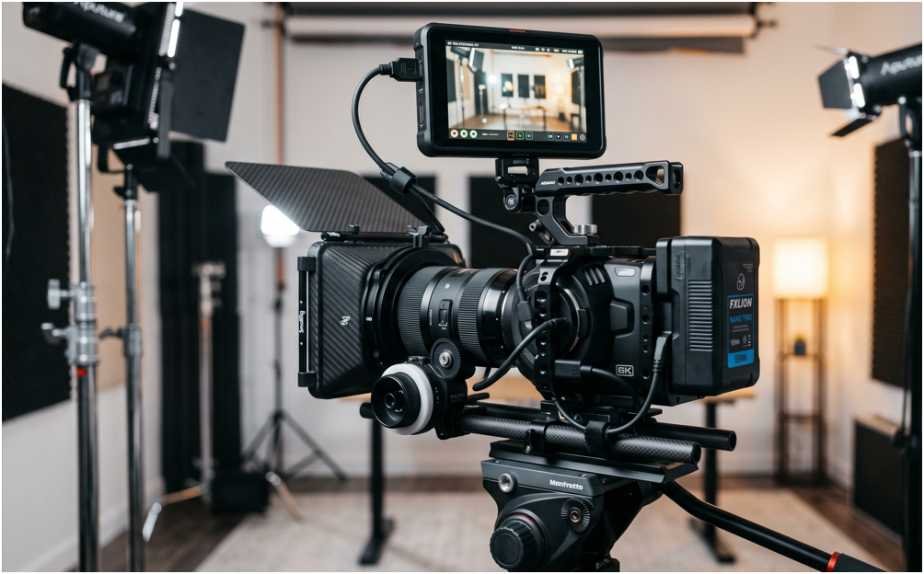
A dead camera battery never waits for a convenient moment. I learned that after changing a tiny internal battery during a live take while my monitor and wireless system still needed separate power.
A V-mount battery setup for mirrorless cinema cameras solves that problem by turning several small power sources into one manageable system. The right build can run the camera, monitor, transmitter, and focus motor without making a compact rig feel like a television camera.
The key is not buying the largest battery. It is matching capacity, output voltage, mounting position, and cable type to the camera.
Why I Use V-Mount Power on Compact Cinema Rigs
Internal mirrorless batteries work well for photography and lightweight handheld shooting. They become less practical during interviews, live events, documentaries, or long recording sessions.
A V-mount system gives me three clear advantages. I change batteries less often, power several devices from one source, and monitor the entire rig’s remaining power from one display.
However, a poorly planned system creates new problems. A heavy rear battery can ruin handheld balance. Loose cables can damage USB-C ports. An unregulated D-Tap cable can also send unsafe voltage into the camera.
I therefore treat external power as part of the rig’s architecture, not as an accessory added at the end.
Build the Power System Before Buying Parts
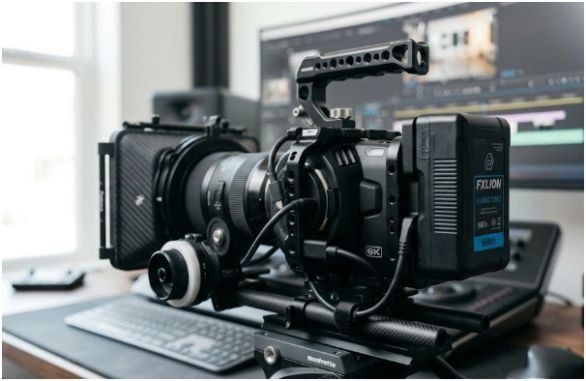
A functional V-mount battery setup for mirrorless cinema cameras needs four connected components:
Battery → mounting plate → regulated power cable → camera
The plate attaches to a cage, baseplate, or 15mm rod system. Additional battery outputs can power a monitor, wireless transmitter, recorder, or follow-focus motor.
Battery
For mirrorless rigs, I normally choose a mini V-mount between 50Wh and 99Wh. These batteries provide useful capacity without overwhelming a compact camera body.
A 99Wh model is my preferred starting point for interviews and production days. It offers more reserve for accessories while remaining smaller than traditional broadcast batteries.
Mounting Plate
The plate holds the battery and determines where its weight sits. Some plates only provide mechanical support. Others include regulated outputs, power switches, and several accessory ports.
I prefer a plate with a master switch. It lets me disconnect the complete rig without removing cables after every setup.
Power Cables
Every cable must match the voltage required by the connected device. Connector compatibility alone does not make a cable safe.
USB-C Power Delivery negotiates voltage electronically. D-Tap usually exposes the battery’s higher voltage unless the cable contains a regulator.
Cage or 15mm Rods
A cage suits compact builds and provides mounting points for cable clamps. A 15mm rod system works better with heavier lenses, matte boxes, follow-focus motors, and rear-mounted batteries.
Rig design also affects filtration and lens clearance. Anyone building a complete cinema package should understand how to choose a matte box for a cinema camera before locking the rod length and battery position.
Choose the Right Mini V-Mount Battery
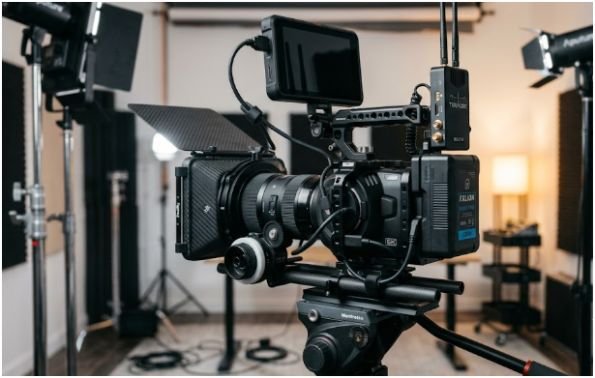
Select Capacity by Watt-Hours
Battery capacity should be compared in watt-hours, not milliamp-hours alone. Watt-hours account for both voltage and stored electrical charge.
A 50Wh battery is suitable for lightweight handheld work. A 99Wh battery makes more sense when powering a monitor and wireless accessories.
I avoid promising a fixed runtime because camera consumption changes with frame rate, screen brightness, autofocus, stabilization, recording media, and accessory load.
Check Output Power and Ports
Capacity tells me how long a battery may run. Maximum output tells me whether it can support the equipment simultaneously.
I list each device’s approximate wattage, then confirm that the combined load remains below the battery’s total discharge rating. I also check individual port limits.
Modern mini V-mount batteries may include USB-C PD, D-Tap, USB-A, 8V barrel, and 12V barrel outputs. For example, SmallRig’s VB99 Pro provides multiple output types and a 98.9Wh capacity.
Plan for US Air Travel
US travelers should check both TSA and airline rules before flying. TSA states that spare lithium-ion batteries rated at 100Wh or less must travel in carry-on baggage rather than checked luggage. Larger batteries require additional restrictions and airline approval.
That rule makes batteries near 99Wh popular among traveling filmmakers. I protect the terminals, carry the battery where staff can inspect its label, and verify the carrier’s policy before departure.
Pick a Battery Mounting Style
Foldable V-Mount Plate
A foldable plate works well for handheld shooting, small tripods, and rapid gimbal changes. It attaches beneath the camera or cage and folds upward behind the body.
I check rear-screen clearance before buying one. A plate that blocks the articulated display may save space while making low-angle shooting frustrating.
This style keeps the rig compact, but it places substantial weight close to the camera body. I use a secure quick-release system and test whether the rig can sit flat.
15mm Rod-Mounted Plate
A rod-mounted plate is better for a full cinema build. The battery slides backward or forward along the rods, allowing precise counterbalance.
I use this design with heavier cinema lenses because the rear battery offsets front weight. It also leaves space for lens support, follow focus, and a matte box.
The trade-off is size. Rods, clamps, and a baseplate add weight before the battery is installed.
Choose the Safest Camera Power Method
USB-C Power Delivery
USB-C PD is my preferred option when the camera officially supports power delivery during operation. I leave a charged OEM battery inside the camera and connect the V-mount battery through a short, secured USB-C cable.
This creates a useful fallback. If the external cable disconnects, the internal battery may keep the camera running instead of ending the recording immediately.
Sony instructs FX3 users to insert a battery while supplying USB power. Sony also recommends a compatible USB-PD source and specifies USB Type-C for power delivery.
External USB power may reduce battery drain rather than charge the internal battery during demanding recording. I test the exact frame rate and accessory load before relying on it.
Regulated Dummy Battery
A dummy battery replaces the camera’s internal battery and connects to a D-Tap or regulated DC output. I use this method when USB-C power is unavailable or cannot support a required recording mode.
The cable must reduce the V-mount battery’s voltage to the camera’s specified input. A typical V-mount battery operates around 14.4V or 14.8V, while many mirrorless battery systems operate near 7.2V to 8V.
I never connect raw D-Tap voltage directly to a dummy battery that lacks regulation. I verify the cable’s output label with a multimeter before inserting it into an expensive camera.
Calculate Runtime Before the Shoot
A practical estimate starts with this formula:
Estimated runtime = battery watt-hours × efficiency factor ÷ total device watts
I use an efficiency factor of 0.85 because cables, voltage conversion, temperature, and battery protection leave less usable energy than the label suggests.
Suppose my rig uses:
Camera: 12W
Monitor: 8W
Wireless transmitter: 6W
Focus motor: 4W
The total load is 30W.
A 99Wh battery gives:
99 × 0.85 ÷ 30 = approximately 2.8 hours
This estimate is more reliable than claiming that every 99Wh battery lasts eight hours. The same battery could run a 10W camera-only setup for roughly 8.4 hours, yet power a 40W production rig for about 2.1 hours.
That power-budget calculation is the first step I complete for every new V-mount battery setup for mirrorless cinema cameras.
Assemble and Test the Camera Rig
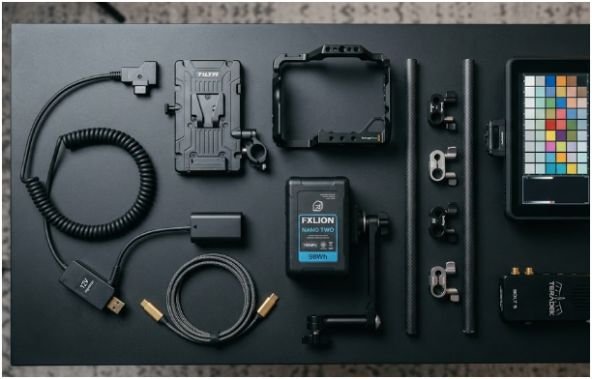
I build the system with every device switched off. First, I secure the plate and insert the V-mount battery. Next, I attach each cable to the accessory before connecting it to the battery.
I route cables along the cage or rods and secure them with clamps. The camera’s USB-C port should never support the weight of a hanging cable.
After powering the rig, I check every device individually. I then record at the highest planned resolution and frame rate for at least 20 minutes.
During this test, I watch for battery percentage drops, camera overheating, monitor flicker, wireless interruptions, and loose connectors. I also move the rig through normal handheld positions to expose cable snags.
Avoid Common V-Mount Power Mistakes
The most dangerous mistake is assuming every D-Tap cable regulates voltage. Some cables simply transfer the battery’s native output.
Another mistake is powering too many devices without checking the combined wattage. A battery may have six ports but still enforce one shared discharge limit.
I also avoid mounting the battery too high. A top-heavy rig rolls in the hands and becomes tiring during long takes. Moving the battery lower and closer to the operator’s shoulder improves control.
Finally, I do not leave accessories connected for storage. Some devices continue drawing standby power. I switch off the plate, remove the battery, and protect exposed terminals.
Frequently Asked Questions
1. Can a V-mount battery power a mirrorless camera and monitor together?
Yes, provided the battery supports the combined wattage and each device receives the correct regulated voltage.
2. Is USB-C or a dummy battery better for a mirrorless cinema camera?
USB-C PD offers a safer internal-battery fallback, while regulated dummy batteries suit cameras or recording modes that need another power method.
3. How long will a 99Wh V-mount battery run a mirrorless camera?
Divide about 85% of the battery’s watt-hours by the rig’s total wattage; a 20W setup may run for roughly four hours.
4. Can I fly with a 99Wh V-mount battery in the United States?
Generally, yes, but spare lithium batteries must remain in carry-on baggage, and the traveler should verify the airline’s current rules.
Your Tiny Camera Just Got a Power Department
A dependable V-mount battery setup for mirrorless cinema cameras should feel boring once recording begins. Nothing flickers, no cable pulls loose, and the camera keeps rolling while everyone else searches for another internal battery.
My final check is simple: calculate the load, verify every voltage, clamp every cable, and perform a full recording test. Do that before arriving on location, because a battery percentage display cannot rescue a badly designed power path.