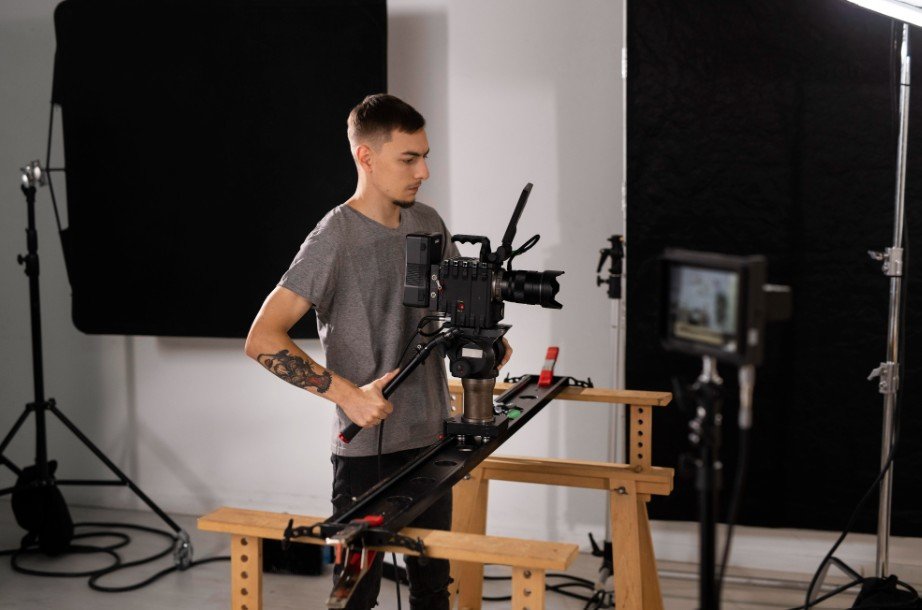
I love cable-camera shots because they create a sense of movement that is difficult to reproduce with a tripod, slider, handheld rig, or conventional drone. A properly installed system can glide above a set, follow a moving subject, pass through narrow spaces, or repeat the same route several times.
However, learning how to set up a cable camera system for filmmaking involves much more than stretching a line between two convenient objects.
A successful setup depends on a carefully planned route, verified anchors, suitable equipment, correct line tension, a balanced camera, controlled acceleration, and several test runs. Rushing any of these stages can produce shaky footage, damaged equipment, or an unsafe shooting environment.
Understand the Cable Camera System
A cable camera uses a carriage that travels along a tensioned rope or cable. The carriage may move through gravity, a manual pull line, or a motor controlled by a wireless transmitter.
Lightweight systems are commonly used with action cameras, compact mirrorless cameras, phones, and 360-degree cameras. Larger production systems may support cinema cameras, motorized gimbals, wireless video transmitters, remote focus systems, and programmable motion controls.
Before beginning, identify the manufacturer’s maximum payload, line specifications, operating distance, speed range, braking method, and approved attachment hardware. Never assume that two systems with similar designs have the same weight capacity or installation requirements.
Plan the Camera Route Before Rigging
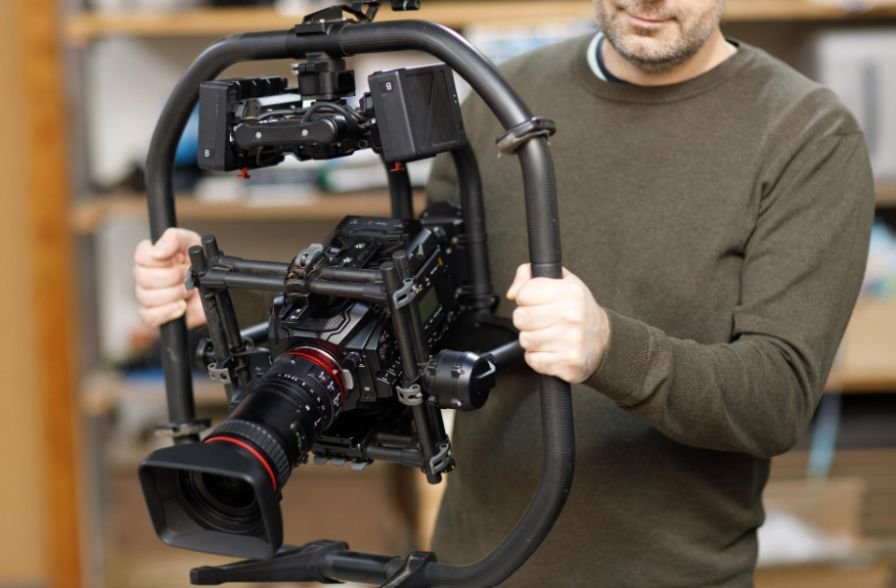
Start by deciding exactly what the shot must achieve. Mark the intended starting point, ending point, subject position, camera direction, and lowest point of the route. This planning is especially important when using a moving space camera, because every change in height, direction, and speed affects framing and clearance.
Walk the entire path while checking for branches, walls, lighting equipment, cables, vehicles, water, uneven ground, and areas where people may enter unexpectedly. Avoid routes near electrical lines or public spaces that cannot be controlled.
Remember that the loaded line will sag. The centre of the route may sit considerably lower than the two anchor points, especially when the span is long or the payload is heavy. Allow enough clearance beneath the lowest loaded position rather than judging the route from the empty line.
Establish an exclusion zone beneath and around the system. Only essential crew members should enter this area during testing and operation.
Calculate the Complete Moving Payload
Do not calculate payload using only the weight of the camera body. Include every component that moves with the carriage:
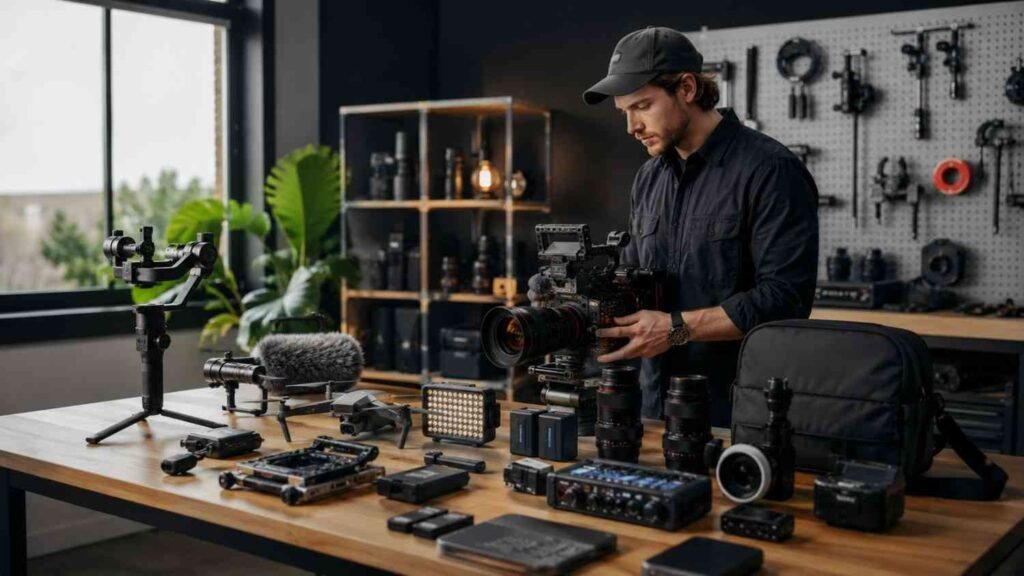
Camera, lens, battery, memory media, cage, mounting plate, smartphone gimbal, wireless transmitter, receiver, cables, filters, remote focus equipment, and safety attachments all contribute to the final weight.
Keep the completed package below the lowest rated limit of the carriage, mounting hardware, line, connectors, and support system. A comfortable margin is preferable to operating at the maximum rating.
A camera package that is technically within the stated limit may still perform poorly if its weight distribution causes the carriage to tilt, bounce, or oscillate.
Choose Secure Anchor Points
Anchor selection is one of the most important parts of the setup. A nearby railing, light stand, tree branch, fence post, or decorative fixture is not automatically suitable.
Use structural points that can support the forces created by the tensioned line and moving payload. When using trees, choose healthy trunks of adequate diameter and protect the bark with wide approved straps. Do not attach directly to weak branches.
For building-mounted installations or demanding professional setups, qualified rigging personnel should verify the support points. Follow the equipment manufacturer’s instructions and applicable site safety requirements.
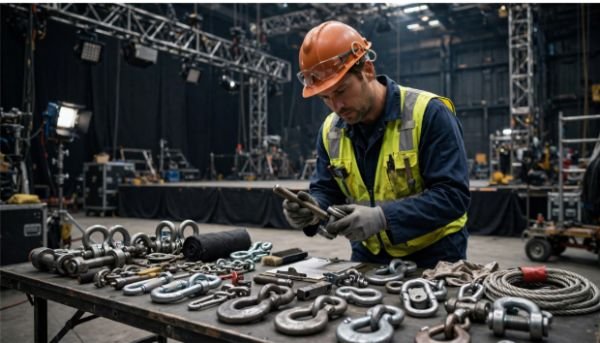
Inspect all straps, connectors, pulleys, carabiners, tensioners, and line sections before installation. Replace components that show fraying, deformation, corrosion, cracking, or uncertain load ratings.
Install and Tension the Line
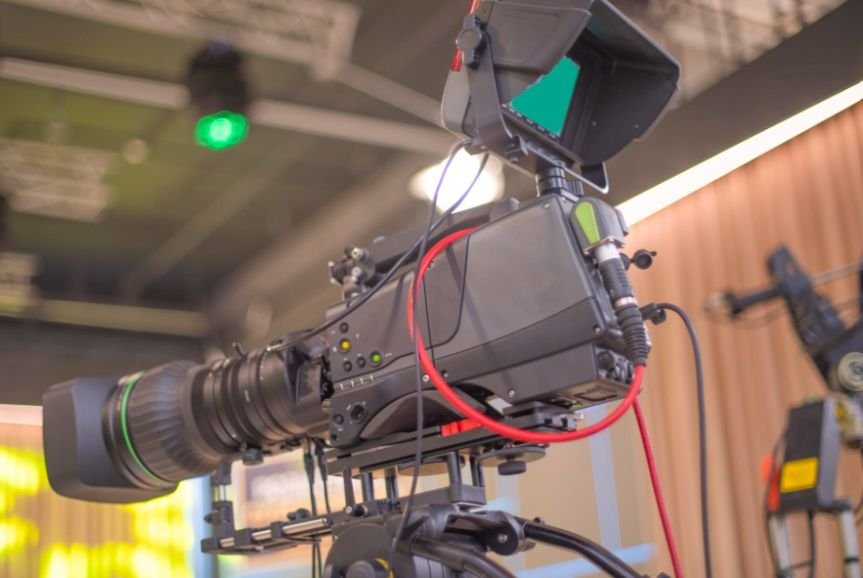
Attach the first end using the approved anchor method. Run the line through the carriage or install the carriage according to the system’s instructions, then connect the second end.
Gradually apply tension while watching the anchors and hardware. Do not assume that maximum tension creates maximum stability. Excessive tension can place unnecessary force on anchors, connectors, and the line itself.
Once the initial tension is set, load the carriage with a test weight equal to the intended camera package. Check the lowest point of the route again and confirm that there is adequate clearance throughout the run.
The line should remain properly seated in the carriage wheels or pulleys. Inspect for twisting, rubbing, sharp bends, or contact with abrasive surfaces.
Mount and Balance the Camera
Install the camera using a secure mounting plate approved for the system. Add any manufacturer-recommended secondary retention before operating the carriage.
When using a gimbal, balance the camera completely before switching on the motors. The camera should remain stable when the gimbal is unpowered. Poor balance forces the motors to work harder and may cause vibration, drifting, or sudden shutdowns.
Keep the centre of gravity low and centred beneath the carriage whenever the design allows. Uneven weight distribution can create swinging or unwanted rotation.
Secure every power, video, and control cable so it cannot reach a wheel, pulley, motor, or moving joint. Leave enough slack for gimbal movement without creating loose loops.
Set Speed, Braking, and Endpoints
Program or mark safe starting and stopping positions before attaching the final camera package. Leave enough distance for the carriage to slow down without striking an anchor.
Begin with low speed, gentle acceleration, and gentle braking. Fast starts may stretch the line, disturb the gimbal, and create oscillation that continues throughout the shot.
Programmable systems should use soft endpoints when available. Mechanical buffers may provide additional protection, but they should not be treated as the primary stopping method.
Assign one operator to control the carriage and another crew member to watch the route, anchors, and exclusion zone. Agree on clear commands for starting, stopping, and emergency shutdowns.
Perform a Complete Test Sequence
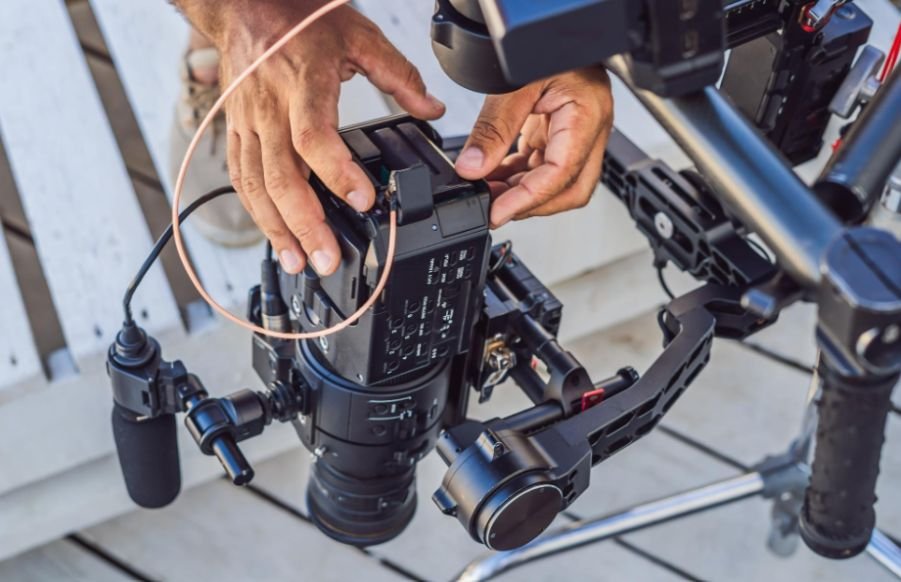
Never begin with a full-speed camera run.
First, move the empty carriage slowly across the complete route. Listen for unusual sounds and watch for wheel misalignment, binding, or unexpected contact.
Next, add a test weight and repeat the route at minimum speed. Recheck line sag, anchor movement, braking distance, and carriage stability.
Mount the camera only after the first two tests are successful. Run the camera package slowly, confirm framing, and inspect the system again before increasing speed.
Stop immediately when the carriage behaves unpredictably, the line begins oscillating heavily, an anchor shifts, or a component becomes loose.
Choose Camera Settings for Smooth Footage
A moderately wide lens usually makes movement appear smoother and reduces the visibility of small vibrations. Extremely long focal lengths magnify every swing and alignment error.
Set exposure and white balance manually when the route passes through consistent lighting. Automatic exposure may create visible brightness changes during the move.
Choose autofocus only when the camera and lens can track the subject reliably. Otherwise, set manual focus for a predictable subject distance or use a remote focus system.
A faster shutter can make movement look sharp and energetic, while a conventional cinematic shutter creates natural motion blur. Test both approaches because line speed and subject distance significantly affect the result.
Avoid combining several stabilization systems without testing them. Lens stabilization, sensor stabilization, electronic correction, and a powered gimbal can occasionally work against each other.
Create More Cinematic Cable-Camera Shots
A parallel tracking move works well for runners, cyclists, vehicles, performers, and product demonstrations. Keep the carriage moving at a consistent speed beside the subject.
A push-in move can gradually reveal a person, building, stage, or landscape. A pull-away shot creates the opposite effect by expanding the viewer’s sense of scale.
Foreground objects positioned near the route create strong parallax and make even a slow carriage movement feel dynamic. Maintain safe clearance from every foreground element.
Repeated programmed moves can also support visual effects, transitions, motion-controlled product shots, and multiple takes with consistent timing.
Frequently Asked Questions
1. What is the safest way to learn how to set up a cable camera system for filmmaking?
Begin with the manufacturer’s manual, use verified anchors and rated hardware, create an exclusion zone, and complete empty, weighted, and camera-mounted tests.
2. Do I need a gimbal for a cable camera?
A gimbal is not always essential, but it usually improves stability and allows the operator to control framing during the move.
3. How tight should the cable-camera line be?
It should be tensioned according to the manufacturer’s instructions while maintaining safe anchor loads and sufficient clearance at the lowest loaded point.
4. Can I install a cable camera between two trees?
It may be possible when both trees are healthy, appropriately sized, protected with suitable straps, and approved for the forces created by the system.
Final Take
I treat every cable-camera setup as both a filmmaking tool and a rigging system. The creative shot matters, but it should never take priority over anchor integrity, payload limits, controlled access, or careful testing.
When I plan the route, calculate the full camera weight, balance the rig, establish safe endpoints, and rehearse at low speed, I have a much better chance of capturing smooth footage without placing the camera or crew at unnecessary risk.
The best cable-camera move is not simply the fastest or longest one. It is the move that can be repeated safely, consistently, and with complete creative control.