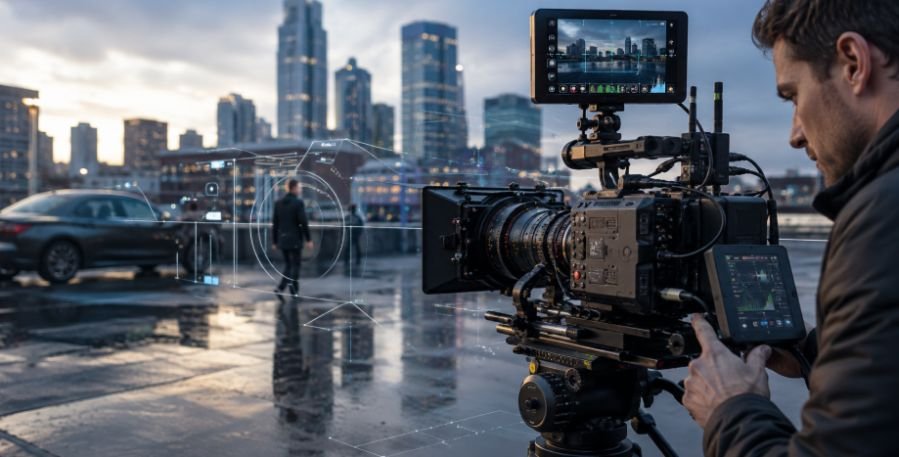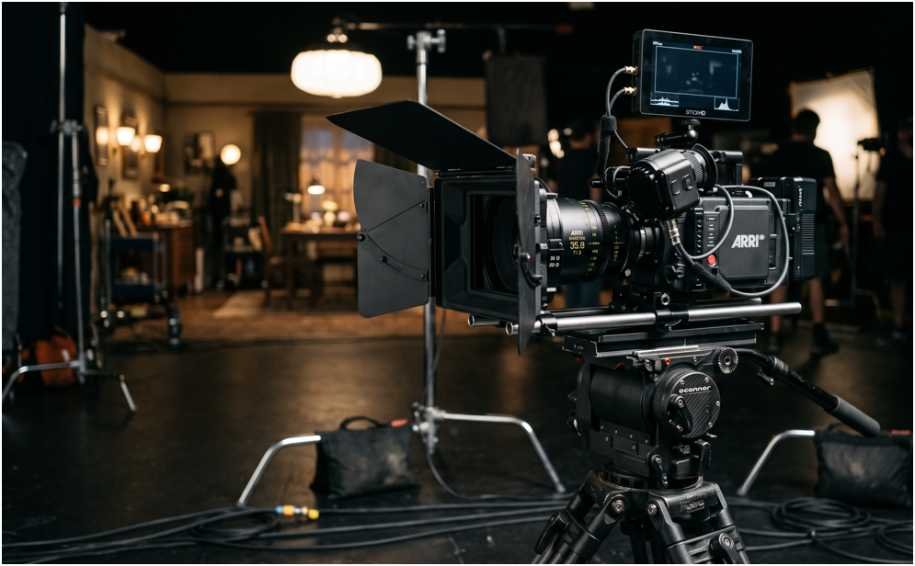
A matte box can improve flare control, speed up filter changes, or turn a balanced camera into a front-heavy headache. When I consider how to choose a matte box for a cinema camera, I start with the shooting configuration, not the product description.
The best option must fit every lens, hold the filters I use, and remain practical during real production. A premium matte box that slows down lens changes or blocks a wide-angle frame is still the wrong choice.
Start With the Way You Actually Shoot
The first decision is whether the matte box should attach directly to the lens or sit on support rods. This choice affects weight, balance, lens changes, and camera movement.
Choose Clip-On for Lightweight Camera Builds
A clip-on matte box clamps onto the front of the lens through a fixed opening or adapter ring. I prefer this design for handheld cameras, gimbals, drones, shoulder rigs, and fast documentary work.
It removes the need for rods and keeps the camera compact. That advantage matters when every ounce affects gimbal balance.
The trade-off is lens stress. A heavy matte box, several glass filters, and large side flags can place unwanted force on the lens barrel. Clip-on models also require compatible front diameters across the lens kit.
Some lightweight matte boxes can hold two 4×4-inch or 4×5.65-inch filters while remaining under 250 grams before flags. That combination can suit compact cinema builds, but the total weight rises once glass and adapters are installed.
Choose Rod-Mounted for Heavier Cinema Rigs
A rod-mounted matte box attaches to 15mm or 19mm support rods. I choose this setup for cinema zooms, large primes, studio cameras, heavy filtration, or frequent lens changes.
The rods carry the matte box weight instead of the lens. They also help maintain alignment when lenses have different front diameters.
Lightweight 15mm support works well for many mirrorless and compact cinema rigs. Larger studio builds may use stronger support systems. The key is matching the rod standard, height, and spacing to the camera baseplate.
A rod-mounted system adds setup time and bulk, but it usually offers better rigidity. ARRI’s MMB-2, for example, supports both clamp-on use and lightweight 15mm rods, showing how modular systems can serve more than one shooting style.
Match the Matte Box to Your Entire Lens Kit
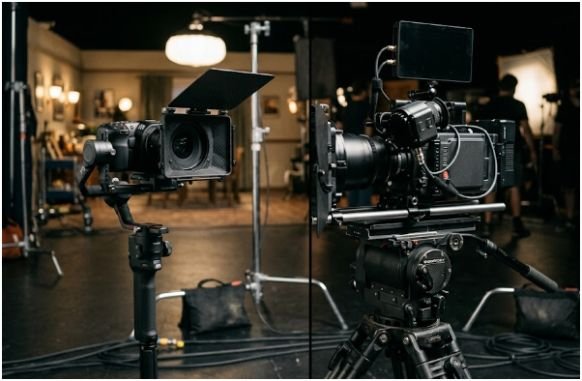
Many buyers test a matte box with one lens. I test it against the largest, smallest, widest, and most frequently changed lenses in the kit.
That simple step prevents most compatibility problems.
Check the Front Diameter of Every Lens
Cinema lenses often use standardized outer front diameters such as 95mm or 114mm. Photography lenses usually use threaded filter sizes such as 67mm, 77mm, or 82mm.
These measurements are not interchangeable. A lens may have an 82mm filter thread but a wider outer barrel.
Write down the following details for each lens:
- Front outer diameter
- Filter-thread diameter
- Barrel movement during focusing
- Barrel extension during zooming
- Widest focal length
Adapter rings can reduce a 114mm matte-box opening for smaller lenses. Current systems may support several common diameters, including 80mm, 85mm, 95mm, and 110mm.
Avoid stacking several loose step-up rings unless the manufacturer supports that method. Stacked rings can flex, loosen, or increase the distance between the lens and matte box.
Test Wide-Angle Lens Clearance
A matte box can physically fit a lens and still appear in the image.
Wide lenses see more of the matte-box opening, filter trays, and side walls. The risk increases with large sensors, thick adapter rings, three-stage configurations, and misaligned rod supports.
I test clearance at the widest focal length, largest recording format, and closest practical filter position. I also rotate every movable stage and close the flags to realistic positions.
ARRI notes that some lens and adapter combinations can have limited wide-angle clearance in three-stage configurations. That is why specifications alone cannot replace a camera test.
Choose the Right Cinema Filter Size
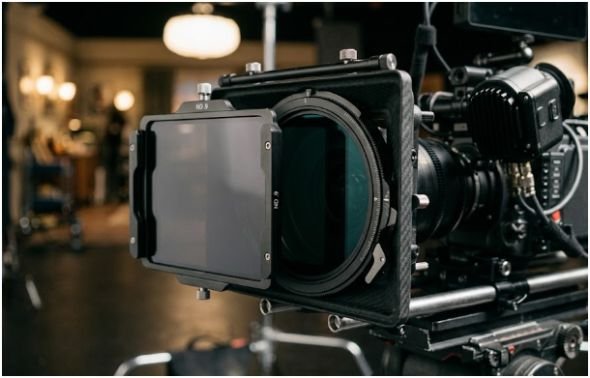
Filter compatibility has a greater long-term impact than the matte-box shell. Filters often cost more than the holder, so I choose the format before choosing the box.
Why 4×5.65-Inch Filters Are the Safer Long-Term Choice
The 4×5.65-inch format is widely used for cinema filtration. Its rectangular shape provides more horizontal coverage than a 4×4-inch filter, which helps with wide lenses and larger image circles.
I consider 4×5.65 inches the safer choice when building a filter collection for professional use. It provides access to common cinema ND, diffusion, graduated, polarizing, and effect filters.
A 4×4-inch system can still make sense for a small camera, limited lens set, or existing filter collection. However, it offers less room for future lens upgrades.
Decide How Many Filter Stages You Need
A filter stage is one tray position. More stages provide flexibility, but they also add weight, depth, and possible vignetting.
One stage works for minimal setups using a single ND or diffusion filter. Two stages suit most narrative, commercial, and documentary work. Three stages help when combining ND, diffusion, and a polarizer or graduated filter.
I normally choose two stages unless the production regularly requires layered filtration. Buying three stages “just in case” can make a lightweight rig unnecessarily bulky.
Modular systems offer a better compromise. Some professional matte boxes can be configured with one, two, or three stages instead of forcing the operator to carry the full assembly.
Know When a Rotating Stage Matters
A rotating stage is essential for filters whose effect changes with angle.
Circular polarizers need rotation to control reflections and deepen skies. Graduated filters may need adjustment to match a horizon. Certain streak, star, and anamorphic effect filters also change direction when rotated.
Not every stage needs to rotate. One rotating stage is usually enough for most camera crews.
ARRI offers fully rotatable rear stages on some MMB-2 configurations and dedicated rotating frames for 4×5.65-inch polarizers.
Look Beyond the Filter Slots
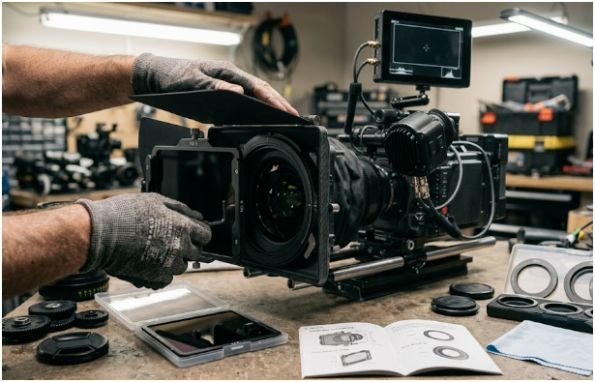
Understanding how to choose a matte box for a cinema camera also means checking the features that control light, speed up lens changes, and protect expensive filters.
Flags and Flare Control
Top and side flags block stray light before it reaches the lens. I find the top flag useful on almost every exterior shoot. Side flags become more valuable when strong sources sit outside the frame.
Flags should lock firmly without drifting. They should also be removable for gimbal use or tight camera positions.
A larger flag is not always better. If it enters the frame, catches wind, or strains the mount, it becomes a liability.
Swing-Away Systems and Fast Lens Changes
A swing-away matte box pivots away from the lens while remaining attached to the rods. This feature can save time during frequent lens swaps.
I consider it valuable for narrative production, commercials, and controlled studio work. It matters less on a small documentary rig using one zoom lens all day.
Check the latch for play. A weak hinge can cause the matte box to return slightly off-center, creating light leaks or vignetting.
Donuts, Adapter Rings, and Light Sealing
The gap between the lens and matte box must be sealed. Otherwise, light can enter from behind and reflect off the filter surface.
Rigid clamp rings provide a secure connection for matching lens diameters. Flexible donuts accommodate several barrel sizes and are useful on rod-mounted setups.
Some flexible donuts support lenses from roughly 58mm to 114mm, although the matte box may need rod support to prevent twisting.
Balance Weight, Rigidity, and Camera Movement
The lightest matte box is not automatically the best. Neither is the largest studio model.
I judge weight as a complete system:
Matte box + flags + trays + filters + adapters + rod hardware
A lightweight box can become surprisingly heavy after adding two glass filters and three flags. That weight sits far forward, where it has the greatest effect on balance.
For tripod work, rigidity and filter capacity may matter more than weight. For shoulder operation, front weight increases fatigue. For gimbals, even a small change can require complete rebalancing.
The matte box should suit the most demanding movement style used during the production, not only the easiest setup.
Use My Three-Configuration Test Before Buying
My original selection method uses three real camera builds rather than a list of advertised features.
First, I build the lightest configuration: the smallest lens, one filter, and no side flags. This shows whether the matte box remains practical for handheld or gimbal work.
Second, I build the heaviest configuration: the largest lens, maximum filter load, all flags, and full rod support. This reveals flex, lens stress, and poor balance.
Third, I build the fastest-change configuration: two commonly swapped lenses with the adapters already fitted. I time the lens change and check whether the matte box returns to the correct position.
This test often exposes a different winner than the specification sheet. A slightly heavier model may save more production time because its trays, adapters, and swing-away latch work better.
Common Matte Box Buying Mistakes
The most common mistake is buying for the current camera instead of the lens and filter ecosystem. Camera bodies change quickly. Filters, lenses, rods, and support hardware often remain in service much longer.
Another mistake is assuming every “4×5.65-compatible” tray works with every filter thickness. Confirm the supported glass thickness and tray design.
Do not ignore replacement parts. Filter trays, flags, clamps, and adapter rings are easy to lose. A system with readily available spare parts is more useful on a professional set.
Finally, never buy without checking wide-angle clearance. Vignetting discovered during a paid shoot is far more expensive than a proper pre-purchase test.
Frequently Asked Questions
1. What size matte box is best for a cinema camera?
A 4×5.65-inch, two-stage matte box suits most professional cinema-camera and wide-lens workflows.
2. Is a clip-on or rod-mounted matte box better?
Choose clip-on for lightweight movement and rod-mounted for heavy lenses, multiple filters, or frequent lens changes.
3. Do I need a rotating filter stage?
You need one when using polarizers, graduated filters, or directional streak and effect filters.
4. Can I use one matte box with different lenses?
Yes, provided the matte box supports suitable adapter rings, lens diameters, rod height, and wide-angle clearance.
Your Lens Deserves Better Than a Plastic Sunshade
Knowing how to choose a matte box for a cinema camera comes down to workflow, not appearance. Match the mounting system to the rig, standardize the filter format, check every lens diameter, and test the widest frame.
My final rule is simple: configure the matte box with your heaviest lens and full filter load before trusting it. If it stays aligned, clears the frame, and permits fast changes, it belongs on the camera. If not, leave the oversized flags and cinematic swagger on the store shelf.