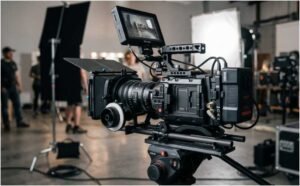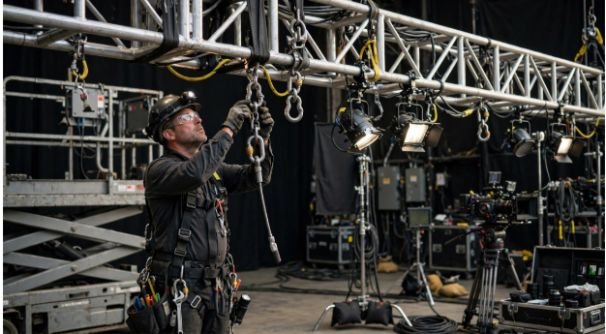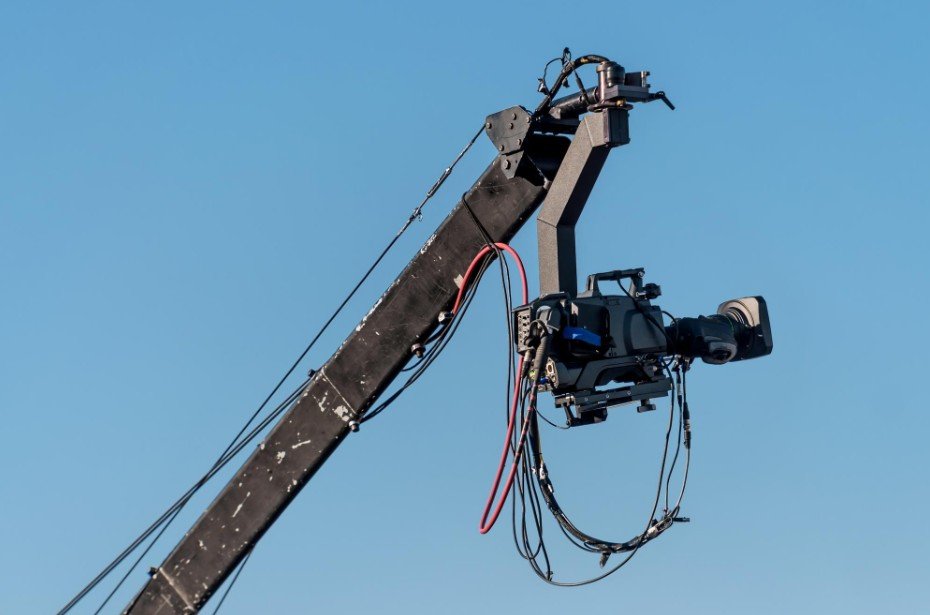
The first time I watched a cable camera accelerate over a filming location, I understood why these systems produce such exciting footage. I also realised that smooth movement can hide enormous tension, complex forces and multiple failure points. Cable camera rigging safety for filmmakers must therefore begin long before the camera is attached or the first rehearsal starts.
A cable camera should be treated as a complete moving rig rather than a camera hanging from a rope. The anchors, travel line, trolley, connectors, braking system, controller and backup equipment must work together. One weak component can place the camera, performers, crew and property at risk.
Assign Qualified People to Plan the Rig
Creative decisions may come from the director or cinematographer, but the physical system should be assessed by people with appropriate rigging experience. A qualified rigger or experienced key grip should review the proposed span, anchor points, payload and movement path.
Complex overhead installations may also require engineering approval. This is especially important when a system crosses public areas, operates near performers or uses buildings, trusses, vehicles or temporary structures as support points.
Before installation begins, establish who can approve the rig and who has the authority to stop it. Every crew member should be allowed to call an immediate halt when they notice an unsafe condition.
Calculate the Complete Moving Payload
The payload includes more than the camera body. Add the lens, battery, media, wireless transmitter, remote head, mounting plate, trolley, cables, tools used to spot hidden cameras, and every accessory travelling along the line.
Do not select equipment by matching its rating to the static weight alone. Acceleration, sudden braking, oscillation and impact near an end stop can create forces greater than the stationary load. Every cable, connector, pulley, shackle and attachment must be rated for its intended purpose and expected loading conditions.
Avoid mixing components simply because they physically fit together. Hardware compatibility, load direction and manufacturer instructions matter as much as the printed load rating.
Inspect Every Anchor and Support Point
An anchor may look solid while being unsuitable for cable-camera forces. Railings, decorative beams, small trees, lighting stands and unverified building features should never be trusted through appearance alone.
Inspect the material, condition, attachment method and direction of force at each point. Look for cracks, corrosion fundamentals, loose fasteners, movement, sharp edges and environmental damage. Protective padding may prevent abrasion, but it does not increase the strength of the supporting structure.
The rig should pull in the direction considered during the anchor assessment. A connection designed for one loading direction may perform differently when the line changes angle.
Understand Cable Tension and Sag
A tighter line may appear more professional, but reducing sag increases the forces transferred to the anchors. The correct tension depends on span length, payload, line material, required clearance and operating conditions.
Plan the lowest point of the system before setting the anchor height. The camera must maintain safe clearance throughout its full route, including during acceleration, braking and natural movement in the line.
Never estimate tension by sight or feel when accurate measurements and calculations are required. Long spans, heavy payloads and low-sag designs deserve particular caution.
Build Independent Safety Redundancy
Good rigging anticipates what happens after a component fails. Cable camera rigging safety for filmmakers should include independent protection rather than relying entirely on the primary travel line.
A suitable setup may use a secondary safety line, a secure camera tether, captive trolley wheels, rated connectors, physical end stops and an emergency braking method. The backup should not depend on the same single component that could cause the original failure.
Check that safety tethers cannot enter wheels, motors or pulleys. They should retain the equipment without creating another hazard or allowing the camera to fall far enough to hit someone.
Create a Controlled Exclusion Zone
Keep unnecessary personnel away from anchors, tensioning equipment, the line path and potential fall areas. Barriers, signs and crew supervision can prevent someone from walking beneath the rig or touching critical hardware.
The exclusion zone should account for more than the camera’s normal path. Consider where equipment could swing, bounce or travel during a control failure. Areas behind anchors and near tensioning devices may also require protection.
When filming near performers, rehearse their movements without the camera travelling overhead. Confirm marks, timing and escape routes before combining performance and rig motion.
Test Controls, Brakes and Communication
Conduct an unloaded test before mounting the complete camera package. Inspect alignment, trolley movement, line tracking and stopping distance. Add the payload only after the basic system performs correctly.
Begin powered rehearsals at the lowest practical speed. Test normal stopping, emergency stopping and loss-of-control procedures. Never use performers as part of the first operational test.
The operator, spotters, key grip and assistant director need clear communication. Establish simple commands for starting, stopping and emergencies. Radios should be checked before every shooting period, and background noise must not prevent essential instructions from being heard.
Monitor Weather and Changing Conditions
Wind can move the cable, alter the camera path and increase loading. Rain may affect electronics and reduce grip around access areas. Lightning creates obvious dangers around elevated lines and metal rigging.
Define shutdown limits before filming instead of debating them after conditions deteriorate. Reinspect anchors and tension after weather changes, long pauses or significant temperature shifts.
Outdoor anchors can also change during the day. Soil may soften, structures may move and protective materials may settle under load.
Complete a Preflight Inspection Before Every Run
Check the line, anchors, connectors, trolley, camera mount, tethers, brakes, controls and batteries before operation. Confirm that nothing has loosened during previous movement.
Inspect the entire travel path for new obstructions. Verify that the exclusion zone is clear, spotters are ready and everyone understands the next camera move.
Record inspections, equipment changes and unusual events. Documentation helps the crew notice recurring problems instead of relying on memory during a demanding shoot.
Frequently Asked Questions
1. What does cable camera rigging safety for filmmakers involve?
It involves qualified supervision, load planning, verified anchors, rated equipment, redundant protection, controlled access, testing and emergency procedures.
2. Can I attach a cable camera to any strong-looking structure?
No. The structure and attachment must be assessed for the expected force, loading direction and condition rather than judged visually.
3. Why is too much cable tension dangerous?
Increasing tension to reduce sag can significantly increase the force placed on the line and anchor points.
4. Should a cable camera have a backup line?
An independent backup system is strongly advisable whenever a failure could cause equipment to fall or enter an occupied area.
Final Takeaways
I see cable cameras as powerful storytelling tools, but I never consider the shot more important than the people beneath or around the system. Safe results come from careful planning, qualified decisions, compatible equipment and disciplined testing.
When I treat the rig as a complete engineered system, allow sufficient time for inspections and empower the crew to stop an unsafe move, the production gains more than protection. It gains a repeatable camera platform that everyone can trust.