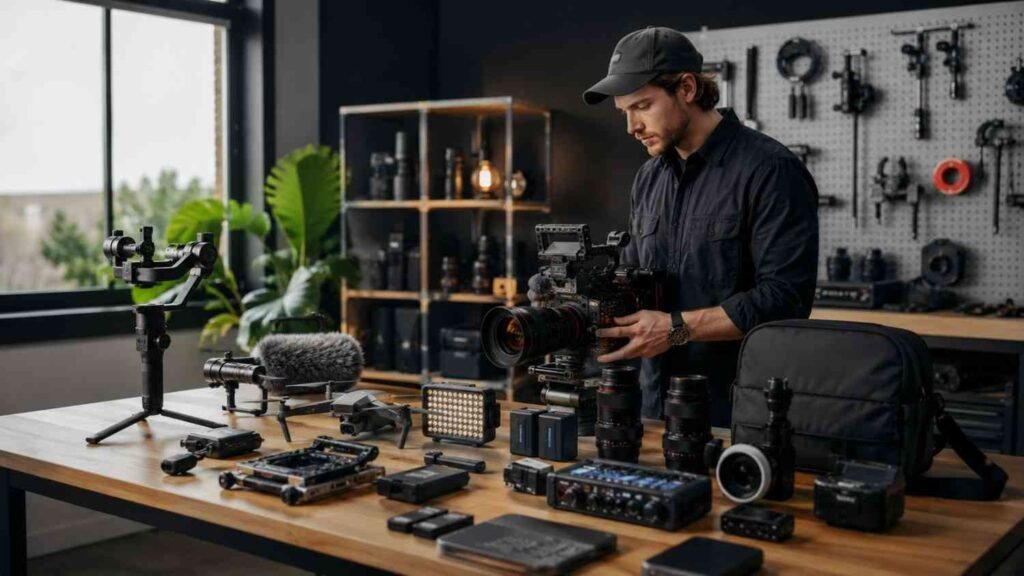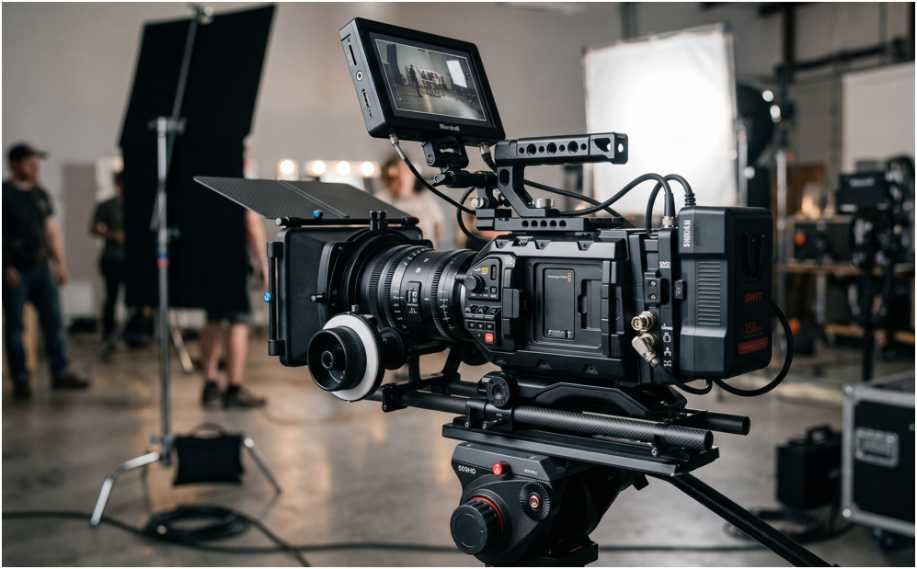
A cinema rig can look perfectly assembled and still perform badly. A misaligned matte box, slipping follow focus, or unsupported lens can slow every shot.
My approach to a 15mm rod system setup for cinema camera rigs starts with optical alignment rather than accessory placement. Once the camera, lens, and rods share the correct geometry, every other component becomes easier to position.
Understand the 15mm Rod Standards Before Buying Parts
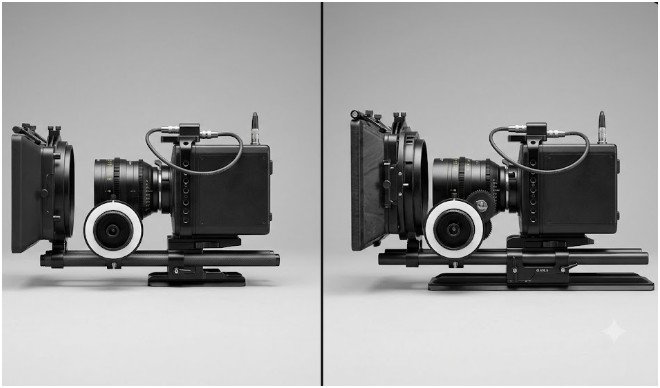
Not every system using 15mm rods follows the same dimensions. The two main formats are 15mm Lightweight Support and 15mm Studio.
Mixing parts from these standards can leave a matte box above, below, or beside the lens.
15mm LWS for Mirrorless and Compact Cinema Cameras
The 15mm LWS standard places two rods directly beneath the optical axis. Their centers sit 60mm apart, while the lens center sits 85mm above the rods.
ARRI’s rod-standard documentation confirms that 15mm LWS rods remain symmetrical to the optical center. Manufacturers such as Tilta also design adjustable baseplates around the 85mm measurement.
This format suits mirrorless cameras, DSLRs and compact cinema bodies. I use it when the rig needs a follow focus, matte box, lens support or rear battery without becoming unnecessarily heavy.
15mm Studio for Heavier Camera Packages
The 15mm Studio format uses rods spaced 100mm apart. Its optical center sits 118mm above the rods, which are offset from the camera rather than centered underneath it.
This standard works with heavier cinema bodies and large zoom lenses. It should not be confused with 19mm Studio support, another format used on substantial production rigs.
For most owner-operators, documentary crews and small commercial teams, 15mm LWS remains the practical choice.
Components Needed for a Reliable Cinema Camera Rod Rig
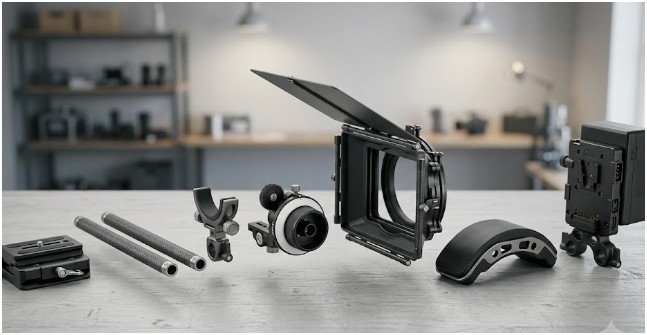
A clean 15mm rod system setup for cinema camera rigs does not require every available accessory. It needs a stable base, correctly positioned rods and enough support for the chosen lens.
Baseplate and 15mm Rod Material
The baseplate establishes the camera’s height above the rods. A camera-specific plate usually reaches the LWS optical standard automatically. A universal plate should provide vertical adjustment.
SmallRig specifies 15mm rod holes with 60mm center-to-center spacing on its LWS baseplates. Some models also guarantee an 85mm distance between the rod center and lens center.
Choose rod material according to the finished rig:
- Aluminum offers a practical balance of price, weight and durability.
- Carbon fiber reduces weight but should not be crushed by excessive clamp pressure.
- Stainless steel resists flex but adds considerable weight.
For a compact mirrorless build, I normally start with aluminum or quality carbon-fiber rods. Stainless steel makes more sense with large lenses and demanding support requirements.
Rod length should match the rig rather than the accessory count. Twelve-inch rods often provide enough room for a front support and rear battery. Shorter rods suit stripped-down tripod builds.
Lens Support and Front Accessories
A lens support transfers weight from the lens to the rods. This reduces strain on the camera’s lens mount.
It becomes valuable when using long cinema zooms, heavy anamorphic lenses, large adapters or lenses with support feet. Wooden Camera offers 15mm LWS supports with 1/4-inch and 3/8-inch mounting options for different lens designs.
The remaining front accessories usually include a follow focus and matte box. Their positions depend on the lens barrel, focus gear and filter-stage depth.
Rear Power and Counterweight
A rear-mounted V-mount battery can power the camera while counterbalancing a front-heavy lens. SmallRig’s rod-mounted V-mount plates use dual clamps designed for 15mm LWS systems.
The battery should not be treated as dead weight. It must remain accessible, ventilated and clear of cables.
For a detailed power layout, see V-mount battery setup for mirrorless cinema cameras before selecting cables, voltage outputs and mounting orientation.
How to Assemble a 15mm Cinema Camera Rig
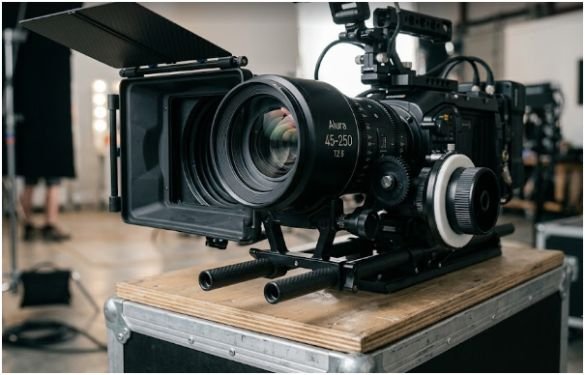
I build a 15mm rod system setup for cinema camera rigs from the camera outward. This prevents one accessory from forcing every later component into a poor position.
Mount and Align the Camera
Attach the camera cage or body to the baseplate using the correct 1/4-inch-20 or 3/8-inch-16 screw. Use locating pins when the plate provides them.
Tighten the screw until the camera cannot rotate. Do not overtighten it or use a screw that bottoms out before securing the plate.
Install the intended lens before setting the baseplate height. Sensor position, cage thickness and lens-mount height can vary between cameras.
Measure from the center of either rod to the center of the lens. On an LWS rig, the distance should be 85mm. A height-adjustable baseplate helps compensate for different camera bodies and cages.
Install and Square the Rods
Slide both rods through the baseplate until their front ends are even. Unequal extension can twist accessories or make later adjustments confusing.
Leave enough rod in front to support the lens, follow focus and matte box. Keep enough behind the camera for a battery plate, shoulder pad or counterweight.
Tighten the rod clamps evenly. Before adding accessories, place the rig on a flat surface and check that the rods remain parallel.
Add the Lens Support Before the Follow Focus
Slide the lens support onto the rods before fitting other front accessories. Position it beneath the lens support foot or a suitable fixed section of the barrel.
Raise the support until it touches the lens without lifting it. This detail matters. A support that pushes upward can shift the lens mount and affect alignment.
Secure the support, then check the camera mount again.
Position the Follow Focus and Matte Box
Install the follow focus so its drive gear meshes with the lens gear across the full focus range. The teeth should engage without forcing the lens sideways.
Rotate the lens from minimum focus to infinity. Watch for binding, gear separation or changes in pressure.
Mount the matte box last. A rod-supported model should align naturally when the lens follows the 85mm LWS height. Tilta, for example, provides dual-rod attachments that secure compatible matte boxes to 15mm systems.
Leave a small clearance between the lens and matte box when the design permits it. This prevents contact during lens changes or focus adjustments.
Position the Battery Plate and Cables
Attach the battery plate behind the camera. Keep its locking mechanism accessible and confirm that the battery can be removed without dismantling the rig.
Connect power using the correct regulated output and camera cable. Route cables along the rods with reusable ties or clamps.
Provide a small service loop near each connector. A cable pulled completely tight can transfer force directly into the camera’s power port.
My Balance-First Rigging Method
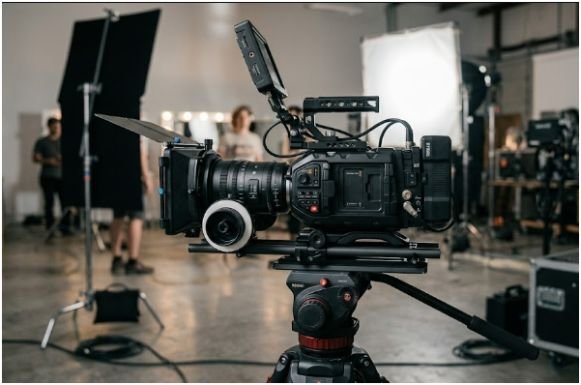
The most useful improvement I make is balancing the finished rig with the exact lens, battery, filters and monitor used during filming.
I place the complete package on the tripod plate and loosen only the fore-aft adjustment. I then slide the rig until it stays nearly level without being held.
This method reveals a problem that individual component checks miss. A rig can meet the optical standard yet remain uncomfortable because its mass sits too far forward.
For shoulder use, I position the shoulder pad beneath the combined center of gravity. I then move the battery backward only as far as needed. Extending it too far makes the rig longer, harder to turn and more likely to catch cables.
This balance test takes less than two minutes but can prevent hours of wrist, shoulder and tripod-head strain.
Common 15mm Rod System Setup Mistakes
The first mistake is buying a low-profile baseplate without checking optical height. The rods may be correctly spaced yet sit too close to the lens.
Another problem is mounting every accessory before installing the main lens. Changing to a longer or wider lens can force a complete rebuild.
Avoid using the lens support as a jack. It should carry weight, not lift the lens.
Do not leave long rods extending beyond the last accessory. Excess rod length adds weight and creates a snagging hazard.
Finally, test lens controls before the shoot. Confirm that the focus ring turns freely, filters can be changed, cables remain clear and the battery can be removed.
Frequently Asked Questions
1. What length 15mm rods should I use for a cinema camera rig?
Eight-inch rods suit compact builds, while 12-inch rods provide more space for front accessories and rear-mounted power.
2. Are all 15mm camera rods compatible?
The diameter may match, but LWS and Studio systems use different spacing, optical heights and rod positions.
3. Does a mirrorless cinema rig need lens support?
Use lens support when a heavy lens, adapter or zoom places significant leverage on the camera’s lens mount.
4. How high should the lens sit above 15mm LWS rods?
The lens’s optical center should sit 85mm above the centerline of the LWS rods.
Build It Once, Shoot Without the Drama
A polished 15mm rod system setup for cinema camera rigs is not measured by how many accessories it carries. It succeeds when the lens remains supported, controls move freely and the camera balances without a fight.
I finish every build by checking optical height, gear engagement, cable slack and center of gravity. Complete those four checks before tightening the final clamp, and the rig will spend more time shooting than being rebuilt.