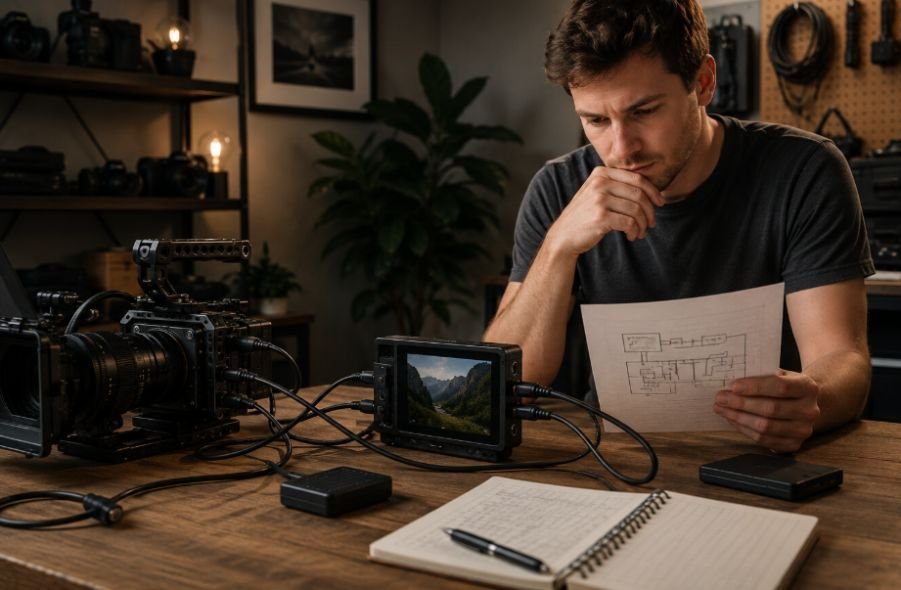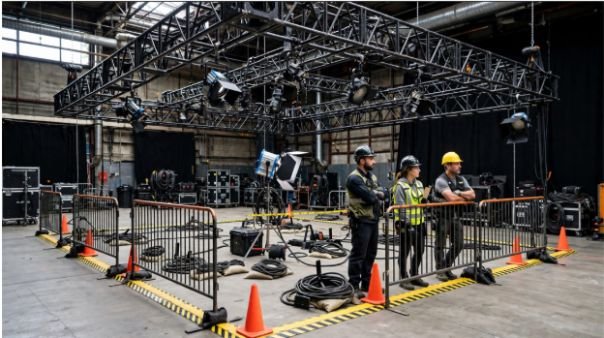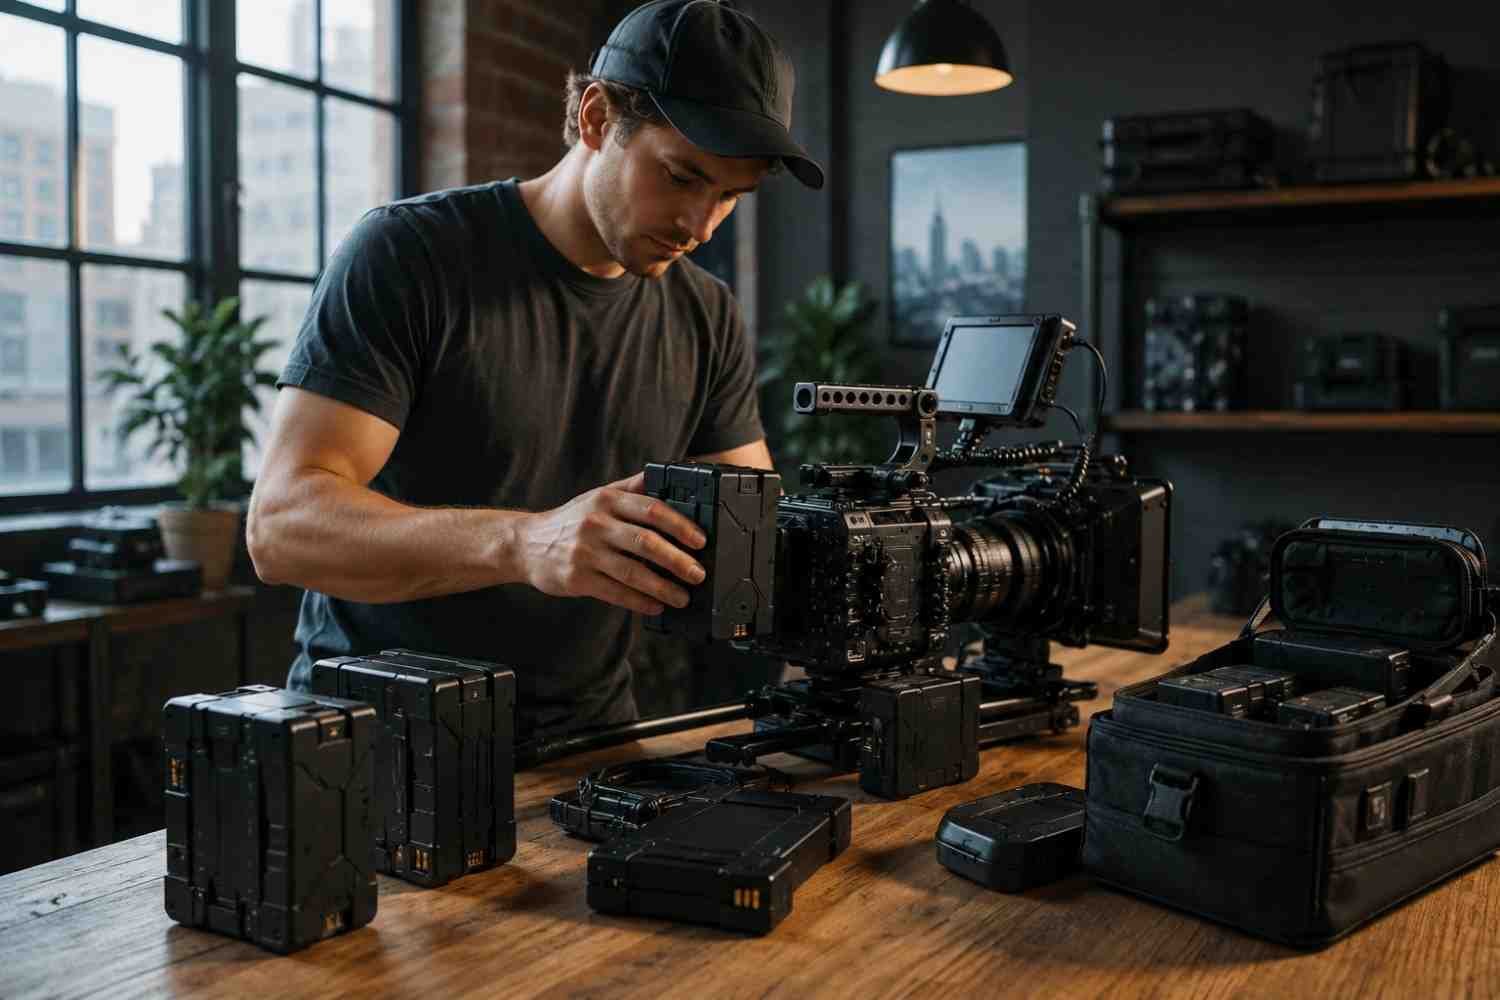
I used to think adding a V-mount battery to a camera rig was mostly about getting more runtime. After working with larger camera builds, I found that the battery affects much more than how long the camera stays on. Its weight, mounting position, output options, cable routing, and voltage all change how practical the rig feels during an actual shoot.
I also noticed that the smartest setups are rarely the biggest ones. A compact battery with the right outputs can be more useful than a heavy high-capacity brick if the camera, monitor, transmitter, and other accessories are matched properly. Once the power system is planned around the whole rig, filmmaking becomes much easier because fewer cables and battery changes get in the way.
Why a V Mount Battery Setup Makes Sense
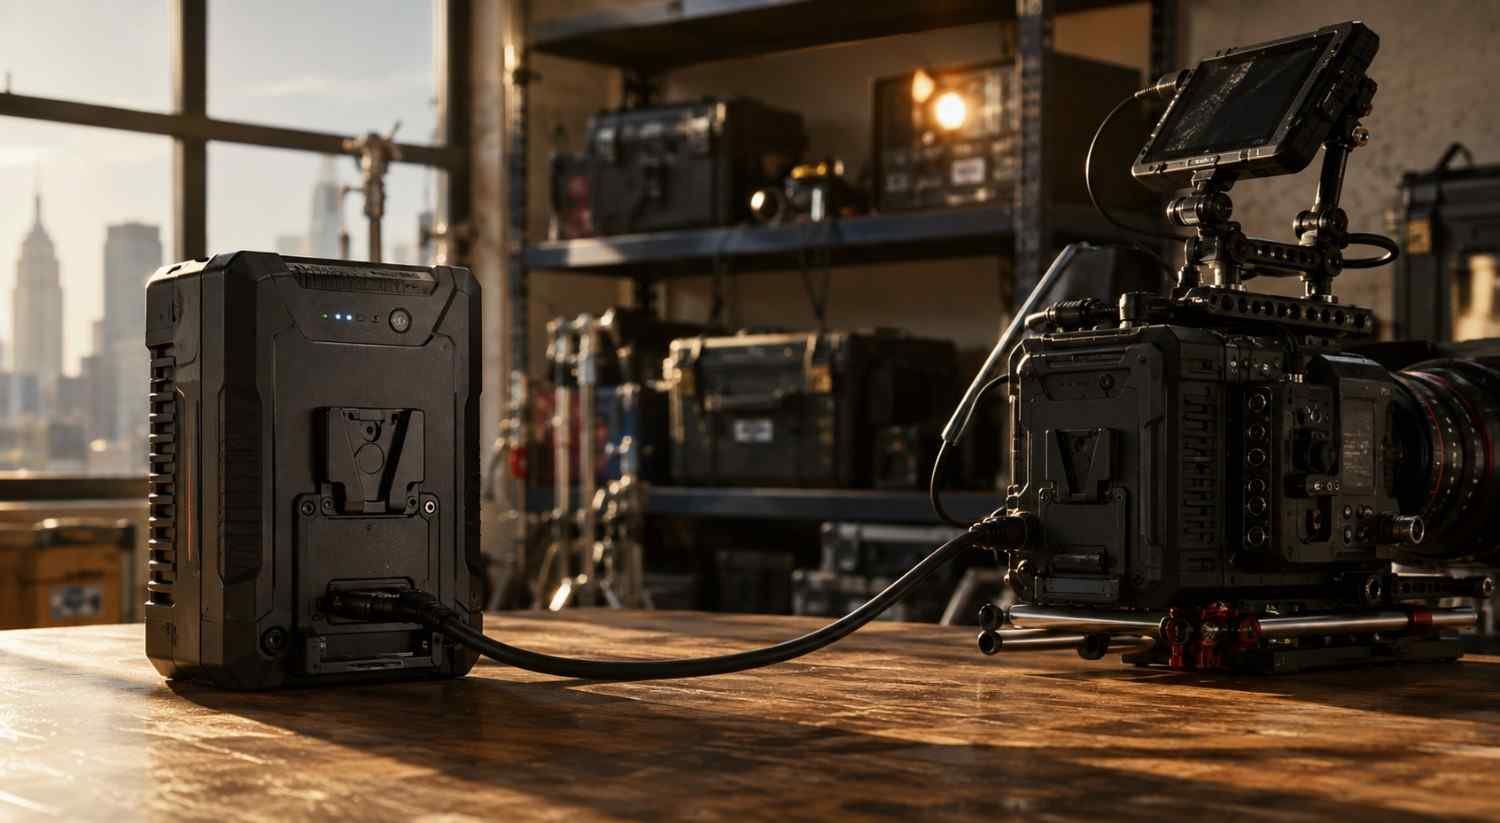
A V-mount battery can act as the central power source for a camera rig instead of relying on separate batteries for every accessory. Depending on the battery and plate, one power source can feed the camera, monitor, wireless video transmitter, follow-focus motor, and other compatible equipment.
The advantage is not simply longer runtime. It is power distribution.
Modern V-mount systems can include D-Tap, USB-C Power Delivery, and DC outputs, giving filmmakers several ways to connect equipment. That makes a properly planned V-mount battery setup useful for documentary cameras, cinema rigs, studio builds, and mobile production.
Start With Your Total Power Draw
Before buying a battery, make a list of everything that needs power.
Your camera might draw several watts while recording, while a monitor, wireless transmitter, and focus motor add their own loads. Add those figures together to estimate the rig’s total power demand.
Battery capacity is usually expressed in watt-hours, or Wh. A higher Wh rating generally provides more stored energy, but actual runtime depends on the combined load and conversion losses.
For example, a compact 99Wh battery can make sense for a lightweight camera package when the total power draw remains modest. A larger battery may be better for a camera with several power-hungry accessories, but the extra weight becomes part of the equation.
That is why buying the largest battery available is not automatically the smart choice.
Choose a Battery Around the Shoot
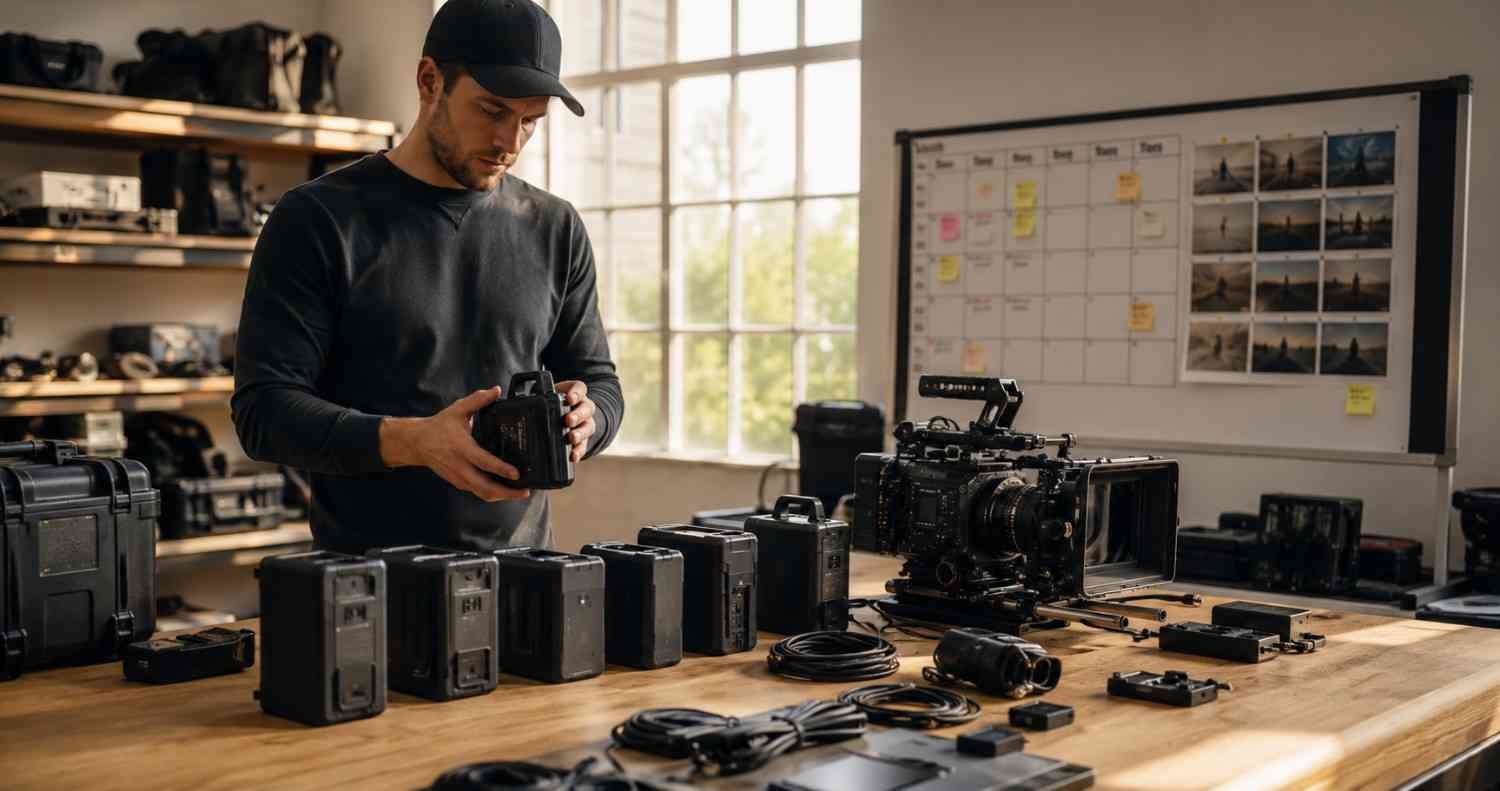
For many mobile productions, a mini V-mount around 99Wh offers a useful balance between capacity and size. It can provide substantial runtime without turning a compact rig into something noticeably heavier.
Air travel is another reason filmmakers often look at batteries below 100Wh. The FAA states that spare lithium-ion batteries up to 100Wh are permitted in carry-on baggage, while batteries from 101Wh to 160Wh require airline approval and batteries above 160Wh are prohibited for passenger aircraft. Airline policies can be more restrictive, so checking the carrier’s requirements before traveling is still necessary.
A battery’s physical size matters too. If the rig will spend hours on a shoulder, gimbal, or handheld configuration, a lighter battery can be worth more than additional capacity you rarely use.
Pick the Right V-Mount Plate
The battery is only one part of the system. The mounting plate determines how that stored power reaches the rest of the rig.
A useful plate may provide several D-Tap outputs, USB-C PD, and regulated DC connections. It should also mount securely to the camera cage, rods, or another appropriate support point.
Think of the plate as the power hub of the rig. Instead of running independent batteries everywhere, you can route compatible accessories from one centralized location.
This is especially useful when a camera is mounted on a professional camera tripod for filmmaking, where the battery can sit toward the rear of the rig and help balance the weight of the camera and lens.
Choose the Correct Camera Connection
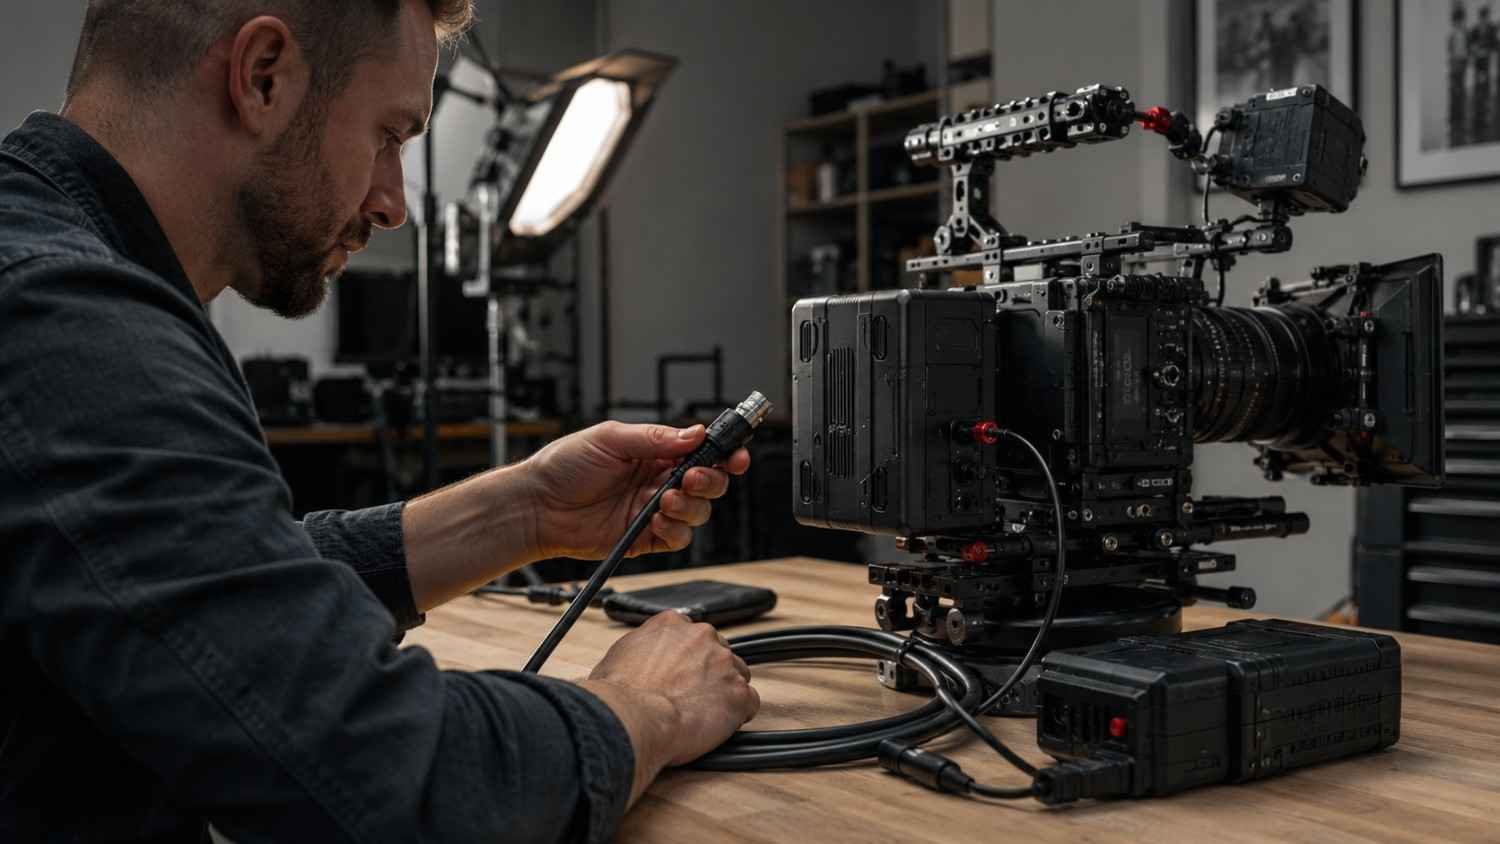
This is where many V-mount setups become unnecessarily complicated.
Some cinema cameras accept power directly through a compatible V-mount plate. Smaller mirrorless cameras may need a regulated dummy battery, USB-C PD connection, or a dedicated DC cable.
USB-C PD has become particularly useful because some modern cameras can accept external power through USB Type-C. Sony’s documentation, for example, specifies USB Power Delivery requirements for supported camera models rather than treating every USB-C source as interchangeable.
A regulated cable or converter is important when the camera requires a specific voltage. Do not assume that a D-Tap output is suitable for every device simply because the plug fits.
Use D-Tap and USB-C for Accessories
D-Tap remains common in professional camera power systems because many monitors, wireless transmitters, lights, and other production accessories support it.
USB-C PD is useful for compatible cameras, monitors, phones, wireless systems, and other modern equipment. Some V-mount plates now offer high-output USB-C connections alongside traditional D-Tap ports, creating a more flexible power distribution system.
Blackmagic Design documentation also distinguishes between regulated and unregulated D-Tap outputs, which is a useful reminder that the electrical behavior of different outputs can vary.
When powering several accessories, check the maximum output of each port and the total supported load. A plate with multiple connectors does not necessarily mean every port can deliver its maximum rating simultaneously.
Keep the Rig Balanced and Cables Secure
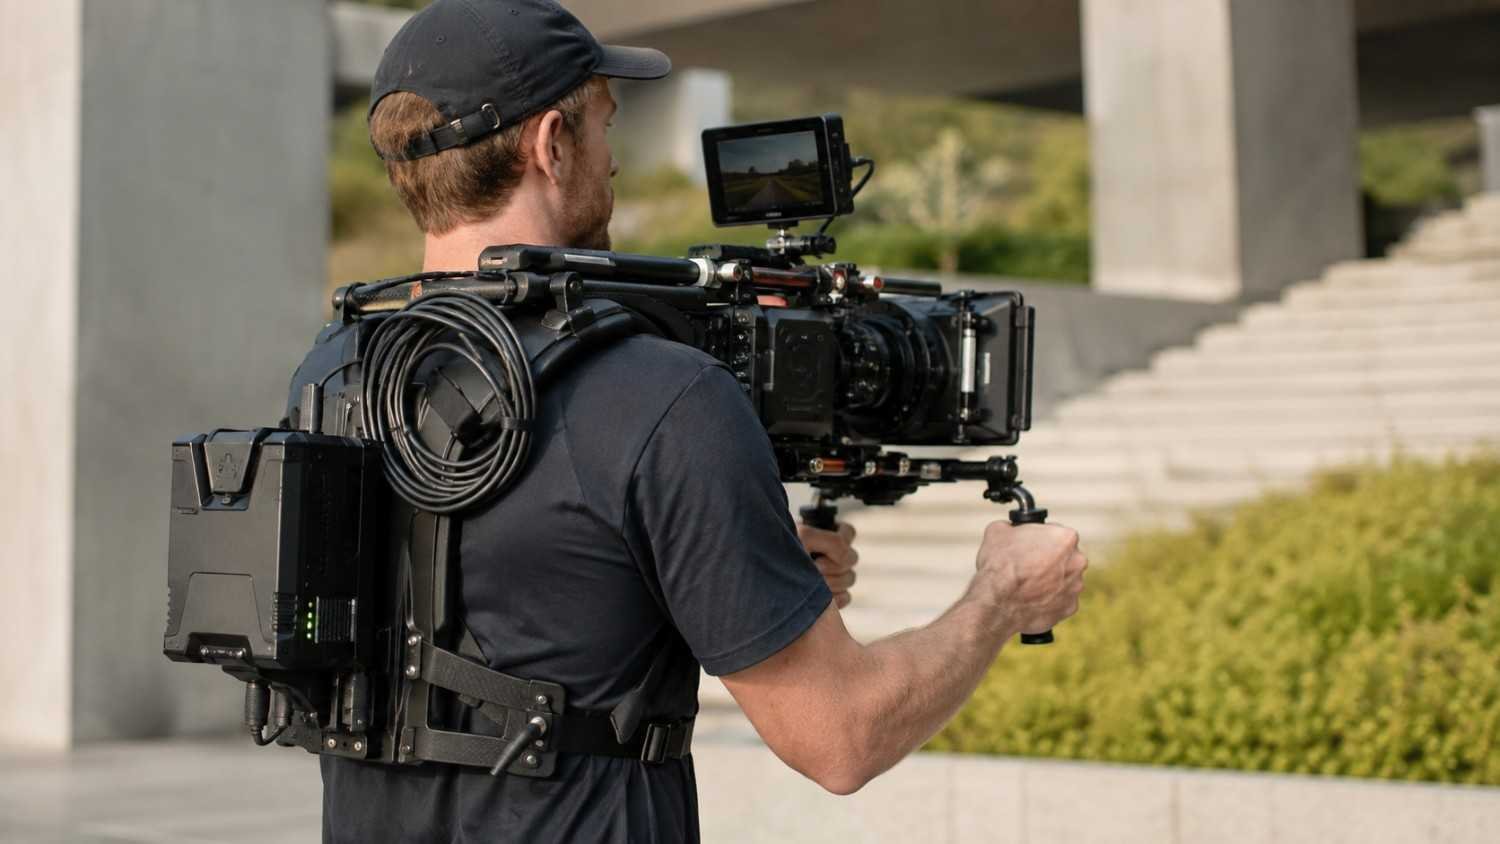
Power management also affects camera movement.
Mounting a heavy battery too far to one side can make handheld operation tiring and can change how a tripod or shoulder rig balances. A rear-mounted battery often helps counterbalance a heavier cinema lens, but the exact position should match the camera configuration.
Cable management matters just as much. Use clamps, cable clips, or secure routing points to prevent cables from hanging loosely around handles, rails, or moving parts.
This becomes even more important when the rig includes a remote camera control system, because additional control, monitoring, and communication equipment can quickly turn a clean camera build into a cluster of cables.
The goal is simple: every cable should have a clear route, enough slack for movement, and protection against accidental pulling.
Test the Complete Power System
Once everything is connected, run the rig exactly as you expect to use it.
Record for an extended period. Turn on the monitor. Activate the wireless transmitter. Use the follow-focus system. Watch the battery percentage and check whether any connector becomes unusually warm.
Also inspect the battery for swelling, physical damage, or connector problems. Lithium-ion batteries can experience thermal runaway when damaged, overheated, overcharged, or improperly protected, which is why the FAA recommends appropriate protection and carry-on handling for spare lithium-ion batteries.
A proper power test is not just about runtime. It confirms that the entire chain works safely and consistently.
Build the Setup Around Your Shooting Style
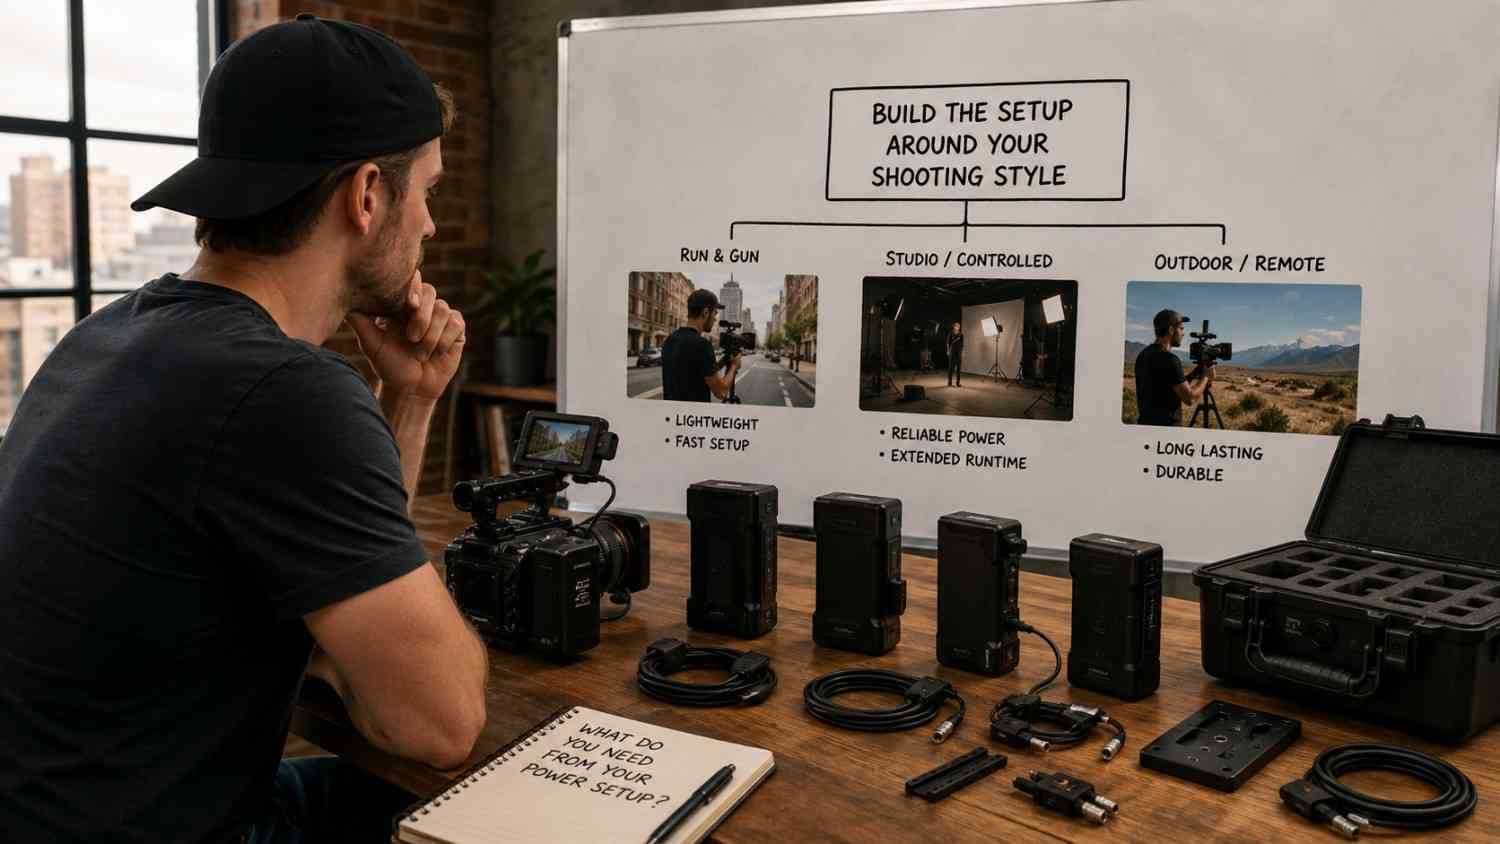
A documentary shooter may value a compact 99Wh battery, simple cable routing, and minimum weight. A studio operator may prefer greater capacity and several outputs because mobility matters less than uninterrupted operation.
For a lightweight mobile rig, the latest monopod for filmmaking can also change how much battery weight feels practical. A compact power setup keeps the overall package easier to reposition while still giving the camera enough endurance for longer takes.
The best setup is therefore the one that matches the production. Start with the camera, identify every accessory, calculate the power demand, choose the appropriate battery capacity, and then decide how the battery should be mounted.
Common Mistakes to Avoid
A few mistakes can turn an otherwise good V-mount system into a frustrating one:
- Choosing battery capacity without calculating total power draw
- Connecting equipment without checking voltage requirements
- Using the wrong dummy battery or DC connector
- Leaving cables unsupported
- Mounting the battery where it throws off rig balance
- Assuming every USB-C port supports the same Power Delivery profile
- Skipping a full-load test before production
A V-mount battery setup should reduce complexity, not create another technical problem to solve on set.
FAQs: The Smart Way to Build a V Mount Battery Setup for Filmmaking
1. Is 99Wh enough for a camera rig?
It can be. A 99Wh battery works well for many compact setups, but runtime depends on the camera and combined accessory power draw.
2. Can one V-mount power multiple devices?
Yes, if the battery and power distribution plate provide suitable outputs and can handle the combined load. Always verify voltage and current requirements first.
3. Is D-Tap or USB-C better?
Neither is universally better. D-Tap remains common for professional video accessories, while USB-C PD is convenient for compatible modern equipment.
4. Can I fly with a V-mount battery?
Spare lithium-ion batteries up to 100Wh are generally permitted in carry-on baggage under FAA guidance. Larger batteries have additional restrictions, and airlines may impose stricter rules.
Build for the Shoot, Not the Spec Sheet
A smart V-mount system should disappear into the workflow once it is assembled. The camera should stay powered, accessories should receive the correct voltage, cables should remain out of the operator’s way, and the battery should contribute to a balanced rig rather than fight against it.
The best power setup is not necessarily the one with the biggest battery. It is the one that gives the production enough runtime, the right connections, manageable weight, and predictable performance when the camera is actually rolling.