I noticed the biggest difference between a good handheld shot and a frustrating one often has nothing to do with the camera itself. A few seconds of walking, turning, or following a subject can introduce tiny movements that become painfully obvious when the footage is played back. After working with different camera setups, I found that stabilization works best when the equipment and the person operating it are treated as one system.
I also learned that simply buying a lightweight camera stabilizer does not automatically produce smooth footage. Balance, movement technique, camera settings, and even the way accessories are attached can affect the final result. A lighter setup can be easier to carry for an entire shooting day, but it still needs to be configured correctly before recording.
Balance the Camera Before You Start Shooting
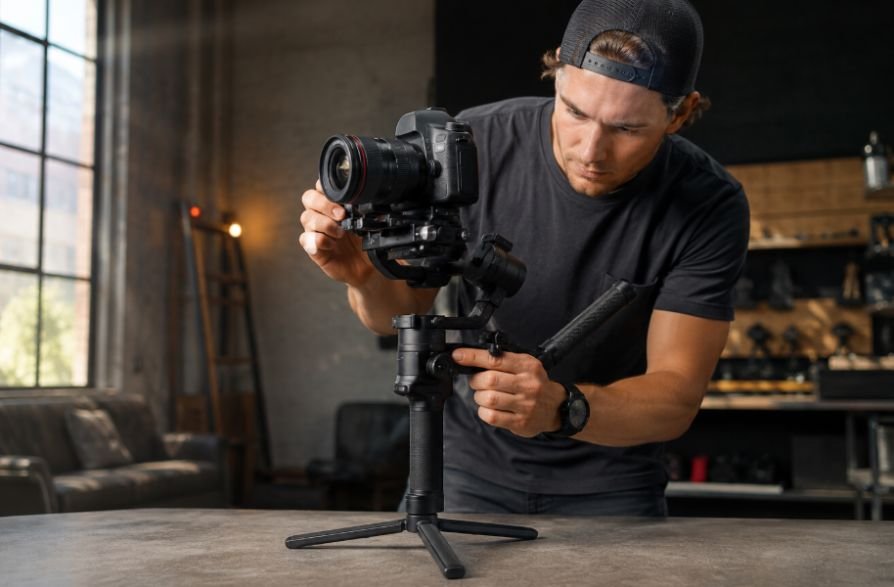
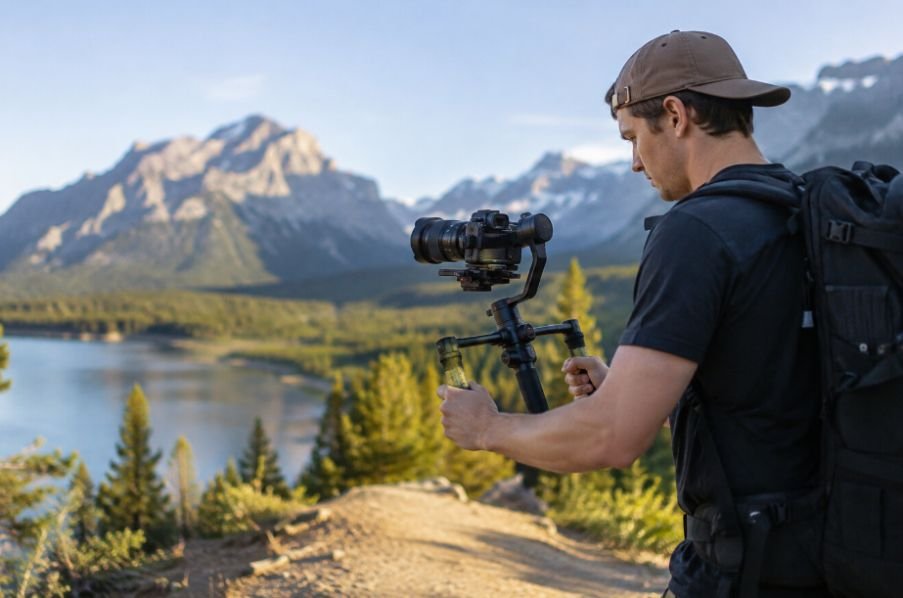
A stabilizer can only work properly when the camera is balanced correctly. This is especially important with a motorized gimbal because its brushless motors are constantly making small corrections across the pan, tilt, and roll axes.
Start with the camera powered off and mount the exact configuration you plan to shoot with. That means the same lens, battery, memory card, filter, microphone, and other accessories should be attached before balancing.
Check each axis separately. The camera should remain reasonably stable when you release it instead of immediately falling toward one side. Once the mechanical balance is right, power on the stabilizer and run its calibration or auto-tuning process if available.
Match the Stabilizer to Your Complete Camera Setup
A stabilizer’s own weight is only part of the equation. The real concern is the total payload.
A compact mirrorless camera with a small prime lens may work beautifully on a lightweight gimbal. Add a large zoom lens, cage, wireless transmitter, external battery, field monitor, and follow-focus motor, and the same setup can become much harder to handle.
Check the stabilizer’s rated payload before mounting your camera. More importantly, consider how that weight is distributed. A camera that technically falls within the payload limit can still be awkward if the lens pushes the center of gravity far forward.
This becomes particularly relevant when building an external raw recording setup. An external recorder, monitor, cables, and mounting hardware can quickly turn a simple camera package into a much heavier rig. If stabilization is a priority, keep the configuration as streamlined as the shot allows.
Use Camera Settings That Help Stabilization
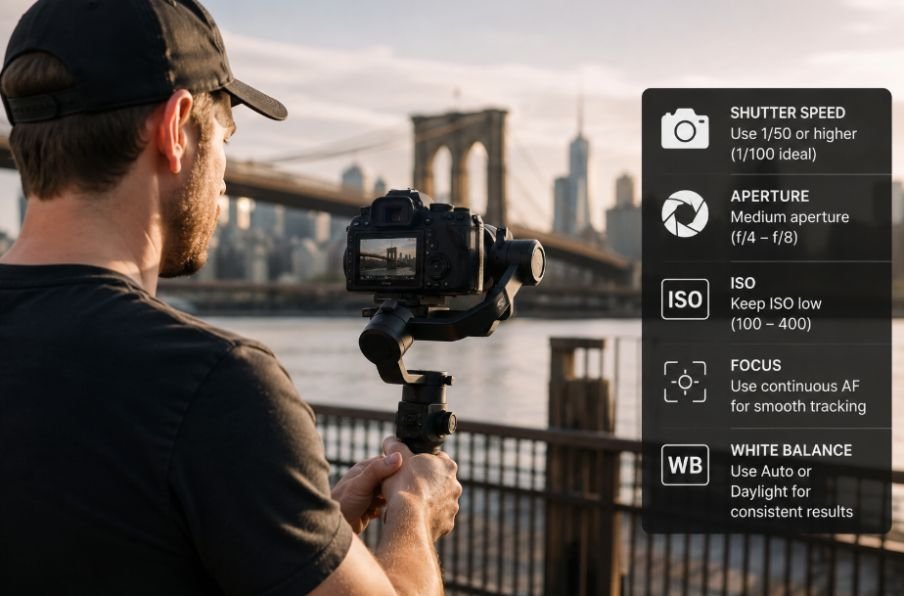
Your camera settings can either hide movement or make it more noticeable.
Wider focal lengths are generally more forgiving because small angular movements occupy less of the frame. A 24mm lens, for example, will usually make minor operator shake less obvious than a longer telephoto lens.
Frame rate can also change the character of movement. Shooting at 60 fps gives you flexibility for slow-motion playback and can make movement appear smoother when used appropriately. It does not physically stabilize the camera, though, so it should not replace good technique.
If your camera has in-body image stabilization, or IBIS, understand how it interacts with your gimbal. Some cameras and stabilizers work well together, while certain combinations can create unwanted movement or fighting between stabilization systems. Check the camera and gimbal manufacturer’s recommendations for your specific setup.
Keep Your Lightweight Setup Actually Lightweight
One common mistake is building a lightweight stabilizer setup and then attaching every accessory available.
A compact setup has a practical advantage because you can operate it for longer without exhausting your arms and shoulders. Adding unnecessary equipment slowly removes that advantage.
Before a shoot, ask whether each accessory is helping the shot. If a monitor is essential for critical framing, keep it. If a large battery is required for a long production, plan around it. But avoid adding equipment simply because there is an empty mounting point.
A compact portable field monitor for filmmaking can be useful when the camera’s built-in screen makes focusing or composition difficult. The key is to mount it in a position that does not throw off the stabilizer’s balance or create unnecessary leverage.
Think of the entire camera package as a system rather than a collection of individual accessories. The best lightweight rig is usually the one that contains exactly what the shot requires.
Know When to Add Stabilization in Post
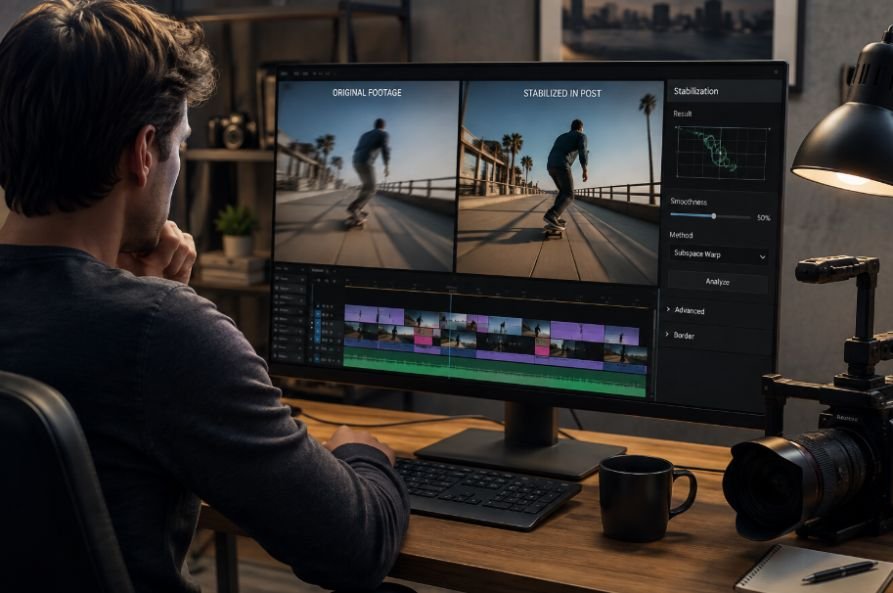
Good production technique should come first, but software can help rescue footage with minor residual movement.
Adobe Premiere Pro’s Warp Stabilizer analyzes camera movement and can smooth unwanted shake after recording. It offers different stabilization methods, including Position, Scale, Rotation, Perspective, and Subspace Warp.
Post-production stabilization works best when the original footage is already reasonably stable. Heavy correction can introduce cropping, strange warping, or unwanted changes in perspective. That is why it is better viewed as a finishing tool rather than a replacement for proper stabilization during production.
This is also where a lightweight setup can be valuable. If the camera operator can maintain smoother movement in the first place, there is less correction required later.
Improve Monitoring Without Adding Unnecessary Weight
Monitoring becomes especially important when you are moving continuously. You need to see framing, focus, exposure, and subject placement without constantly fighting the camera.
If the production requires a wireless monitoring workflow, wireless video monitoring for filmmakers can give a director, focus puller, or other crew member a remote view without forcing additional people around the camera operator.
The tradeoff is additional hardware. Wireless transmitters, receivers, batteries, and mounting solutions all add weight. For a lightweight stabilizer setup, use them only when the production genuinely benefits from remote monitoring.
The same principle applies to every accessory: stability is not only about what the motors can carry. It is also about what the operator can comfortably control.
Build a Setup You Can Carry All Day
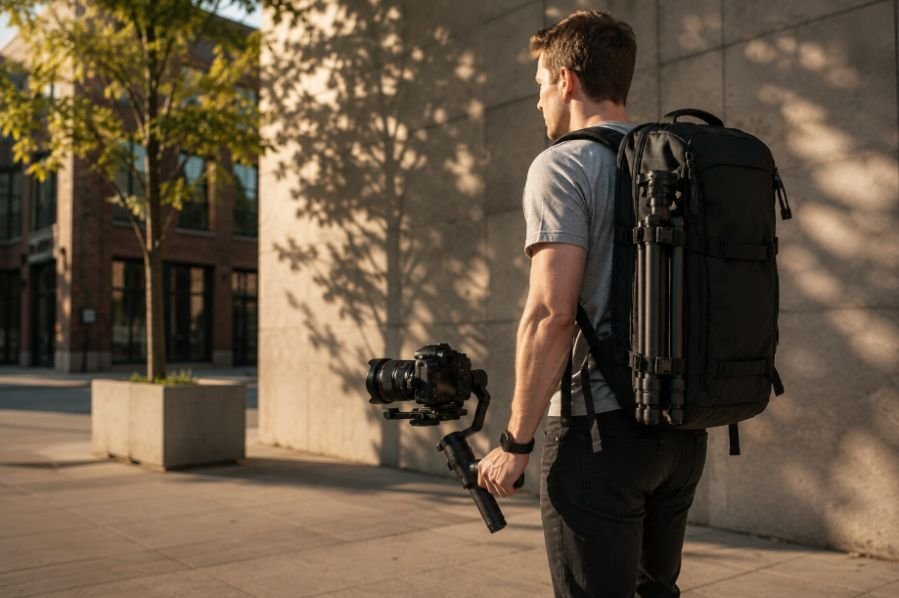
A lightweight camera stabilizer makes the most sense when portability is part of the shooting strategy. Travel filmmakers, documentary crews, event shooters, solo operators, and run-and-gun creators often need to move quickly without sacrificing usable stabilization.
The ideal setup is not necessarily the lightest possible one. It is the setup that gives you enough payload capacity, stabilization performance, monitoring, battery life, and camera control without becoming exhausting to operate.
Good balance reduces motor strain. Good walking technique reduces vertical movement. Sensible camera settings preserve natural motion. A carefully selected accessory package keeps the whole system manageable.
That combination is what turns a lightweight stabilizer from a convenient piece of equipment into a dependable filmmaking tool.
Frequently Asked Questions
1. Is a lightweight camera stabilizer good for professional filmmaking?
Yes. Lightweight stabilizers can work well with mirrorless and compact cinema cameras, especially for documentary, travel, event, and run-and-gun work. The key is matching the stabilizer’s payload and stabilization performance to the complete camera setup.
2. Should I use IBIS with a gimbal?
It depends on the specific camera and gimbal combination. Some systems work well together, while others can produce unwanted movement. Check the manufacturer’s recommendations before using both stabilization systems simultaneously.
3. Why does my gimbal footage still look shaky?
A gimbal mainly corrects rotational movement. Walking introduces vertical movement that three-axis stabilization cannot completely eliminate. Bending your knees, taking controlled steps, and keeping the rig close to your body can help.
4. Can I fix shaky footage after recording?
Yes. Software such as Adobe Premiere Pro’s Warp Stabilizer can reduce unwanted camera movement. However, excessive stabilization can crop the image or create visual warping, so getting the shot as stable as possible during production is still preferable.
Why Better Stabilization Starts With Better Habits
The most useful lightweight camera stabilizer is not necessarily the one with the longest feature list or the smallest body. It is the one that works naturally with your camera, lens, accessories, and shooting style. When the rig is properly balanced and the operator understands how to move with it, the technology becomes much less noticeable, which is exactly what good stabilization should do.
Smooth footage comes from the relationship between equipment and technique. Get that relationship right, and a compact setup can produce controlled, cinematic movement without forcing you to carry a heavy rig through every shot.