I have always been fascinated by the smooth aerial footage shown during major sporting events. These shots appear effortless, but an enormous amount of engineering, testing, and coordination happens before the camera ever leaves the ground.
This case study of an aerial cable camera installed over stadium grounds examines how a suspended camera system can be planned, rigged, tested, and operated without interrupting the action below.
The project’s objective was to create immersive footage that conventional cameras could not capture. The system needed to travel above the playing area, move between high and low positions, follow the action, and produce stable video while complying with strict operational and safety requirements.
Why the Stadium Needed an Aerial Cable Camera
Fixed cameras provide dependable wide shots, while handheld and track-mounted cameras capture action near the boundary. However, these systems cannot move freely across the open space above a playing field.
A drone might appear to be an obvious alternative, but drones introduce concerns involving battery life, rotor noise, flight restrictions, downwash, signal reliability, and operation near spectators.
Knowing when to use cable cam over drone becomes especially important in stadium environments where predictable movement paths, long operating periods, and controlled operation above active event areas are priorities. A crane also has a limited reach and occupies valuable space beside the field.
A cable-suspended camera offered several advantages:
- Controlled movement across a defined three-dimensional area
- Stable footage during rapid changes in direction
- Repeatable flight paths for live broadcasts
- No exposed propellers above the event
- Continuous video and control-data transmission
- High and low perspectives from one camera platform
The system was therefore selected to complement existing broadcast cameras rather than replace them.
Stadium Survey and Installation Planning
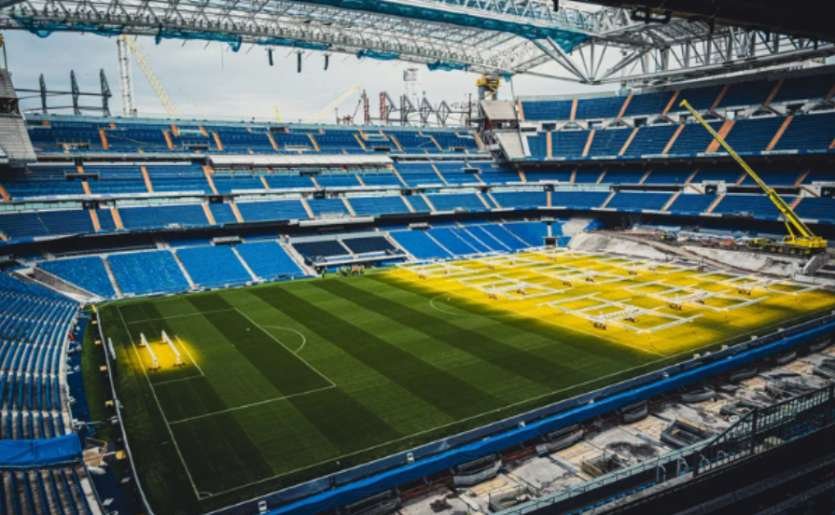
The installation began with a detailed site survey. Engineers examined the stadium structure, roofline, lighting equipment, scoreboards, spectator areas, access routes, emergency exits, and potential cable obstructions.
Venue drawings were used to calculate the proposed working area. The team then mapped the camera’s permitted flight zone and identified positions where the supporting winches and anchor points could be installed.
Structural and Operational Checks
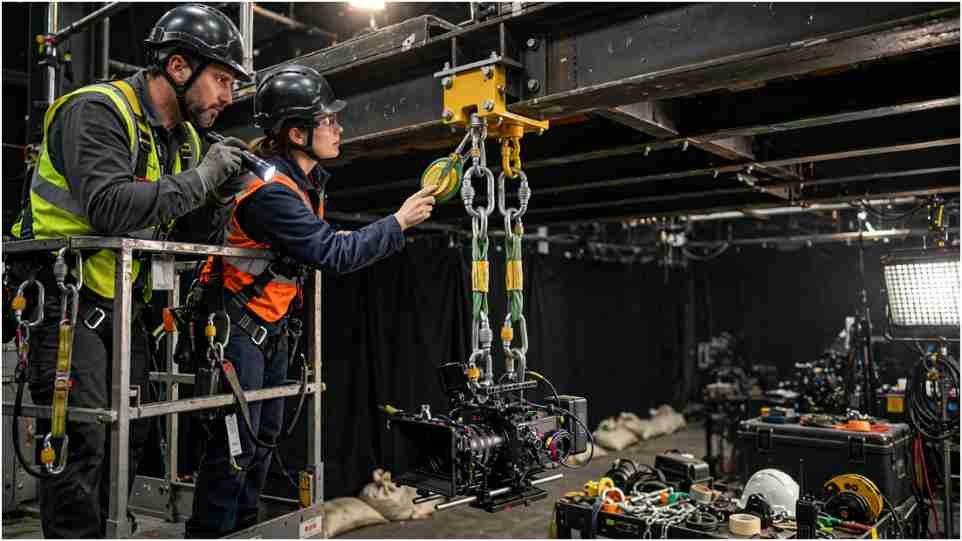
Each mounting location required structural approval. Engineers considered the expected cable tension, dynamic forces, safety margins, loads created during acceleration or emergency braking, and the total weight of the orbiter camera playload system.
The operational review also covered:
- The minimum permitted height above participants
- Restricted areas near spectators and equipment
- Camera routes during active play
- Weather and wind limitations
- Communication between camera and winch operators
- Emergency stopping procedures
- Access for inspections and maintenance
Simulation software helped the team visualize cable paths before installation. This reduced the likelihood of cables interfering with lighting structures, screens, roof supports, or existing broadcast equipment.
How the Cable Camera System Worked
The stadium used a four-point configuration. Understanding how Spidercam works in stadium sports helps explain this setup, where multiple computer-controlled cables work together to move a suspended camera carrier precisely through the space above the field.
Four independently controlled cables connected the camera carrier to motorized winches positioned around the venue. By winding or releasing each cable, the control system moved the carrier horizontally, vertically, and diagonally.
A gyro-stabilized remote head controlled pan, tilt, and roll. This stabilization helped the camera maintain a level image while the carrier accelerated, descended, or changed direction.
Fibre-optic connectivity carried video and operating data without relying entirely on crowded venue radio frequencies. The system could also provide positional information for augmented-reality graphics, allowing production teams to place statistics or virtual objects accurately within moving footage.
Step-by-Step Stadium Installation
Installing the Winches and Anchor Points
The crew first installed the winches and approved mounting hardware. Every connection was inspected before the cables were deployed. Temporary exclusion zones prevented unauthorized access while work took place overhead.
Routing and Tensioning the Cables
Each cable was routed from its winch to the camera carrier. The team gradually applied tension while monitoring alignment and structural loads. Correct tension was essential because a loose cable could reduce movement accuracy, while excessive tension could place unnecessary stress on the supporting structure.
Connecting the Camera Carrier
The stabilized camera head, broadcast camera, lens, batteries, transmitters, and control components were secured to the carrier. The completed payload was weighed and checked against the system’s approved operating limit.
Calibrating the Working Area
Technicians moved the carrier through carefully controlled positions to establish its coordinates. Software-defined boundaries prevented it from entering restricted zones. These virtual boundaries were tested at low speed before full movement was permitted.
Safety Testing Before Operation
Safety was treated as part of the engineering process, not as a final inspection. The crew examined cables, brakes, winches, mounting points, communication links, software limits, backup power, and emergency controls.
The system then completed progressive movement tests. It began at low speed and low height before advancing to longer, faster flight paths. Operators confirmed that the camera stopped inside its programmed boundaries and remained stable during acceleration and braking.
These tests also helped identify how to stop wobble on cable cam rigs, since correct cable tension, balanced payloads, controlled acceleration, and proper stabilization all influence the smoothness of the final footage.
A pre-event checklist was introduced for every production. It required visual cable inspections, system diagnostics, communication tests, weather checks, operating-zone confirmation, and approval from the responsible technicians.
Installation Challenges and Solutions
Scheduling was one of the project’s largest challenges. The stadium hosted different events, leaving limited time for installation, removal, and recalibration. The crew therefore developed a repeatable setup procedure and clearly labeled important components.
Changing venue layouts created another complication. Concert stages, suspended displays, lighting rigs, and temporary structures could enter the original flight area. A fresh obstruction review was required whenever the stadium configuration changed.
Wind also affected open or partially covered venues. Live weather monitoring and predetermined operating limits helped the team decide when movement should be slowed or suspended.
Results of the Installation
The completed system produced sweeping views across the field, close tracking shots, overhead replays, and smooth transitions from participant level to a full-stadium perspective. Directors gained more visual options without adding cranes or allowing drones operated by recreational flyers and community based organizations to enter the active event area.
The camera also captured crowd reactions and venue atmosphere, helping remote viewers feel closer to the occasion. Repeatable movements supported rehearsed introductions, presentations, and augmented-reality sequences.
The most important result was operational consistency. Defined flight zones, documented inspections, trained operators, and repeatable setup procedures allowed the system to support different productions while maintaining controlled working conditions.
Frequently Asked Questions
1. What does a stadium aerial cable camera do?
It moves a stabilized camera through a defined area above a playing field or event space, creating dynamic views that fixed cameras, cranes, and tracks cannot easily produce.
2. How is an aerial cable camera installed?
Engineers survey the venue, approve structural mounting points, install motorized winches, route and tension the cables, connect the camera carrier, program movement boundaries, and complete progressive safety tests.
3. Is a cable camera safe above participants?
A professionally engineered system uses approved load limits, redundant controls, brakes, restricted flight zones, inspections, trained operators, and documented emergency procedures. Requirements depend on the venue and applicable safety standards.
4. What did the case study reveal about installation time?
This case study of an aerial cable camera installed over stadium space shows that timing depends on structural access and venue complexity. Initial installation may take several days, while a familiar system can often be restored much faster after another event.
5. Is a cable camera better than a drone?
It is often more suitable for live stadium production because it follows controlled paths, can operate for longer periods, avoids exposed rotors, and supplies stable positional data. Drones remain useful where unrestricted aerial movement is required and safe operation is possible.
Final Perspective
After examining the full process, I see the aerial cable camera as much more than a dramatic broadcast accessory. It is a coordinated engineering system involving structural planning, rigging, software, camera operation, safety management, and venue logistics.
This case study of an aerial cable camera installed over stadium grounds demonstrates that the strongest results come from planning around the venue rather than forcing a standard setup into it. When the flight zone, safety procedures, installation schedule, and creative objectives are considered together, the system can deliver memorable footage while supporting reliable event operations.