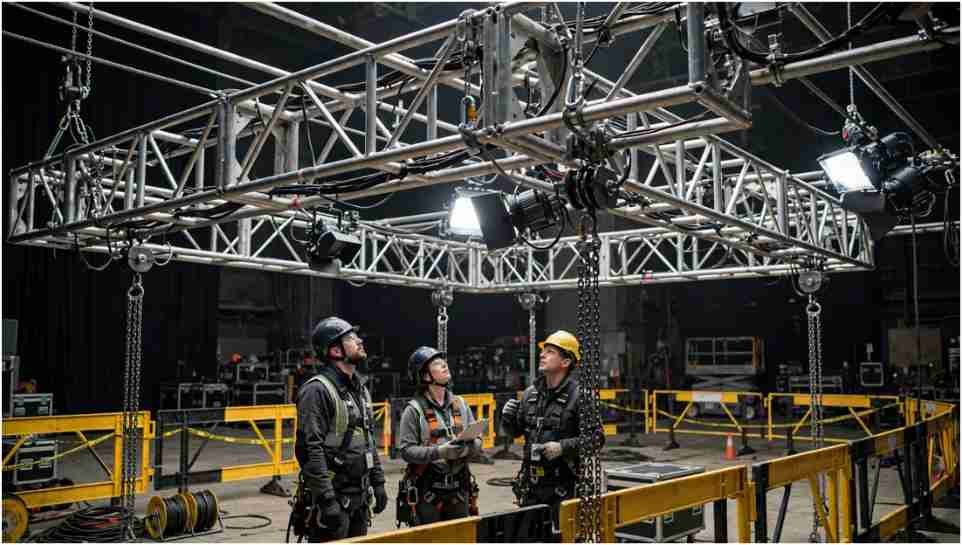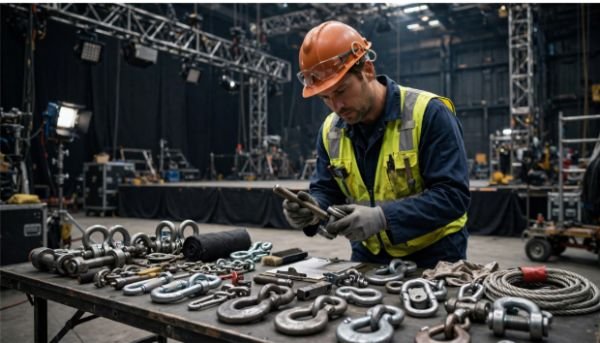
A shackle does not need to snap dramatically for a rigging system to become unsafe. A damaged thread, poor sling angle, overloaded connector, or unnoticed cut can create the failure point.
When I think about how to prevent rigging hardware failure on set, I treat every suspended system as one continuous load path. The rig is only as reliable as its weakest component. That means checking actual loads, hardware ratings, connection geometry, wear, movement, and the area below the load before anything goes overhead.
Start With the Real Load, Not an Estimate
The first mistake I avoid is calculating only the obvious payload. A 900-pound set piece does not create a 900-pound rigging load once motors, slings, spreader equipment, shackles, cables, and other hardware are added.
OSHA requires rigging equipment used for material handling to carry legible identification showing its recommended safe working load. The agency also prohibits exceeding sling-rated capacities.
For broader overhead equipment safety for film production, I calculate the complete suspended weight before choosing hardware.
| Load Check | What I Include |
| Payload | Camera, scenery, lighting or set piece |
| Rigging weight | Slings, shackles, motors and accessories |
| Geometry | Sling angles and off-center forces |
| Movement | Starts, stops, acceleration and shock |
| Hardware limit | Lowest applicable WLL in the load path |
Understand WLL and Design Factors
One point deserves special attention when considering how to prevent rigging hardware failure on set: Working Load Limit and design factor are not interchangeable.
Some entertainment and lifting equipment is engineered around design factors such as 5:1 or greater. For example, Crosby lists a 5:1 design factor for certain alloy shackles, while ESTA’s powered-hoist material discusses design-factor concepts for entertainment systems.
However, I do not take a shackle’s marked WLL and divide it by five again. The WLL is already the manufacturer’s allowable working limit based on its design and testing.
The correct approach is to stay within the marked WLL, apply manufacturer-required derating, and follow the applicable engineered entertainment standard.
Calculate Sling-Angle Forces
Sling geometry can quietly turn an acceptable load into an overloaded connection.
Consider a 1,200-pound suspended rig supported by two equal sling legs. If both legs rise at 45 degrees from horizontal, each leg carries about 849 pounds of tension.
Reduce that angle to 30 degrees and each leg carries about 1,200 pounds.
The payload has not changed. The tension has.
That is why I calculate the force at each connection rather than simply dividing the load weight by the number of sling legs.
Inspect Rigging Hardware Before It Leaves the Ground
A good inspection happens while replacing equipment is still easy.
OSHA requires rigging equipment covered by its construction standard to be inspected before use on each shift. Its general-industry sling rules also call for inspection before daily use, with additional checks when conditions require them. Defective equipment must leave service.
My quick inspection priorities are:
| Component | Stop-Use Warning Signs |
| Wire rope | Kinks, crushing, bird-caging, heat damage |
| Synthetic sling | Cuts, tears, burns, damaged stitching |
| Shackle | Cracks, corrosion, distortion, damaged threads |
| Hook | Cracks, excessive throat opening or twisting |
| Identification | Missing or unreadable capacity information |
OSHA specifically identifies kinking, crushing, bird-caging, heat damage, broken wires, and damaged end attachments as removal criteria for wire-rope slings.
Do not improvise a field repair. Quarantine questionable equipment and follow the manufacturer’s approved repair or retirement procedure.
Prevent Shackle and Connection Failures
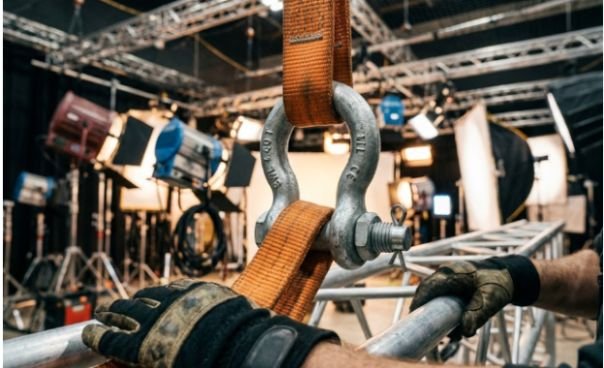
Shackles look simple, which is exactly why they are easy to misuse.
Avoid Side Loading
One of my first checks is whether force travels through the shackle as its manufacturer intended.
Kito Crosby’s published data shows how dramatically capacity can change under side loading. For certain screw-pin and bolt-type shackles up to the stated size range, a side load between 71 and 90 degrees reduces the adjusted WLL to 50% of the normal rating.
That makes connection geometry part of how to prevent rigging hardware failure on set, not an optional detail.
Never assume a shackle can take its full stamped capacity from every direction. Check the manufacturer’s exact side-loading table for that component.
Secure Shackle Pins Correctly
For temporary connections, a screw-pin shackle may be appropriate when its manufacturer permits the application.
Kito Crosby instructs users to fully engage screw pins and tighten them before lifting. It recommends bolt-type shackles with a nut and cotter for permanent or long-term installations. Screw pins used in long-term or high-vibration situations require approved secondary pin security.
I would not substitute a random zip tie for a manufacturer-approved mousing method. The manufacturer’s current instructions should control the connection.
Protect Slings From Damage
A sling can have enough rated capacity and still fail because its contact surface is wrong.
Sharp truss edges, steel beams, unfinished scenery, or abrasive surfaces can cut or crush lifting material. OSHA requires slings to be padded or protected where sharp load edges could damage them.
Edge protection should suit the sling type and loading condition. I also check whether padding can move when the load shifts.
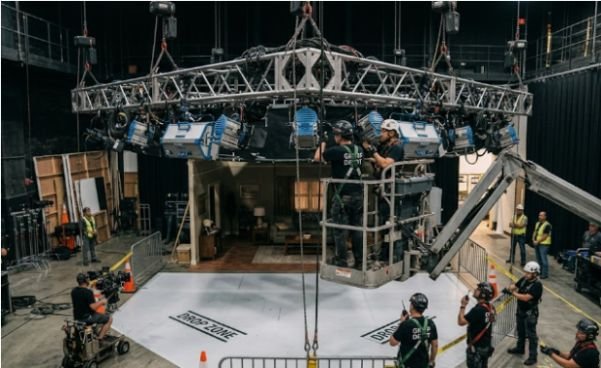
This belongs beside suspended load safety rules for film sets because protecting the lifting medium protects everyone below and around the suspended system.
Control Dynamic Loads and Test the Rig
Static weight is only part of the problem.
Fast hoist starts, abrupt stops, snagged cables, swinging equipment, and sudden movement can create forces above the resting load. OSHA prohibits shock loading of slings.
Before committing a complicated load to full height, I prefer a controlled low test lift. Raise it only enough to verify balance, security, clearance, and rig behavior.
OSHA’s overhead-crane rules similarly require loads to be secured and properly balanced before they move more than a few inches.
If the load tilts, rotates unexpectedly, shifts in a basket hitch, or changes sling position, lower it and correct the rig.
Keep People Outside the Failure Zone
Hardware reliability and crew positioning must work together.
OSHA requires employees to remain clear of loads being lifted and suspended loads under its sling provisions. Construction rules also restrict who may enter fall zones during specified hoisting operations.
I treat the exclusion zone as a backup control, not permission to accept questionable hardware.
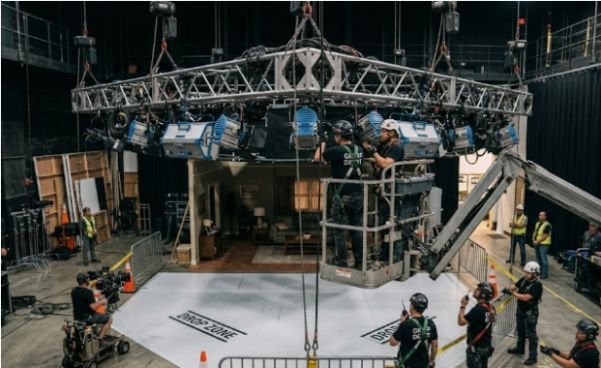
Before lifting, define the load path, possible swing area, landing area, and potential drop zone. Only essential trained personnel should remain where the lifting operation exposes them.
A documented rigging risk assessment for film production should cover these conditions before the equipment goes overhead.
Use a Weakest-Link Rigging Check
The most useful habit I apply to how to prevent rigging hardware failure on set is a final load-path review.
Start at the supporting structure and mentally travel through every component until reaching the payload.
For each connection, ask:
- Is this component rated and identifiable?
- Is its WLL adequate after angle or configuration effects?
- Is it loaded in the intended direction?
- Can vibration or movement loosen it?
- Is there wear, corrosion, deformation, or heat damage?
- Can an independent secondary retention system reduce the consequence of a primary attachment failure where required?
The lowest legitimate capacity in that chain becomes the limitation of the system. Adding one oversized shackle cannot compensate for an underrated sling or poor connection geometry.
That simple perspective catches problems that component-by-component inspections often miss.
Frequently Asked Questions
1. What causes rigging hardware failure on a film set?
Common causes include overloading, side loading, damaged components, poor sling angles, shock loading, loose connections, corrosion, and missed inspections.
2. How often should rigging hardware be inspected on set?
Inspect it before use and follow all applicable OSHA, manufacturer, engineered-system, and employer inspection requirements.
3. Can screw-pin shackles be used for overhead rigging?
They can be suitable for approved applications, but pin engagement, loading direction, vibration, duration, and manufacturer instructions determine proper use.
4. What is the best way to learn how to prevent rigging hardware failure on set?
Start with accurate load calculations, rated hardware, documented inspections, correct connection geometry, manufacturer instructions, and controlled exclusion zones.
Gravity Does Not Care About Your Shooting Schedule
A delayed setup is inconvenient. A failed overhead connection can change a production permanently.
For me, how to prevent rigging hardware failure on set comes down to removing assumptions. Know the real weight. Read the WLL. Calculate the forces. Inspect the hardware. Protect the slings. Control movement. Keep people clear.
Then perform one last load-path check before the rig leaves the ground.
If any component makes you hesitate, lower the load and resolve it. No shot is valuable enough to gamble on questionable rigging.