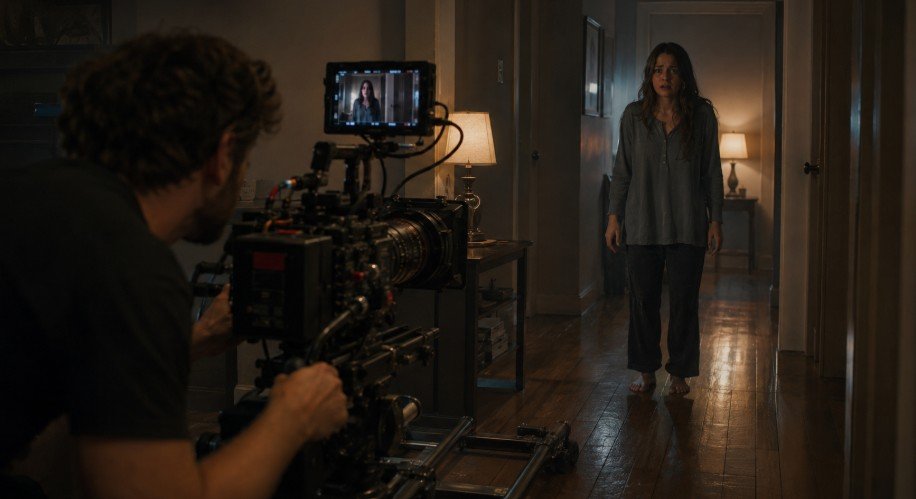
Holding a digital camera with nothing but your bare hands often yields a shaky, amateurish mess that pulls viewers straight out of your story. Balancing a camera body while moving is a physical art form, yet achieving organic, steady footage remains one of the hardest parts of cinematography for beginners.
Stepping away from heavy, robotic gimbals opens up massive creative freedom. This guide breaks down exactly how to get smooth handheld shots using natural body mechanics, simple rig adjustments, and modern stabilization software.
Key Takeaways
- Tucking your elbows firmly into your ribcage immediately stabilizes light mirrorless setups.
- Walking heel-to-toe with slightly bent knees absorbs the natural bounce of stepping.
- Utilizing high shutter speeds and slow-motion settings naturally masks micro-jitters.
- Adding a heavy top handle or cage dampens high-frequency camera shake.
- Leveraging gyro metadata in post-production yields perfectly smooth results without warping.
You Absolutely Need Steady Footage
Let us be completely honest here. Nobody likes watching a video that looks like it was filmed during a massive earthquake by a caffeinated someone. Learning how to get smooth handheld shots is the ultimate secret weapon to keeping your audience glued to the screen without causing immediate motion sickness.
It transforms your raw indie projects into cinematic masterpieces that look expensive, polished, and beautifully professional.
Master Camera Contact and Posture
Maintaining stable footage starts with transforming yourself into a human tripod rather than relying solely on your camera’s internal sensors.
Lock in Your Elbows
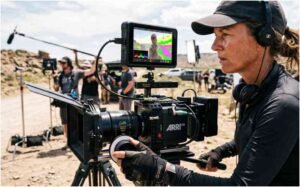
Pressing your elbows tightly against your ribcage locks the camera into your core, dramatically reducing micro-shakes. Squeeze the camera body close to your sternum, keeping your upper body relaxed to avoid muscle tension. This center of gravity trick removes the floating, unstable look that happens when you hold a camera far out in front of your face.
Create Three Points of Contact
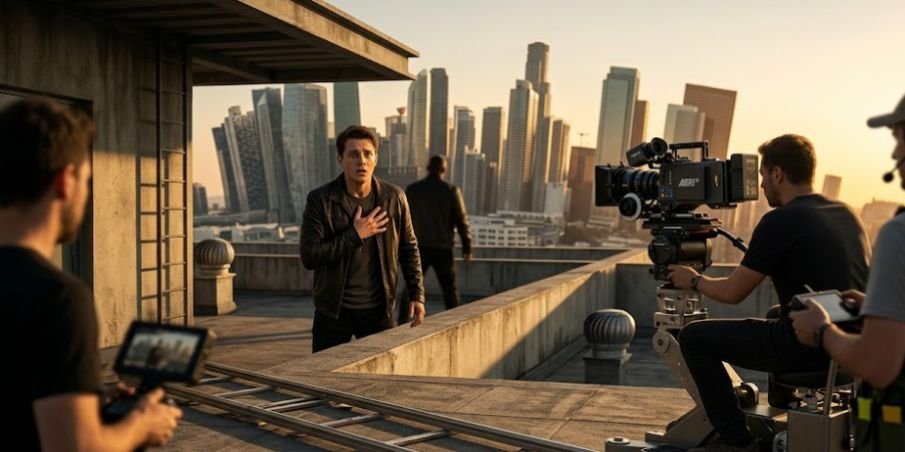
Aim to have both hands on the camera while pressing the viewfinder to your eye or resting the camera strap taut against the back of your neck. Looping your camera strap behind your neck and pushing the camera forward creates a powerful tension line. Pushing forward until the strap is completely taut locks your camera into a rigid plane that eliminates vertical wobble.
Lower Your Center of Gravity
Kneel, sit, or lean against a wall to act as a natural human tripod when you are framing up a static shot. Getting low to the ground distributes your weight evenly and provides extra physical support points. This stance grounds your body and prevents wind or muscle fatigue from ruining an otherwise perfect composition.
Improve Your Movement and Walking
Stiff legs are the enemy of smooth camera movement, meaning you need to change how you move through space.
Perfect the Ninja Walk
Keep your legs slightly bent, walking deliberately and slowly through the environment. Roll each step from your heel to your toe to prevent your steps from transferring directly into the camera sensor. This physical dampening method turns your legs into a natural shock absorption system that glides across rough terrain.
Drive Movement With Your Core
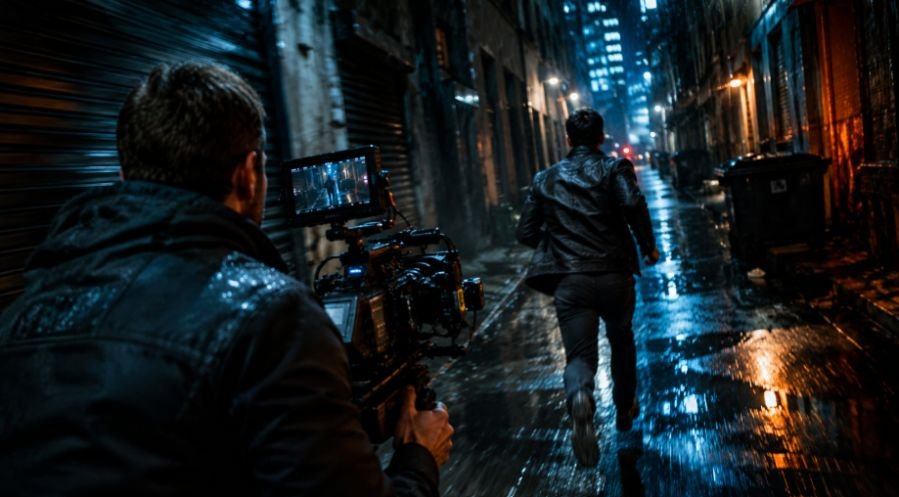
When panning, tilting, or pushing in, twist at your waist or step smoothly with your legs rather than moving your arms independently. Keeping your arms rigid while rotating your hips ensures the camera moves along a perfectly flat, level plane. This technique gives your panning shots a heavy, deliberate, and high-end feel that looks incredibly intentional.
Gear and Software Optimization
Fine-tuning your camera’s internal settings and using reliable post-production stabilization can significantly reduce unwanted jitter. Adjusting shutter speed, frame rate, and digital stabilization during filming gives you cleaner footage, while editing tools smooth remaining shakes before the final video reaches your audience.
Shoot Wide for Safety
Zooming in magnifies every tiny shake that your hands make. Stick to lenses wider than 50mm, like a 24mm or 35mm prime lens, to keep your footage naturally stable. Wide focal lengths compress physical camera jitter visually, making small movements look completely unnoticeable to the untrained eye.
Increase Your Frame Rate
Shooting in 60fps or 120fps and slowing the footage down in post-production hides unwanted micro-jitters beautifully. Slowing down high-frequency shakes stretches those jarring movements out over a longer timeline. The result is a dreamy, floating aesthetic that turns nervous jitters into gentle, sweeping motion.
Utilize In-Body Image Stabilization
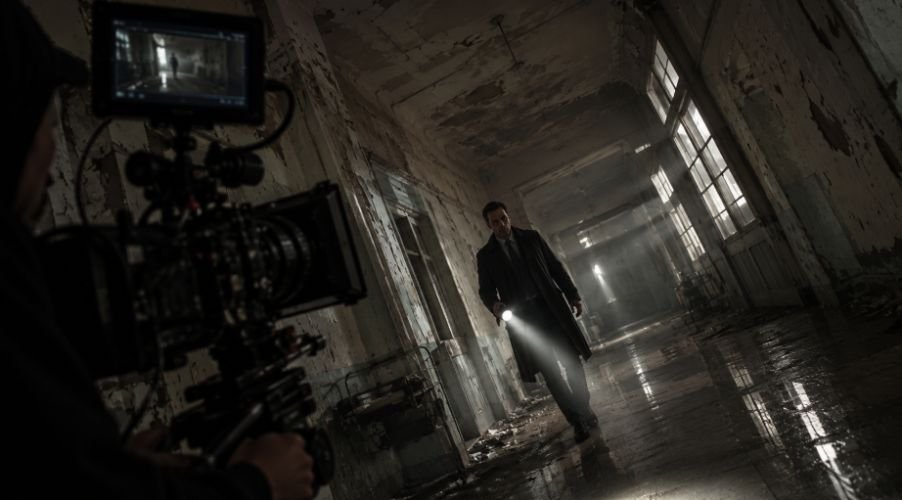
Turn on your camera’s Optical Image Stabilization or In-Body Image Stabilization to catch physical vibrations automatically. For extreme cases, use digital stabilization software like Premiere Pro’s Warp Stabilizer or DaVinci Resolve’s tracker and stabilizer tools. Combining hardware stabilization with software fixes ensures your final export looks incredibly professional.
Frequently Asked Questions
1. How to get steady handheld shots?
Lock your elbows into your ribcage, maintain three distinct points of contact on your camera rig, and walk with bent knees using a smooth heel-to-toe step to absorb physical shocks.
2. How to get smooth shots without a gimbal?
Add physical weight to your camera setup, pull your camera neck strap tight to create forward tension, shoot at high frame rates, and use a wide-angle lens under 50mm.
3. How to get smooth tracking shots?
Position your feet toward the end of your physical path, bend your knees, rotate your hips to start, and slowly unwind your torso to guide the camera along a flat plane.
4. What is the 180 rule in videography?
This rule dictates that your shutter speed should always be set to double your frame rate to capture natural motion blur that matches human vision.
Rocking the Handheld Vibe Like a Pro
Learning how to get smooth handheld shots comes down to combining controlled body movement, balanced equipment, and thoughtful post-production. Practice steady breathing, soften your steps, keep the camera close to your body, and add weight when your setup feels too light.
Stabilization software can refine minor shakes without removing the natural energy that makes handheld footage feel alive. Leave the gimbal behind occasionally, trust your technique, and use deliberate movement to create fluid, immersive, and genuinely cinematic shots with confidence.