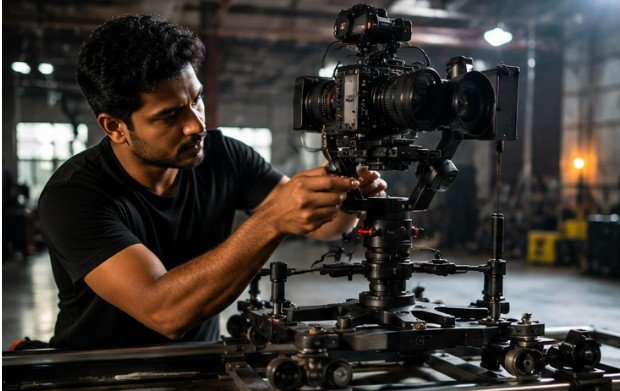
An unbalanced camera on a gimbal trolley can drain battery life by up to 70% and cause micro-jitters that ruin high-speed tracking shots. When a rig rides along a dynamic wire or track, centrifugal forces and sudden acceleration amplify every millimeter of imbalance.
Knowing how to balance camera on gimbal trolley configurations is not just a routine setup step—it is the line between Hollywood-level movement and expensive motor failure.
Unlike handheld stabilizers, a trolley-mounted gimbal operates in a suspended, multi-axis environment where linear momentum directly impacts rotational stability. When you mount a system like a DJI Ronin RS4 Pro carrying a Sony FX3 with a heavy zoom lens to an overhead track, the center of gravity shifts along three distinct spatial vectors.
The Physics of Suspended Motion: Why Trolley Rigs Behave Differently
Handheld gimbals rely on your arms to absorb vertical shock and minor sway. Overhead trolley systems, however, transfer kinetic energy directly into the track or dynamic line.
+———————————————————————–+
| [TROLLEY CARRIAGE] -> Horizontal Track Motion |
| | |
| [ISOLATOR / DAMPER] -> Absorbs High-Frequency Vibration |
| | |
| [GIMBAL HEAD] -> Pitch, Roll, Yaw Axis Control |
| | |
| [CAMERA PAYLOAD] -> Center of Mass Must Align Perfectly Below Yaw |
+———————————————————————–+
When a trolley accelerates, inertia pushes the camera payload backward. If the pitch axis or payload plate is improperly calibrated, the gimbal motors work double-time against gravity and linear inertia simultaneously. Research in biomechanics and robotics from IEEE demonstrates that electric brushless motors under continuous off-axis torque produce heat exponentially, leading to thermal throttling and sudden axis shutdowns mid-shot.
To achieve fluid, linear movement, your camera’s center of mass must align perfectly beneath the trolley’s structural mounting point before you ever power on the electronics.
Decoding Motor Strain: Key Insights from Field Engineering
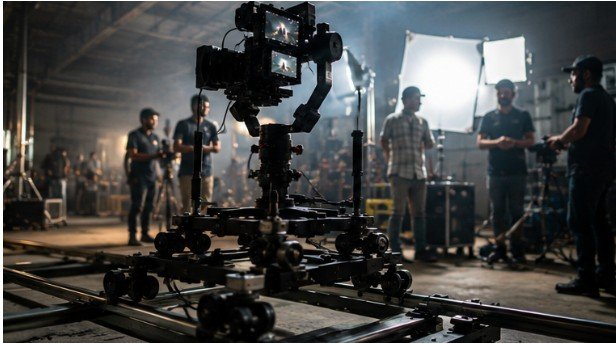
Industry teardowns and manufacturer studies from top stabilization brands highlight a critical reality: gimbals do not create stability out of thin air. Instead, brushless motors perform thousands of micro-corrections per second to hold a frame steady.
When a rig is properly zeroed, the motors require less than 5% of their peak power to maintain position. When you mount a cinema camera out of balance, motor load rapidly surges past 40% at rest.
+——————-+——————–+——————–+
| Balance State | Motor Power Draw | Run-Time Impact |
+——————-+——————–+——————–+
| Perfect Zero | 3% – 6% | Full operational |
| Minor Imbalance | 15% – 25% | ~30% Battery Loss |
| Severe Offset | 45% – 80%+ | Thermal Shutdown |
+——————-+——————–+——————–+
Editor’s Note: A stacked horizontal bar chart comparing motor power draw across balance states would visually emphasize energy loss.
For broadcast operators using suspended lines, understanding how cable camera systems work provides crucial context on how tension and speed affect motor strain. Combining proper gimbal calibration with high-speed trolley movement guarantees smooth footage and protects your gear.
Step-by-Step: How to Balance Camera on Gimbal Trolley Setup
Before touching a single adjustment dial, equip your camera with all intended accessories: matte box, wireless transmitters, follow focus motors, lens support, and media drives.
[STEP-BY-STEP WORKFLOW]
│
┌──────────────────────────┴──────────────────────────┐
▼ ▼
- Balance Tilt Axis (Vertical/Horizontal) 2. Balance Roll Axis
│ │
└──────────────────────────┬──────────────────────────┘
▼
- Balance Yaw (Pan Axis)
│
▼
- Trolley Center Test
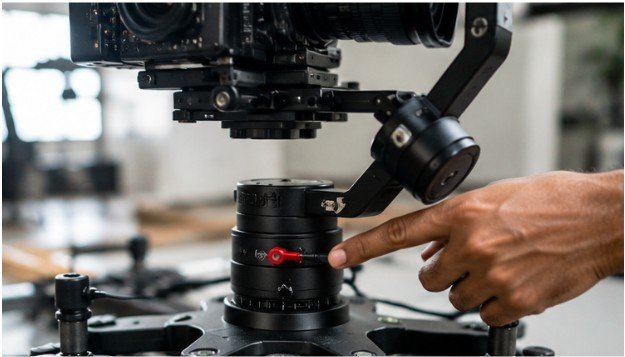
Step 1: Secure the Base Plate and Level Tilt
Slide the camera quick-release plate into the gimbal saddle. Point the lens straight up toward the ceiling. Unlock the tilt vertical arm and slide it up or down until the camera stays pointed directly upward without falling forward or backward. Lock the arm.
Next, level the horizontal tilt. Point the camera forward, unlock the carriage plate slider, and move the camera front-to-back until it remains level when released.
Step 2: Calibrate the Roll Axis
Unlock the roll axis latch. Slide the roll arm left or right until the camera body remains completely level horizontally. If the right side dips, shift the arm to the left until the horizon line holds flat without assistance.
Step 3: Zero Out the Yaw Axis
Hold the gimbal frame tilted forward at a 45-degree angle. Unlock the yaw slider. If the camera arm swings wildly to one side, slide the yaw arm forward or backward until the camera maintains its position at any rotation angle.
Step 4: Perform the Trolley Carriage Center-of-Gravity Test
Once the gimbal axes are balanced, inspect the trolley mount itself. Suspend the entire assembly from its track or wire. Push the trolley manually along the track. If the gimbal leans forward or backward during linear movement, adjust the top mounting plate on the trolley isolator to center the mass directly under the track rollers.
Operators managing complex rigging should review guides on how to set up cable cam rigs to ensure structural stability matches your camera balance. Additionally, calculating accurate line sag by mastering how to calculate cable cam tension prevents unwanted bouncing on long runs.
Misconceptions, Limitations, and Environmental Variables
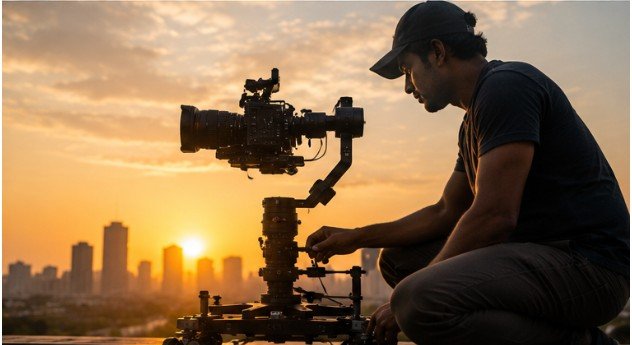
A common mistake among videographers is balancing a camera with a variable zoom lens set to its widest focal length, only to zoom in during the shoot. Extending a 24-70mm lens barrel shifts the center of gravity forward, throwing off the tilt axis. Always balance your rig at the middle or longest focal length you plan to shoot.
Another factor is wind resistance. Trolley systems operating outdoors encounter high air friction. An aerodynamically heavy camera rig acts like a sail, introducing force vectors that internal auto-tune algorithms cannot compensate for. Using lightweight matte boxes and compact prime lenses minimizes wind drag and reduces motor labor.
Frequently Asked Questions
1. How do I balance my camera on a gimbal?
Unlock one axis at a time in order: tilt vertical, tilt horizontal, roll, and yaw. Adjust each sliding plate until the camera remains completely motionless in any position without motor power engaged.
2. Why is my gimbal not balancing?
Unbalanced accessories like heavy cables, unextended zoom lenses, or mismatched mounting plates disrupt the center of mass. Ensure all cables have slack and every accessory is attached before adjusting the physical sliders.
3. How do you balance a camera on a stabilizer?
Mount your full camera rig onto the quick-release plate. Level the pitch, roll, and yaw axes sequentially by sliding the axis arms until the system reaches mechanical equilibrium before powering on.
4. How to set a camera on a gimbal?
Attach a compatible quick-release plate to the bottom of the camera cage. Securely slide the plate into the gimbal receiver, lock the safety latch, and balance all axes before turning on power.
Perfect Balance Means Perfect Motion
Balancing a camera on a gimbal trolley requires patience and physical precision. Auto-tune software can refine motor responsiveness, but it can never fix a fundamentally off-balance rig. Take the time to mechanical-zero every axis before powering up, protect your hardware, and capture clean, production-ready tracking shots every time.