Outdoor productions rarely give camera crews perfect conditions. Wind changes without warning, uneven terrain complicates equipment placement, rain threatens electronics, and limited access can make even a simple camera move difficult.
I learned that successful outdoor rigging depends less on owning the most expensive equipment and more on planning every connection, movement, environmental risk, and emergency response.
This camera rigging case study for outdoor film shoots follows a fictionalized but realistic production involving a moving tracking shot through a remote forest road. The goal was to capture a low, stable sequence beside an off-road vehicle while protecting the camera package, crew, vehicle, and surrounding location.
The Outdoor Production Brief
The production required a continuous tracking shot of an off-road vehicle travelling along a narrow gravel road. The camera needed to remain close to the front wheel while revealing the forest, dust, suspension movement, and changing terrain.
A handheld setup could not safely maintain the required distance. A drone could capture the landscape but would not provide the low perspective or intimate sense of speed. The crew therefore selected a vehicle-mounted remote camera rig.
The shoot was scheduled for one day, with limited time for installation, testing, filming, and removal. Rain was possible during the afternoon, and the location included loose gravel, overhanging branches, muddy shoulders, and areas with weak mobile reception.
The Main Camera-Rigging Challenge
The creative requirement was only one part of the problem. The rig also had to tolerate vibration, sudden vehicle movement, dust, wind, and minor changes in road elevation.
The full payload included the camera body, wide-angle lens, protective filter, wireless video transmitter, focus motor, battery, mounting plate, cables, remote head, and vibration-isolation equipment. Calculating only the camera and lens weight would have underestimated the actual load placed on the support system.
The rig also needed to remain compact. A wide support frame could strike vegetation or extend too far into the road. The camera position had to stay clear of the tire, suspension, steering components, exhaust, and moving body panels.
Why the Original Rigging Plan Was Rejected
The first concept used several suction mounts attached to an exterior body panel. Although suction systems can work in suitable controlled applications, the selected panel had mild curvature and flexed when the vehicle travelled over rough ground.
Dust also created concerns about maintaining a consistently clean sealing surface. The team rejected this configuration before filming because the mounting surface, vibration, and terrain introduced avoidable uncertainty.
A lightweight handheld gimbal mounted to a single support arm was also considered. Testing showed visible vertical movement when the vehicle crossed uneven sections of the road. The setup placed too much responsibility on one attachment point and did not provide sufficient redundancy.
The final design used multiple rated attachment points connected to structurally appropriate areas approved for the vehicle and application.
Designing the Final Camera Rig
Primary Mounting System
The primary support used a rigid modular frame attached at more than one point. Spreading the load reduced movement and prevented the entire system from depending on one clamp or bracket.
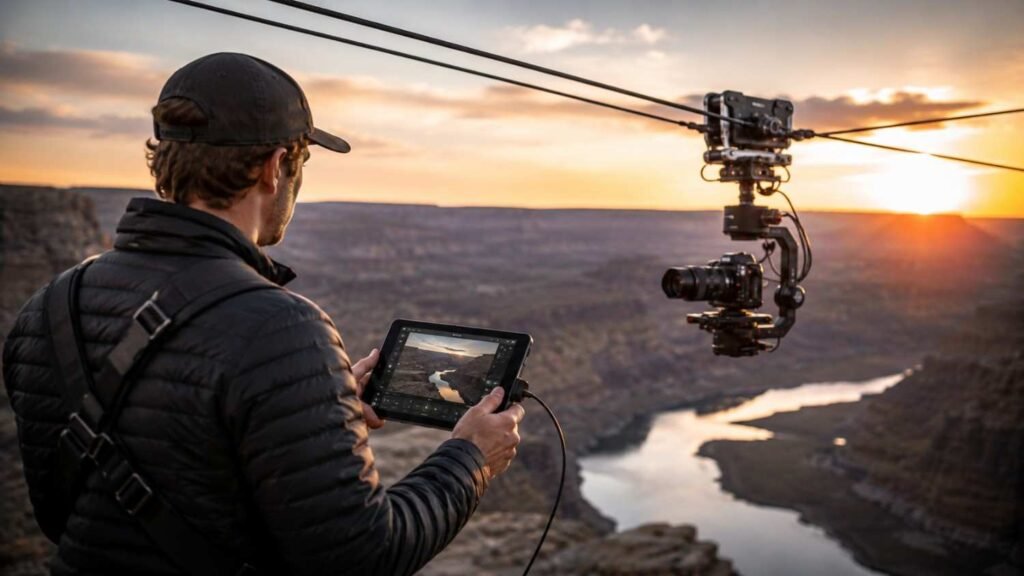
Before finalizing the rig, the team also reviewed choosing the right cable camera system for productions to compare payload capacity, travel path, control requirements, stabilization, setup time, and operating conditions. This helped confirm that the selected movement system matched both the creative shot and the practical limitations of the location.
Every component in the load path was checked for its rated capacity and intended loading direction. The lowest-rated part established the practical limit for the assembled system.
Fasteners were secured, marked for visual movement checks, and positioned where the camera team could inspect them between takes.
Stabilization and Vibration Control
A vibration-isolation layer was installed between the support frame and remote camera head. Its purpose was to reduce high-frequency vibration without allowing excessive camera movement.
The lens was selected partly because of its manageable weight and compact size. A heavier lens would have increased leverage on the mount and made vibration control more difficult.
The remote head allowed controlled framing without placing an operator near the moving vehicle. Camera pan and tilt ranges were restricted so the equipment could not rotate into the tire, road surface, or vehicle body.
Power, Monitoring, and Control
The camera used an onboard battery rather than a loose external power cable running into the vehicle. This reduced cable exposure and simplified emergency removal.
Wireless monitoring allowed the cinematographer and focus puller to work from a separate support vehicle in a designated safe position. Before filming, the crew tested the signal along the full route and identified sections where trees or terrain could interrupt transmission.
Cables were shortened, secured, and given suitable strain relief. No cable was allowed to hang near the wheel, suspension, hot surfaces, or passing vegetation.
Weather and Location Planning
The crew reviewed wind, rain, temperature, and ground conditions before installation. Weather monitoring continued throughout the day rather than ending after the morning briefing.
A fitted rain cover protected the camera while preserving ventilation and access to controls. The team also checked the must have accessories for 360 cameras, including lens guards, protective covers, secure mounts, spare batteries, and cleaning tools, to ensure the camera package remained ready for changing outdoor conditions. Lens protection was arranged so droplets could be removed without disturbing the rig.
The team also considered condensation. Camera equipment was allowed to adjust gradually when moving between a cool vehicle and warm, humid outdoor air.
Loose gravel and mud affected more than vehicle traction. They also influenced where crew members could safely stand, where cases could be placed, and whether support vehicles could stop without blocking the route.
Rigging Safety and Inspection Controls
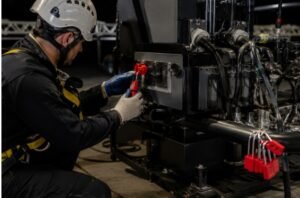
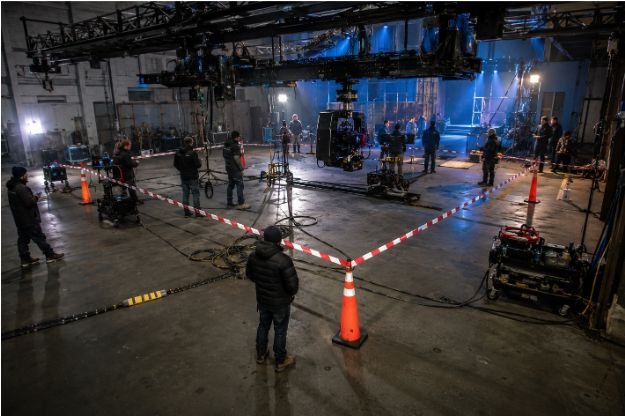
An exclusion zone was established around the vehicle during installation and testing. Only designated crew members were allowed near the rig.
The camera system had independent secondary restraints attached to appropriate structural points. These restraints were kept short enough to control a failed component without allowing it to strike the road, wheel, vehicle, or nearby crew.
The primary mount and backup restraint did not rely on the same likely failure point. A secondary restraint cannot correct an unsuitable primary mount, so the main system was fully secured before redundancy was added.
A documented inspection was completed before the first test, after any adjustment, following rough-road runs, and whenever weather conditions changed.
Testing Before Filming
The crew followed a staged testing process rather than moving directly to full operating speed.
The first stage was a static inspection with the vehicle parked. The camera team checked fasteners, clearances, cable routing, remote-head movement, monitoring, focus control, and emergency communication.
For crews planning broader live-event or multi-camera coverage, reviewing a sports broadcast production case study can also help clarify how camera positions, communication channels, backup systems, and real-time coordination should be tested before production begins.
The vehicle then completed a walking-speed test. After stopping, the rig was inspected for rotation, loosened hardware, cable movement, and contact marks.
Speed increased gradually while the team reviewed footage for vibration, horizon movement, rolling shutter effect, focus consistency, unwanted reflections, and other signs of image instability. One support arm was adjusted after early footage showed a small amount of frame movement on sharper bumps.
A complete emergency-stop rehearsal confirmed who could call the stop, how the driver would respond, and when crew members could approach the vehicle.
Production Results
The final setup delivered a stable, low-angle perspective with visible wheel movement, gravel spray, and surrounding landscape. Most footage was usable without heavy digital stabilization.
The modular design also reduced repositioning time. Once the primary frame was installed and tested, the camera team could make small framing adjustments through the remote head rather than rebuilding the entire system.
Most importantly, the crew completed the sequence without equipment damage, unexpected mount movement, or unsafe intervention beside the moving vehicle.
Frequently Asked Questions
1. What does a camera rigging case study for outdoor film shoots demonstrate?
It demonstrates how a crew translates a creative shot into a practical system by evaluating payload, mounting points, stabilization, weather, terrain, testing, communication, and safety.
2. How should an outdoor camera rig be tested?
Testing should begin with a static inspection and progress through controlled low-speed runs. The crew should inspect the rig after every stage before increasing movement or speed.
3. Does a safety tether make any camera mount acceptable?
No. A backup restraint only provides redundancy after a suitable primary mounting system has been correctly designed, installed, and inspected.
4. How does weather affect camera rigging?
Weather can affect visibility, traction, electronics, batteries, materials, mounting surfaces, crew movement, and structural stability. Conditions must be monitored throughout production.
Final Takeaways
I believe the strongest outdoor camera work begins long before the camera starts recording. The final image depends on accurate payload calculations, suitable attachment points, independent restraints, controlled testing, environmental awareness, and clear stop procedures.
A successful rig is not simply one that holds the camera in position. It must continue to perform predictably while the vehicle, terrain, weather, and production schedule change. By documenting rejected ideas, test results, on-set adjustments, and measurable outcomes, filmmakers can turn one demanding shoot into a valuable guide for future productions.