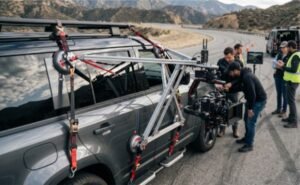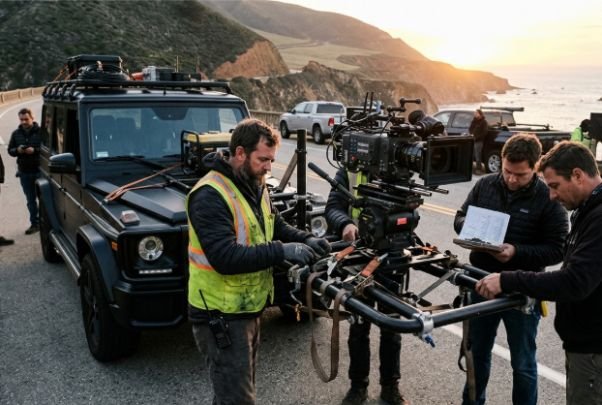
A moving vehicle turns a camera setup into a dynamic load exposed to vibration, wind resistance, braking, cornering forces, potholes, and sudden weather changes. I never approve a rig simply because it feels stable in a parking lot. I follow a vehicle camera rig safety checklist before the first take, after every adjustment, and whenever the route, speed, payload, or weather changes.
This guide is designed for US film crews, commercial production teams, grips, camera operators, and independent filmmakers. It supports safer planning but does not replace a qualified key grip, trained driver, safety coordinator, manufacturer instructions, insurance requirements, or applicable federal, state, and local regulations.
What Should You Plan Before Building a Vehicle Camera Rig?
I start by defining the shot, route, camera position, complete payload, maximum operating speed, and emergency stopping procedure. Production should confirm whether filming will occur on private property, a controlled course, a closed road, or a public street.
Local film permits, traffic-control requirements, road-closure approvals, windshield-obstruction laws, vehicle-width limits, and insurance conditions vary across US jurisdictions. I never assume that a legal driving route automatically permits vehicle-mounted filming.
Whenever possible, I prioritize approved hard points such as suitable frame members, manufacturer-rated tow points, engineered mounting plates, or chassis-connected structures. I use suction mounts only when the mounting surface, payload, speed, geometry, and equipment instructions support them.
A designated key grip or safety officer should have veto authority. The driver must also have unrestricted authority to stop the vehicle whenever conditions appear unsafe. Professional camera-car guidance specifically recognizes the driver’s authority to suspend operations.
I also establish a conservative speed limit based on the complete rig weight, projected surface area, wind loading, route conditions, mounting-system rating, and vehicle driving behavior. A manufacturer’s advertised capacity or speed does not automatically approve every configuration.
How Should You Inspect the Vehicle and Mounting Surface?
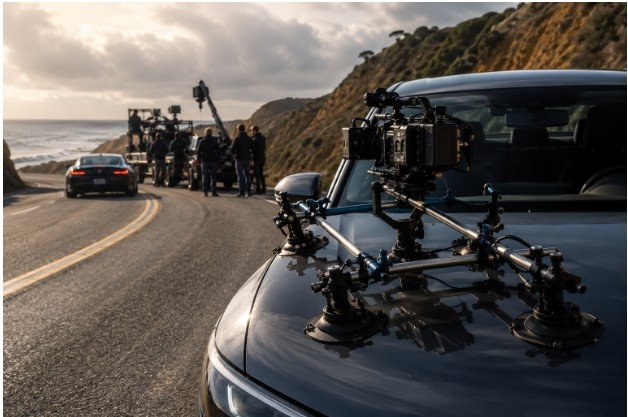
A strong mount cannot compensate for an unsafe vehicle. Before rigging, I inspect the brakes, tires, steering, suspension, drivetrain, electrical system, lights, mirrors, towing hardware, warning indicators, and safety equipment.
Industry guidance recommends inspecting traditional camera cars before and after use, or at least daily, and repairing defects before operation.
I inspect the planned mounting area for loose trim, flexible sheet metal, curved glass, corrosion, panel seams, wax, oil, dust, fresh paint, or existing damage. I clean approved suction surfaces with a microfiber cloth and a cleaner permitted by both the vehicle-finish and mount manufacturers.
Paint protection must not weaken the connection. Rubber sleeves, vinyl, carpet, or other approved barriers may protect surfaces beneath clamps, rails, straps, or brackets. I never place a loose protective sheet between a suction cup and the vehicle because it can compromise the vacuum seal.
How Do You Check Suction Cups, Rails, and Locking Hardware?
For pump-action suction cups, I inspect the rubber for cracks, hardened edges, cuts, contamination, and deformation. I operate each pump and verify that its safety indicator or plunger band remains within the manufacturer’s acceptable range.
A triple suction-cup or other multi-point base can distribute the payload and improve stability, but cup count alone does not make a rig safe. The crew must still consider load ratings, cup spacing, surface curvature, force direction, leverage, wind, speed, and total camera weight.
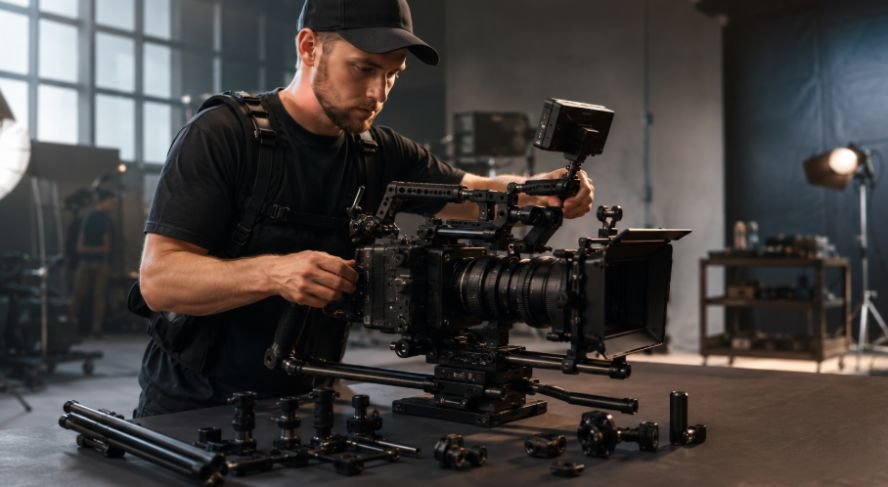
I inspect speed rail, brackets, knuckles, clamps, bolts, threads, pins, cheese plates, camera cages, vibration isolators, and quick-release plates. I tighten each component to the manufacturer’s torque or installation specification rather than relying on guesswork.
Every quick-release plate must engage its intended secondary lock or physical locking pin. I remove cracked, bent, corroded, modified, incompatible, or unrated hardware from service immediately.
What Safety Tethers and Backups Does a Car Camera Rig Need?
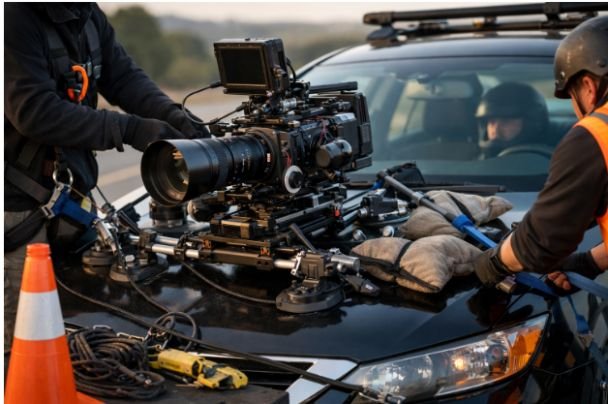
The primary mount and backup restraint should not share the same likely failure point. I attach rated steel safety cables, webbing, or heavy-duty straps to independent structural points approved for the application.
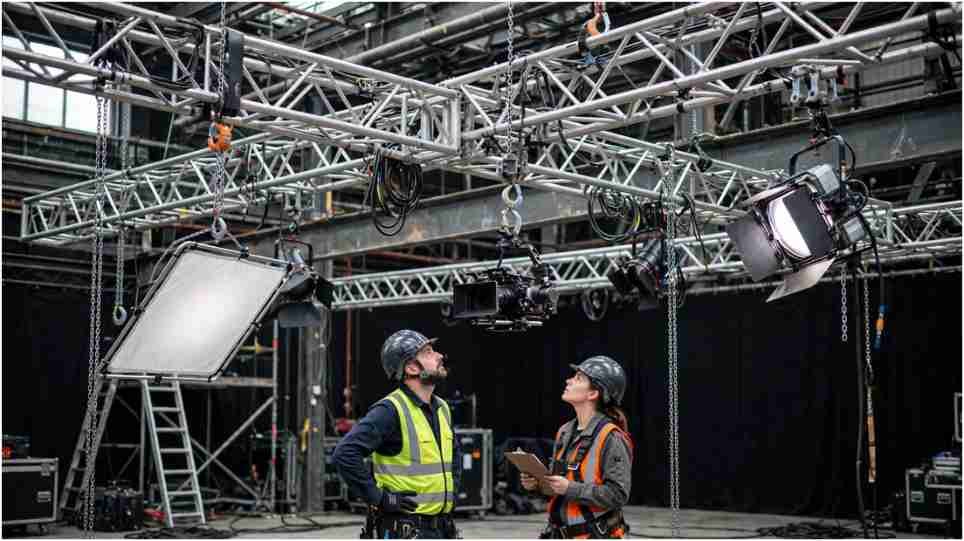
Following Elevated Camera Platform Safety Rules for US Film Crews also means verifying that all mounting systems, fall protection equipment, and secondary safety restraints are properly installed and independently secured before anyone works at height. These precautions help reduce the risk of equipment falling or mount failure while protecting both crew members and people working below.
I keep each tether short enough to control a failed component and route it away from tires, steering parts, exhaust components, sharp edges, occupants, and the driver. A safety cable cannot make an unsuitable primary mount acceptable; it provides redundancy after the correct mount has already been installed.
Where suitable rated attachment points exist, I secure major components independently. The camera body and a heavy lens may require separate tie-offs, but I never attach a tether to a cosmetic lens ring or another unapproved part.
The payload includes more than the camera body. I calculate the lens, battery, media, matte box, filters, monitor, transmitter, follow-focus motors, antennas, gimbal, isolation system, mounting plate, and every accessory traveling with the rig.
I secure power and data cables with clips, ties, or tape. Twelve-inch intervals may provide a practical starting point for exposed cable runs, but spacing should reflect airflow, heat, cable weight, articulation, and rig geometry. No cable should whip in the wind, strike the body, or reach a wheel or moving component.
How Do You Protect the Driver and Other Road Users?
The camera, rails, support arms, cables, and monitors must not block the windshield, mirrors, headlights, brake lights, turn signals, license plate, vehicle sensors, doors, pedals, steering, airbags, or emergency exits.
The driver should never operate the camera, watch a monitor, adjust settings, or process complex creative direction while driving. OSHA describes visual, manual, and cognitive distractions as factors that can divert a driver’s eyes, hands, or attention from safe vehicle operation.
I establish a dedicated two-way radio channel before movement. The crew may use “roll” and “cut” for normal filming, but “abort” or “stop” should have one unmistakable meaning: end the action and bring the vehicle to a safe stop according to the briefing.
When equipment extends beyond the vehicle’s body lines, production must evaluate width limits, projections, warning flags, safety beacons, escort vehicles, and road-closure requirements. Warning signs improve visibility but do not replace legal authorization or controlled access.
How Should You Test the Route, Weather, and Rig?
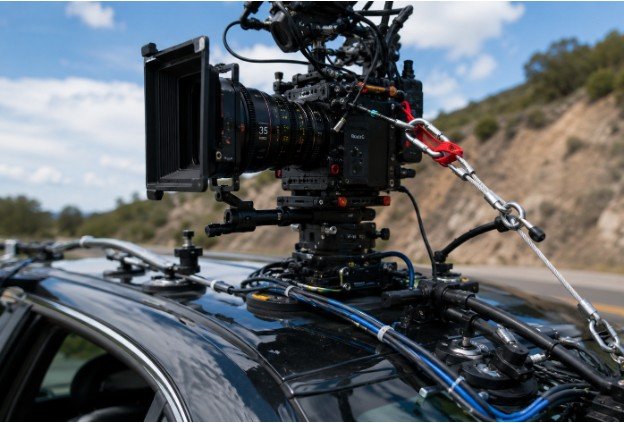
I walk or drive the entire route before filming. I check for potholes, speed bumps, loose gravel, low branches, overhead lines, sharp turns, steep grades, construction, pedestrians, cyclists, parked vehicles, narrow clearances, and emergency pull-off areas.
I also monitor rain, wind gusts, temperature, glare, and changing road conditions. The crew should establish weather thresholds and a formal abort protocol before the first take.
Testing should progress from a stationary inspection to an engine-on vibration check, walking-speed movement, a low-speed rehearsal, and finally the approved filming speed. Free-driving guidance emphasizes that safe driving comes before capturing the shot and recommends qualified rigging, effective communication, and confirmation that the driver can control the vehicle safely.
Every time the vehicle stops, I perform a hands-on walkaround. I recheck suction indicators, witness marks, clamps, locking pins, tethers, strap tension, cables, camera alignment, body contact, and signs of heat or vibration damage.
When Should a Vehicle Camera Rig Be Removed From Service?
I stop the shoot when a suction cup loses pressure, a fastener moves, a locking pin is missing, hardware cracks, a cable comes loose, driver visibility becomes restricted, or communications fail.
The rig should also remain stationary when weather exceeds the agreed threshold, the route changes without reassessment, the payload exceeds a rating, the vehicle develops a mechanical issue, or an unauthorized person enters the controlled area.
Any safety concern raised by the driver, key grip, safety coordinator, assistant director, or assigned crew member deserves immediate attention. A delayed take is easier to manage than a preventable equipment failure or roadway incident.
Frequently Asked Questions (FAQs)
1. Does a suction-cup camera mount need a safety tether?
Exterior camera mounts generally require an appropriate independent secondary restraint. The exact tethering method should follow the equipment manufacturer’s instructions and the approved rigging plan.
2. How often should a vehicle-mounted camera rig be inspected?
Inspect it before movement, after every test, whenever the vehicle stops, between takes, and after changes to the speed, payload, hardware, route, or weather.
3. Can a car camera rig be used on public roads in the United States?
It may be permitted, but production must confirm state and local traffic laws, filming permits, road-control requirements, equipment-projection rules, windshield restrictions, and insurance conditions.
4. Who can stop a moving vehicle shot?
The driver, key grip, designated safety officer, assistant director, or another assigned crew member should be able to call an immediate stop. The safety briefing must identify that authority and the exact radio command.
Final Safety Takeaway
I would rather delay a shot than trust an unverified mount, rushed inspection, unclear radio command, or questionable road.
By combining mechanical checks, rated hardware, independent backups, driver protection, weather monitoring, route control, and frequent walkarounds, this vehicle camera rig safety checklist gives US production crews a practical framework for safer moving shots.