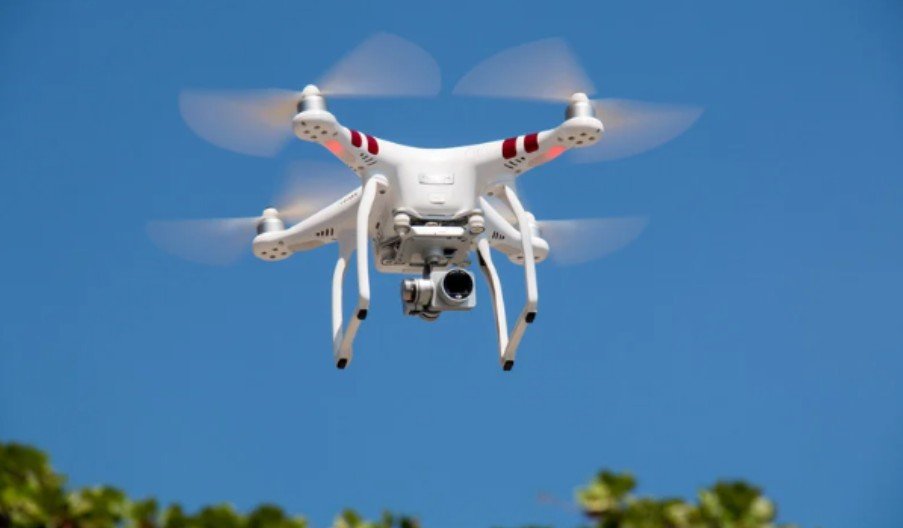
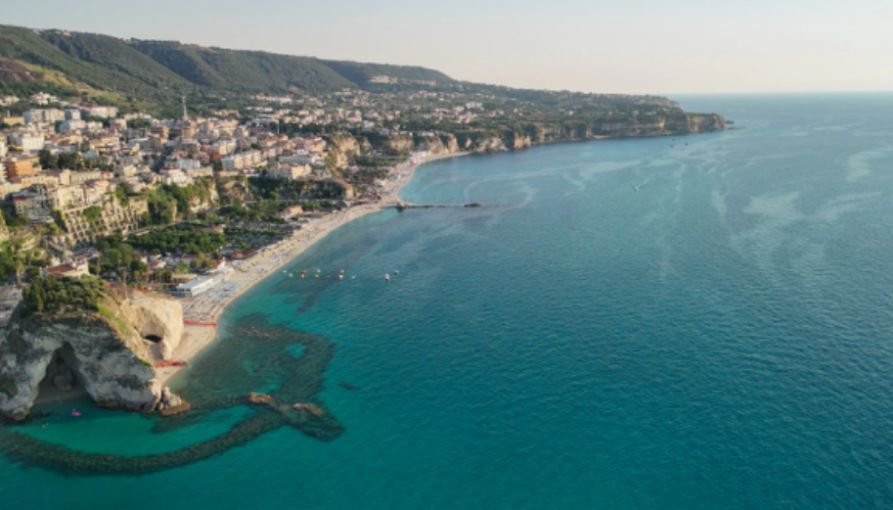
I have always liked overhead footage because it can make an ordinary location feel carefully designed and cinematic. A straight-down view reveals shapes, movement, spacing, and patterns that are difficult to appreciate from eye level.
Fortunately, capturing overhead footage without using a drone does not require an expensive aircraft or advanced piloting skills. A tripod arm, camera pole, jib, cable system, or elevated platform can produce the perspective while offering more control over the frame.
The right approach depends on the height, movement, location, camera weight, and final visual effect required. Some methods produce a locked top-down composition, while others imitate the rising or tracking motion associated with aerial filmmaking.
Understand the Shot You Want
An overhead shot places the camera above a subject and normally points the lens downward. It may cover a cooking surface, product arrangement, actor, vehicle, room, or larger outdoor area.
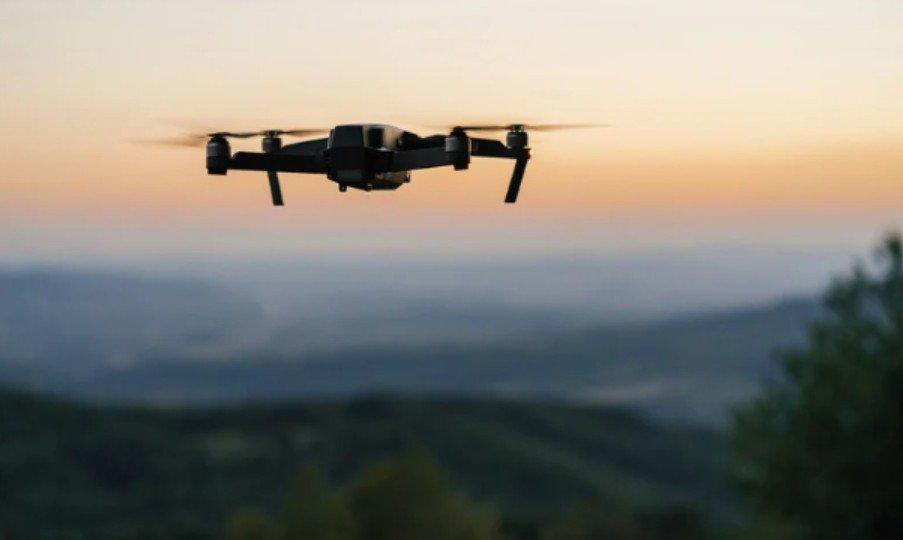
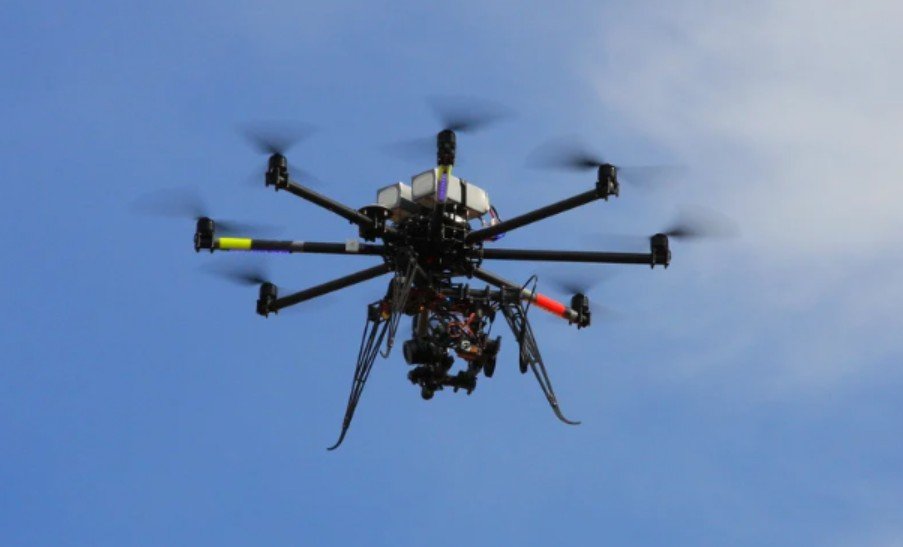
Aerial-style footage generally creates a greater sense of height and scale. Drone-like footage adds movement, such as a vertical rise, sweeping reveal, forward track, or circular pass. Defining the intended result before selecting equipment prevents unnecessary spending and complicated setups.
Reviewing commercial video case studies can also help filmmakers compare how different productions use overhead angles, elevated camera movement, and controlled tracking shots to achieve specific visual goals.
Use a Tripod With a Horizontal Arm
A tripod with a horizontal center column is one of the simplest options for food videos, product demonstrations, crafts, unboxings, and instructional content. Extend the arm over the filming surface, attach camera to the tripod, point it downward, and position the tripod legs outside the frame.
Keep the arm as short as the composition allows. Extending it too far increases vibration and creates leverage that can make the tripod unstable. Place a suitable counterweight on the opposite side and confirm that the head, arm, and tripod can support the complete camera package.
This method works best for lightweight cameras and controlled indoor environments. It provides a clean, repeatable composition but offers little camera movement during recording.
Build a Two-Stand Crossbar Setup
A crossbar supported by two stable stands provides more coverage than a single tripod arm. The camera can be attached near the middle of the bar with an appropriate clamp, mounting plate, and ball head.
Position one stand on each side of the set so the equipment remains outside the image. Secure both stands with correctly placed weights and use secondary camera retention when the setup permits it. A square or purpose-built crossbar is generally easier to control than a round bar that can rotate under an uneven load.
This arrangement is suitable for larger tables, flat-lay videos, repair demonstrations, and scenes requiring unrestricted working space below the lens. It should not be improvised above actors or members of the public.
Create Movement With a Jib or Camera Crane
A jib is a better choice when the shot must rise, descend, arc, or reveal a location. It can begin close to a subject and gradually move upward, producing the visual language of a small drone move without putting an aircraft in the air.
Balance the system before recording and rehearse the movement several times. Smooth acceleration and deceleration matter more than speed. A wide lens can emphasize the movement, while a moderately wide lens produces a more natural perspective with less distortion.
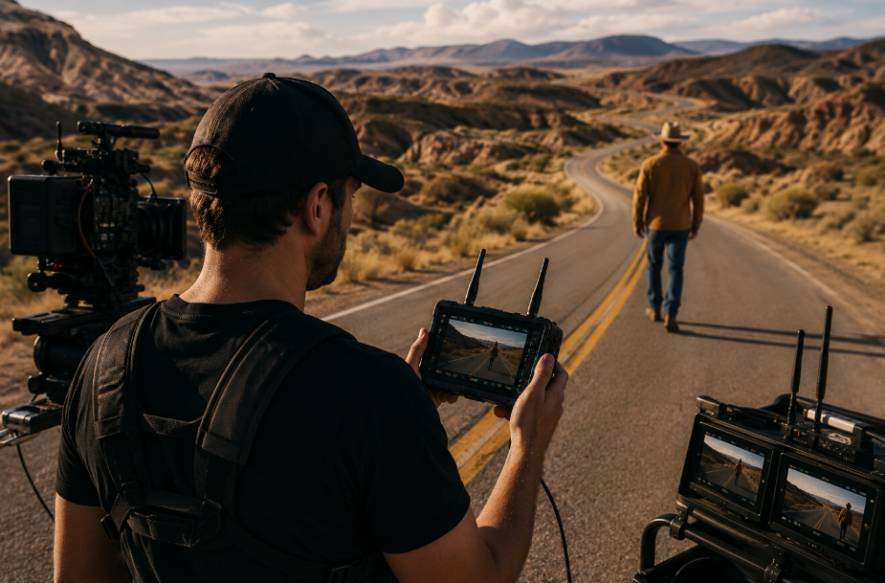
Use an external monitor or wireless video feed when the camera screen cannot be seen from the operator’s position. For large cranes, heavy cinema cameras, or shots above people, work with trained grip and rigging professionals.
Mount a Small Camera on an Extension Pole
An action camera or compact 360 camera mounted on an extension pole can generate elevated walking shots, high-angle reveals, crowd views, and outdoor establishing footage. Remote control through a phone or dedicated controller makes it possible to start recording and check basic framing from the ground.
Raise and lower the pole slowly, keep both hands separated for better control, and avoid sudden direction changes. Wind becomes increasingly important as the pole extends. A lightweight camera reduces flex, but a long pole can still sway enough to affect the recording.
A 360 camera provides additional flexibility because the final viewing direction can be selected during editing. Compatible software may also remove a purpose-built selfie stick, creating the illusion of a floating camera.
Film From an Existing Elevated Position
A balcony, staircase, viewing platform, upper floor, bridge, or parking structure may provide the required height without suspended equipment. This is often the fastest method because the camera remains accessible to the operator.
Look for an unobstructed downward view and obtain permission before filming on private property. Never lean outside a barrier or attach equipment to a railing without authorization and properly rated hardware. Reflections, railings, walls, and shadows should be checked before recording.
As part of learning for 3D jumping monopods, remember that a monopod can provide limited additional reach from a safe position, but it should never be extended over people or traffic.
Consider a Cable Camera for Tracking Footage
A cable camera travels along a predetermined line and can create repeatable tracking shots through spaces where free flight would be impractical. It is especially useful for following action, crossing a venue, moving through a narrow route, or recording an indoor event.
Unlike a jib, a cable system can cover a considerable horizontal distance. Its path is also predictable, making it easier to rehearse the action and repeat a take.
However, suitable anchors, load calculations, cable tension, braking, secondary retention, and exclusion areas require careful planning. A cable camera is not automatically safe or unrestricted merely because it is not a drone. Professional assistance is appropriate whenever the installation carries meaningful loads or operates near people.
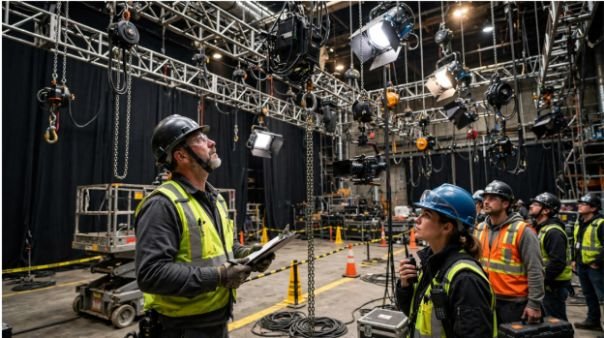
Before installing any suspended tracking system, crews should verify safe rigging anchor points for film production so cable tension and camera movement are supported by properly rated structural locations rather than convenient but unsuitable attachment points.
Choose Camera Settings for Smoother Results
Use manual exposure and fixed white balance to prevent visible changes during a moving shot. Lock focus when the camera-to-subject distance will remain consistent. Continuous autofocus may be useful when a jib or pole move changes that distance significantly.
A faster shutter speed can control motion blur when stabilization will be applied in editing, although excessively fast settings may make movement look harsh. Recording at a higher frame rate provides the option to slow the footage slightly and conceal minor vibrations.
Enable optical or electronic stabilization when it does not introduce unwanted cropping or warping. Record at a higher resolution than the final delivery format whenever possible, leaving room for horizon correction, reframing, and digital stabilization.
Follow Essential Overhead Safety Practices
Never place an improvised camera mount above people. Check the rated capacity of every stand, clamp, head, arm, fastener, and safety attachment. Remember that extending an arm can reduce the practical load the setup can handle.
Inspect the equipment before every shoot, secure cables, control access around stands, and establish a clear area beneath suspended gear. Sandbags improve stability, but they do not eliminate arm flex, weak attachment points, or an unsuitable support structure.
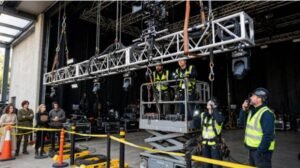
For larger setups or busy filming environments, following clear procedures for managing rigging safety on a crowded production set can help crews control access, protect people beneath equipment, and coordinate overhead camera work more safely.
Frequently Asked Questions
1. What is the easiest way to record an overhead shot?
For a small tabletop scene, a tripod with a horizontal arm is usually the easiest option. A purpose-built desktop overhead mount can also support a phone or lightweight camera.
2. Can a phone capture convincing overhead video?
Yes. Modern phones can produce excellent results when securely mounted, properly lit, and remotely monitored. Locking exposure and focus helps maintain consistency.
3. Is a 360 camera a practical drone alternative?
A 360 camera on an invisible extension stick can create convincing elevated and third-person footage. It cannot reproduce the altitude or unrestricted travel of a real aerial platform.
4. Is capturing overhead footage without using a drone safe indoors?
Capturing overhead footage without using a drone can be safe indoors when properly rated equipment, secure mounting, secondary retention, controlled access, and appropriate professional supervision are used.
5. Which lens works best for top-down footage?
A moderately wide lens generally captures enough of the scene without producing extreme edge distortion. The ideal focal length depends on the available height and required coverage.
Final Thoughts
I would choose the simplest method capable of producing the required shot. A tripod arm is ideal for tabletop work, a jib adds controlled movement, a lightweight pole creates fast elevated views, and a cable camera supports repeatable tracking over longer distances.
In my experience, stability, planning, and safety improve an overhead shot more than unnecessary equipment. When the mounting method matches the location and camera weight, a drone-free setup can deliver polished, cinematic footage with precise framing and repeatable results.