I have always found that the most impressive broadcast shots are often the ones viewers barely question. A camera sweeps over the crowd, follows the athletes into position, and descends toward the action as though it were floating. The movement lasts seconds, but creating it can require days of engineering and coordination.
This illustrative case study follows a production team hired to complete a cable cam installation at a live sports event. Its goal was to capture dramatic aerial footage without obstructing spectators, entering the field of play, or relying on a drone. The result depended on far more than attaching a camera to a wire.
The Shot Fixed Cameras Could Not Deliver
The client wanted an opening sequence that began above the spectators, moved toward the playing area, and followed the athletes during their entrance. Later, the same system would provide overhead transitions, wide views of the action, and crowd-reaction footage.
Existing cameras could cover the contest but could not create that continuous movement. A crane had a limited reach and would remove valuable seats. A drone introduced noise, flight restrictions, battery limits, and operational concerns around a crowded venue.
For productions weighing both aerial options, understanding Spidercam vs drone for live sports can help clarify the differences in operating space, safety controls, flight restrictions, and broadcast practicality.
A cable-suspended camera offered a controlled alternative. Its route could be planned, tested, and restricted before spectators entered. However, the creative concept would only work if the venue could support the required rigging safely.
Turning a Creative Brief Into an Engineering Plan
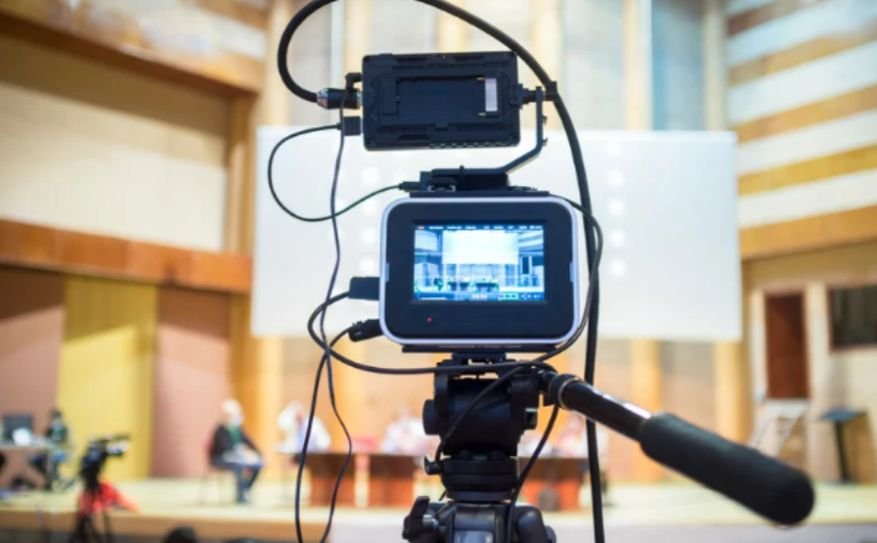
The planning team began with a venue survey. Engineers reviewed structural information, potential anchor positions, seating sightlines, access routes, lighting equipment, scoreboards, and existing broadcast infrastructure.
The camera’s intended movement was then converted into an operating envelope: the three-dimensional area in which it would be permitted to travel. That envelope included defined boundaries around the playing surface, spectators, lighting, and other suspended equipment.
Cable tension, sag, payload, expected movement, anchor loads, and environmental conditions all affected the design. The imaging team also checked for optical issues such as vignetting nonuniformity in UAV-based thermal cameras when evaluating aerial camera options and specialist sensors. However, the team did not rely on a universal wind limit or a convenient rule of thumb. Operating limits had to come from the selected system, its manufacturer, the project engineer, and conditions at the venue.
Designing Safety Into the Camera’s Route
Safety was treated as a series of controls rather than a single inspection. Qualified personnel evaluated the rigging points, cable terminations, winches, camera carriage, connectors, and backup components.
Software limits prevented the operator from sending the camera outside its approved flight area. Understanding how cable camera systems in live sports broadcasting are designed and operated also helps explain why controlled travel zones, redundant safety measures, and coordinated crew procedures are essential.
A designated parking position kept it away from critical activity when it was not required. The crew also established shutdown conditions, communication procedures, and emergency-stop authority before rehearsals began.
Daily checks were built into the operating plan. These covered visible cable condition, connections, tension, winches, control response, video transmission, weather, and obstructions. Any unexpected change required the system to be stopped and reassessed.
The event also retained a conventional camera plan. If the aerial system became unavailable, the director could continue the broadcast instead of pressuring the operator to fly in unsuitable conditions.
Installing the System Against the Clock
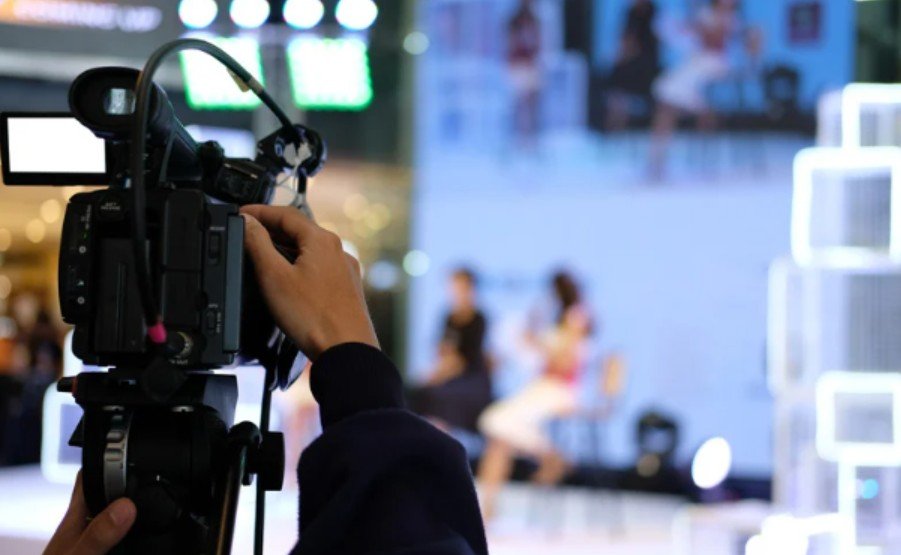
Venue access began before the event. The crew first marked restricted work areas and coordinated its routes with lighting, audio, staging, and broadcast teams.
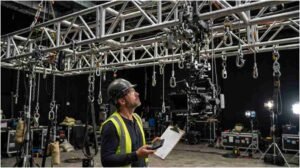
Rigging components were positioned only after the approved anchor locations had been confirmed. The cables were deployed, tensioned, and connected to the motorised control system. Technicians then attached the stabilised camera head and completed its power, control, and video connections.
Calibration began at low speed. The camera travelled through a limited portion of its route while the crew checked clearances and system response. Its operating area was gradually expanded until technicians could test the complete planned path.
The director then rehearsed individual shots. This stage revealed that technically possible movements were not always suitable for television. Sudden direction changes looked distracting, while longer, predictable paths produced smoother footage and were easier to coordinate with athletes and presenters.
Connecting the Camera to the Broadcast
Installing the rig was only half the project. The aerial camera had to function like every other source available to the production team.
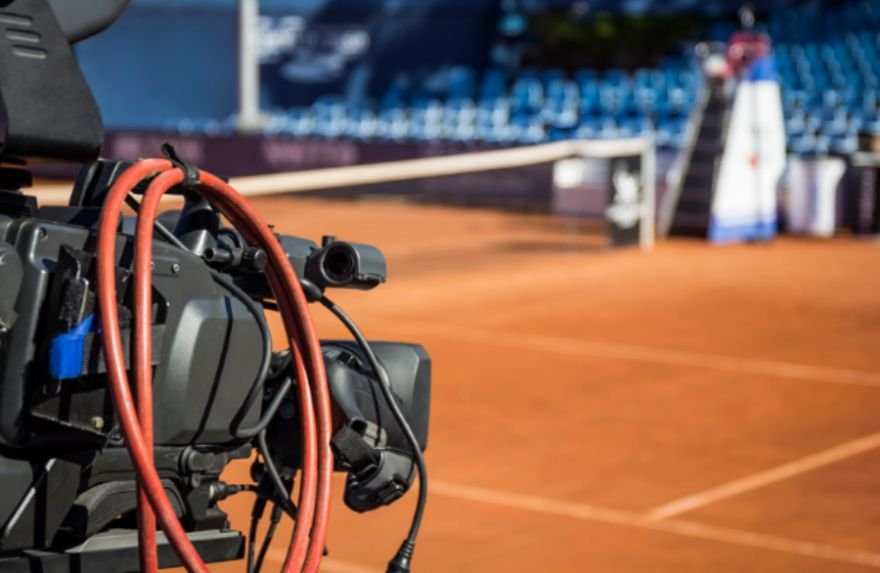
Its live signal was routed to the broadcast control room, where technicians matched its colour and exposure with the fixed cameras. Intercom communication connected the cable-cam crew with the director. Remote control allowed adjustments to framing, focus, and lens settings without physical access to the suspended camera.
The team assigned the system specific jobs rather than flying it continuously. Planned uses included the opening sequence, athlete entrances, breaks in play, crowd reactions, restarts, and the closing presentation.
That discipline improved the programme. The audience received distinctive aerial views at moments when they added context or emotion, not movement included merely to demonstrate the technology.
Broadcast Impact and Client Value
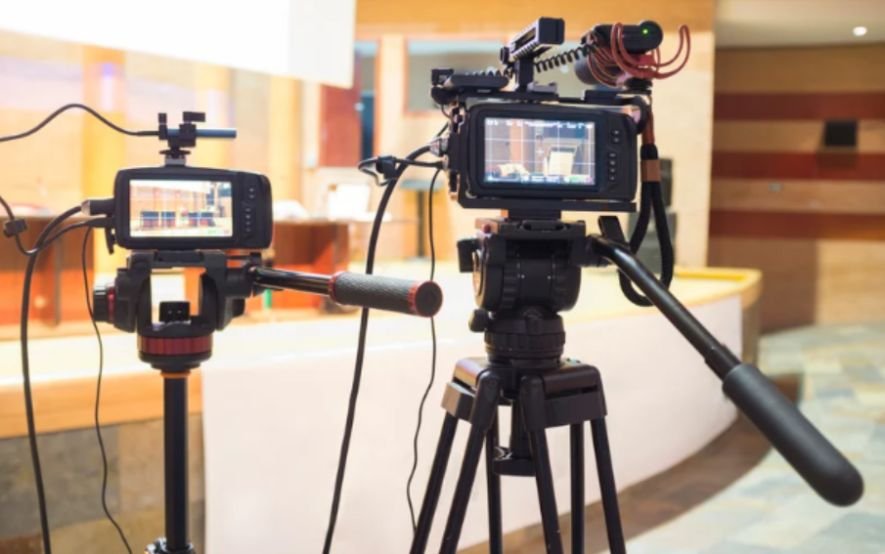
The system gave the director a perspective that fixed positions could not reproduce. It could reveal the scale of the venue, connect spectators with the playing area, and transition between wide and close views in one movement.
The client also received value beyond the live programme. A broader sports broadcast production case study can also show how planning, camera systems, crew coordination, and production choices work together to create stronger live-event coverage.
Selected aerial sequences could be repurposed for event highlights, sponsor content, promotional edits, social videos, and future advertising.
Return on investment was assessed through useful outputs rather than an unsupported percentage. The review considered how often the footage appeared in the programme, which shots were reused, whether planned coverage was delivered, and whether the system reduced the need for less practical equipment.
The project also produced operational lessons. Structural information should be obtained early, the creative shot list should be approved before final engineering, and every production department should receive the cable and access plan before arriving on site.
Frequently Asked Questions
1. What happens during a cable cam installation at a live sports event?
The process normally includes a venue survey, structural review, route planning, system selection, rigging, cable tensioning, camera integration, calibration, safety inspections, rehearsals, and final operating approval.
2. Is a cable camera safer than a drone?
Neither option is automatically safer. Suitability depends on the venue, equipment, operators, engineering controls, regulations, weather, and planned shot. A cable system provides a defined operating area, but it still requires professional design and inspection.
3. Can a cable camera operate in bad weather?
Operation depends on the approved limits of the system and project. Wind, rain, lightning, visibility, and changing cable behaviour can affect safety. The responsible team must stop operation when an approved limit is reached.
4. How early should installation planning begin?
Planning should begin as soon as the venue and creative brief are confirmed. Structural documents, permissions, equipment availability, engineering review, and coordination with other contractors can require substantial lead time.
The Work Behind the Shot
I see the finished aerial sequence differently after examining everything behind it. What appears to be an effortless flight is really the outcome of structural review, careful rigging, software boundaries, rehearsals, communication, and the discipline to stop when conditions are unsuitable.
The strongest result was not simply that the camera moved above the venue. It was that engineering, safety, and storytelling worked together. Viewers received a memorable perspective, the director gained a useful creative tool, and the client left with footage that continued producing value after the final whistle.