A five-minute hardware inspection can stop a damaged shackle, sling, or fitting from becoming part of an overhead camera system. When I consider how to inspect rigging hardware before filming, I never treat a quick glance as enough.
I want to know three things before the camera moves: Is this the correct component? Is its structure intact? Does it still operate exactly as intended?
That approach matters because OSHA requires rigging equipment used for material handling to be inspected before use. Damaged or defective equipment must be removed from service.
Why Film Rigging Needs a Pre-Shoot Inspection
Film rigs create unusual working conditions. Equipment may be assembled before dawn, moved between locations, transported in trucks, exposed to weather, or repeatedly reset between takes.
A fitting that looked acceptable during prep can also be damaged during transport or installation. I therefore treat the pre-shoot check as separate from scheduled periodic inspections.
OSHA requires slings, fastenings, and attachments to be inspected for damage or defects before use, with additional inspections when service conditions justify them.
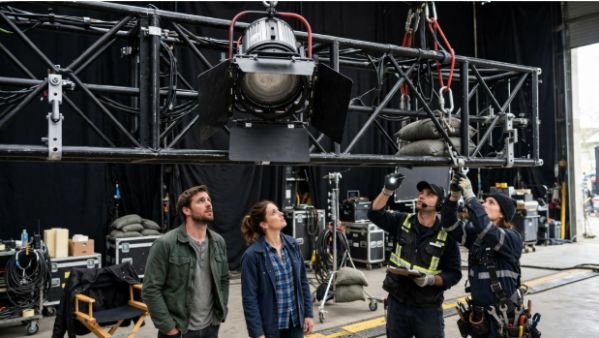
The same mindset should extend to camera, lighting, and overhead equipment. A primary attachment should also be considered alongside secondary safety cables for overhead film equipment when falling equipment could expose people below.
How to Inspect Rigging Hardware Before Filming
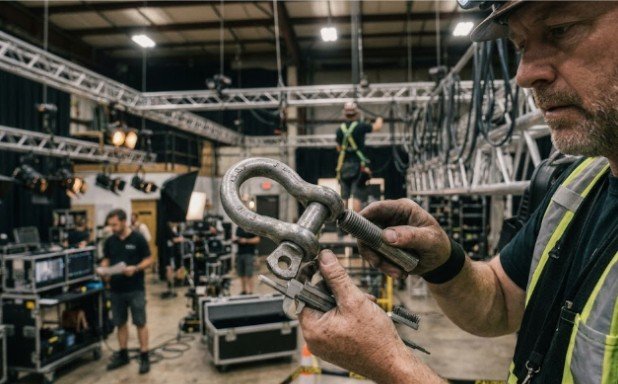
My preferred inspection sequence has three passes. It reduces the chance of focusing on obvious rust while missing something more fundamental, such as the wrong shackle pin or an unreadable load rating.
Pass 1: Identify the Hardware and Its Rating
I start with identification rather than damage.
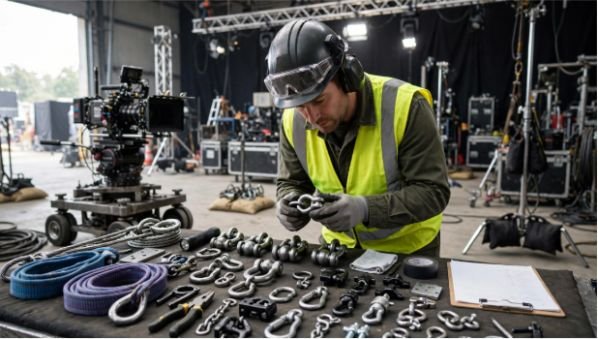
Confirm that markings are legible and that the hardware matches the planned application. Check the Working Load Limit, manufacturer identification, size, and component type where applicable.
OSHA requires identification information for several sling categories, while manufacturer instructions should govern the exact hardware being used.
A missing or unreadable rating is not something I would estimate from the component’s physical size. If the crew cannot positively identify its capacity, the safer decision is to quarantine it until its specifications can be verified.
This rating check should happen before applying the wider film set hoisting safety procedures used for the lift.
Pass 2: Inspect the Structure for Damage
Next, I clean enough of the component to expose the material itself and inspect it under strong lighting.
I look for cracks, bending, deformation, deep corrosion, gouges, unusual wear, damaged welds, heat discoloration, and stretched openings.
Hooks deserve particular attention around the throat, saddle, eye, and threaded sections. Crosby’s hook guidance calls for periodic visual examination for cracks, nicks, wear, gouges, and deformation.
I also compare paired or repeated components. One shackle that looks noticeably elongated beside an identical unit deserves investigation even when the change is difficult to judge by eye.
Pass 3: Test Pins, Gates, Threads, and Moving Parts
Visual inspection catches damage. A physical function check catches problems that only appear when the hardware moves.
I thread shackle pins by hand and confirm they seat correctly. I operate locking gates and check that moving parts return to their intended positions. Threads should not bind, skip, or require unusual force.
Crosby warns that incorrect shackle-pin seating can result from bent pins, damaged threads, or hole misalignment. Its guidance says not to use the shackle under those conditions.
This simple sequence—identify, inspect, operate—is the practical test I would use whenever someone asks how to inspect rigging hardware before filming.
Rigging Hardware Inspection Checklist by Component
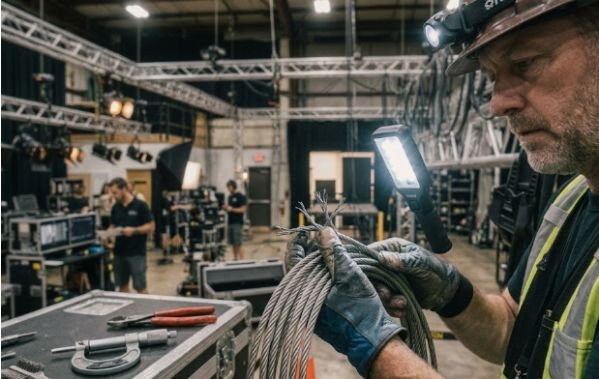
Different components fail in different ways. Checking every item for “damage” without knowing its common failure points can create false confidence.
| Hardware | What I Check | Immediate Concern |
| Shackle | Body, pin, threads, seating, distortion, corrosion | Bent pin, damaged threads, cracks, poor seating |
| Hook | Throat, tip, saddle, latch, eye, wear | Stretching, cracks, gouges, deformation |
| Wire rope | Strands, termination, kinks, crushing, bird-caging | Broken wires or structural distortion |
| Web sling | Tag, webbing, stitching, fittings | Cuts, burns, melting, tears, damaged stitching |
| Locking connector | Gate, hinge, lock, alignment | Gate failing to close or lock correctly |
| Bolt or threaded fitting | Threads, straightness, seating | Cross-threading, stripping, bending |
OSHA requires defective rigging to be removed from service, while its sling guidance identifies defects such as kinking and other damage as reasons for rejection. Synthetic web slings with burns, melting, tears, cuts, damaged stitching, or distorted fittings also require removal from service.
Shackles and Pins
I inspect the bow for spreading, twisting, cracks, grooves, and corrosion. Then I inspect the pin separately.
The pin should be the correct type for that shackle. It should seat as designed without forcing or improvised substitutions. Manufacturer guidance also warns against welding, heating, bending, or reshaping shackles because modification can affect their rated capacity.
Hooks and Carabiners
Hooks need more than a latch check.
I examine the opening for deformation and inspect the load-bearing surfaces for wear. A stretched or twisted hook can reveal previous overloading.
For locking connectors used within a manufacturer’s approved application, I test the complete locking cycle. A gate that sticks, closes poorly, or fails to align deserves removal from the active rig until a competent person evaluates it.
Wire Rope and Slings
Wire rope tells a story through its shape. Kinks, crushing, bird-caging, broken wires, or damaged terminations can indicate that the rope has experienced conditions it was not designed to tolerate.
OSHA specifically requires damaged or defective slings to be removed from service.
Synthetic web slings require a different inspection. I inspect the entire length, load-bearing stitching, fittings, and identification tag. Burns, melting, cuts, tears, worn stitches, or distorted fittings are recognized removal criteria.
When Rigging Hardware Must Be Removed From Service
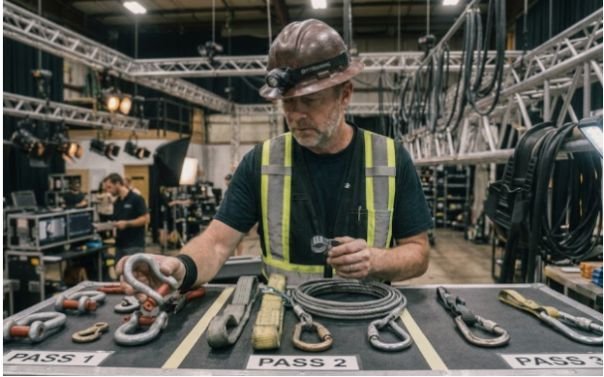
One of the most useful skills in learning how to inspect rigging hardware before filming is knowing when inspection stops and rejection begins.
I would quarantine a component when I find an unexplained crack, significant deformation, damaged threads, severe corrosion, heat damage, illegible critical identification, or evidence of unauthorized alteration.
I would not straighten a bent shackle, grind a damaged hook smooth, or improvise a replacement pin. Manufacturer guidance specifically warns against reshaping shackles through welding, heating, or bending.
That decision is also central to how to prevent rigging hardware failure on set: questionable hardware should never remain available for someone else to unknowingly return to service.
Inspect the Entire Load Path, Not Individual Parts
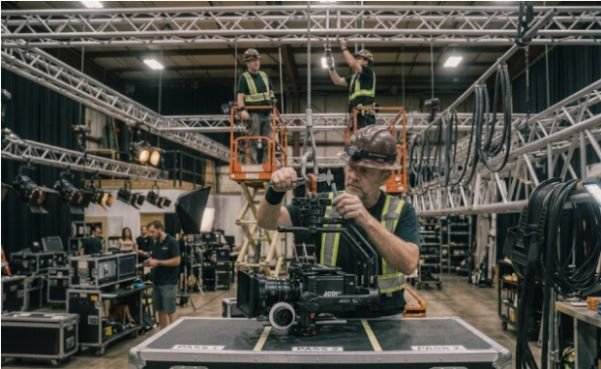
My most important practical rule is simple: inspect the load path as one system.
Suppose a camera package weighs 70 pounds and every major fitting is comfortably rated above that load. That still does not prove the rig is acceptable.
The load might pass through a shackle, sling, clamp, mounting structure, secondary attachment, and connection point. Loading direction, sling angle, hardware configuration, and manufacturer restrictions can change how those components perform.
Crosby specifically cautions that shackles should be loaded in the intended direction and that sling angles can affect loading.
A rig is therefore not “safe because the shackle is strong.” Every component and connection must suit the actual configuration.
That system-level check is the original inspection principle I would carry from prep through the final take.
Document the Inspection Before the Camera Moves
I prefer a simple record rather than relying on memory.
Record the date, equipment ID, inspector, visible condition, any component removed, and the corrective action. Photograph questionable damage before quarantining the hardware if the production’s procedures permit it.
Documentation also makes repeated inspection easier. Crews can identify damage that develops between shooting days instead of evaluating every mark as though it were new.
OSHA requires documented periodic inspection records for certain equipment, including alloy steel chain slings.
For production work, the exact documentation system should match the equipment, employer procedures, manufacturer’s instructions, and applicable regulations.
Frequently Asked Questions
How often should film rigging hardware be inspected?
Inspect rigging before use and again when conditions, damage, or changes during operation justify another check.
How do you inspect shackles before filming?
Check identification, body condition, deformation, corrosion, pin condition, threads, alignment, seating, and correct locking configuration.
What defects require rigging equipment to be removed?
Cracks, deformation, damaged threads, severe wear, sling cuts, heat damage, broken wires, and other defects that make equipment unsafe can require removal.
Who should know how to inspect rigging hardware before filming?
The inspection should be handled by personnel who are competent or qualified for the applicable rigging work and understand the equipment, load, manufacturer instructions, and working conditions. OSHA requires competent-person inspections in several rigging contexts.
No Hero Shots for Questionable Hardware
I would rather lose ten minutes replacing suspicious hardware than spend a take wondering whether it will hold.
The best pre-shoot inspection is disciplined and repetitive: verify the component, expose and inspect its structure, operate its moving parts, and then evaluate the complete load path.
Learning how to inspect rigging hardware before filming is not about becoming good at spotting dramatic damage. It is about catching small changes before cameras, lights, or other equipment leave the ground.
Before the next setup, make one rule non-negotiable: if a component cannot be positively identified, inspected, and trusted for its intended configuration, keep it out of the rig.