I used to think choosing a gimbal was mostly about checking whether my camera fit within the advertised payload. Then I started adding the lens, cage, monitor, focus motor, battery, and a few cables, and the math changed quickly. A setup that looked lightweight on paper could become a very different rig once it was ready for an actual shoot.
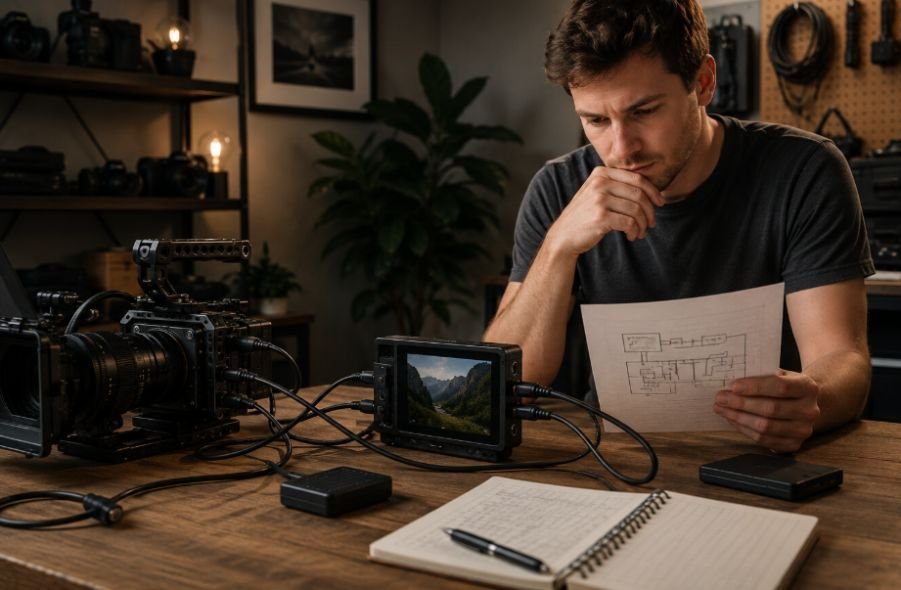
I also found that payload is only part of the equation. Two camera builds with the same total weight can behave differently because their center of gravity, lens position, and accessory placement are not the same. That is where balancing, motor torque, and practical rigging start to matter. A gimbal needs enough capacity to support the complete configuration while still having enough operating headroom to move smoothly.
What Gimbal Payload Really Means
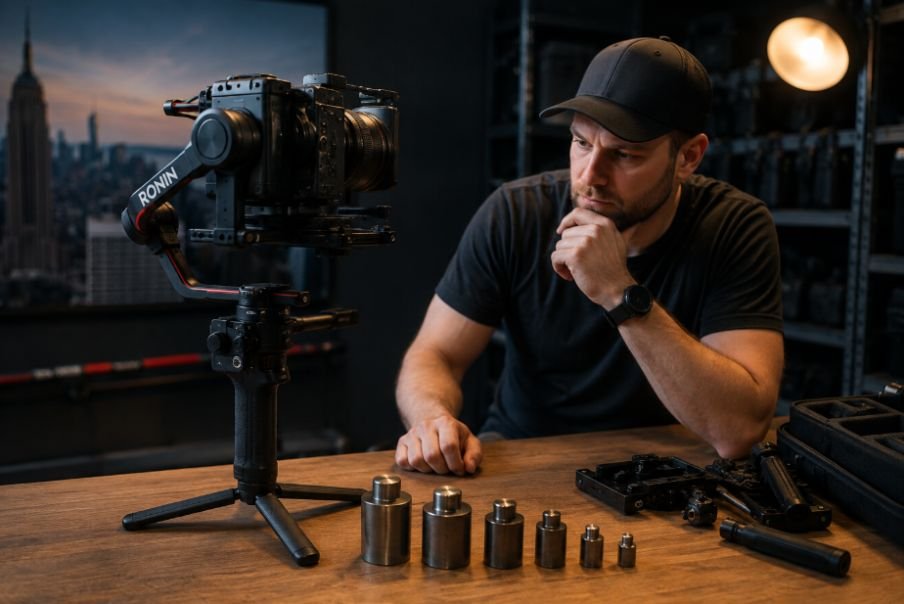
A gimbal payload rating refers to the amount of camera equipment its motors are designed to support and control. The number usually describes the complete camera setup rather than just the camera body. That means the lens, battery, cage, quick-release plate, monitor, focus motor, transmitter, and other equipment all need to be considered.
For example, the DJI RS 4 Pro has a tested payload of 4.5 kg, while the standard RS 4 is rated at 3 kg. Those figures are useful starting points, but they do not mean every 4.5 kg configuration will behave exactly the same. DJI also emphasizes balancing the camera and accessories before relying on the gimbal’s stabilization system.
This is why a filmmaker should calculate the shooting payload, not simply the camera body’s listed weight.
A useful checklist includes:
- Camera body and battery
- Lens and lens hood
- Cage or mounting hardware
- Quick-release plate
- Follow-focus motor
- External monitor or recorder
- Wireless transmitter
- Microphone or other accessories
- Cables and adapters
Add those components together before deciding whether the configuration is suitable for the gimbal.
Weight Is Only Half the Story
Total weight tells you how much the gimbal has to carry. Weight distribution tells you how difficult that load is to control.
The center of gravity is especially important. A long, heavy cinema lens can make a camera front-heavy even when the total setup remains comfortably below the stated payload. That shifts more demand toward the tilt axis and can make balancing harder.
This is where mechanical balance becomes more important than simply staying under a number.
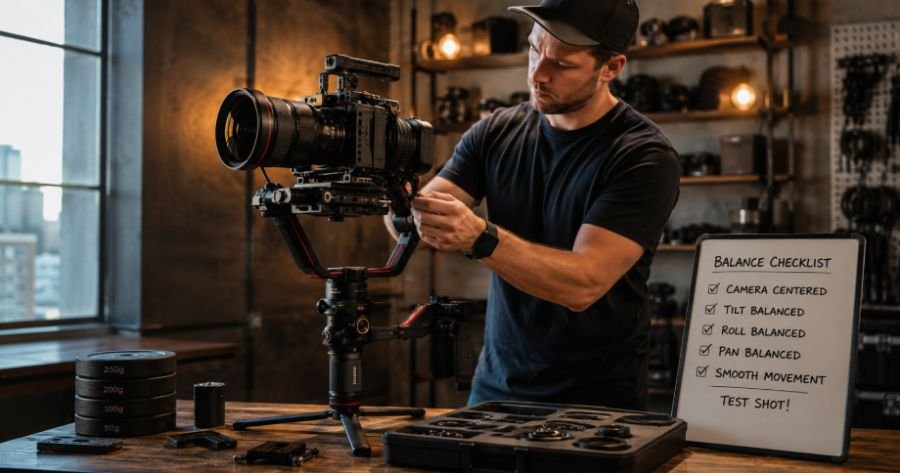
A well-balanced camera should remain in position without the motors constantly fighting gravity. If the tilt axis immediately falls forward or backward when the gimbal is powered off, the setup needs more adjustment. The same principle applies to the roll and pan axes.
Balance the Camera Before Tuning the Motors
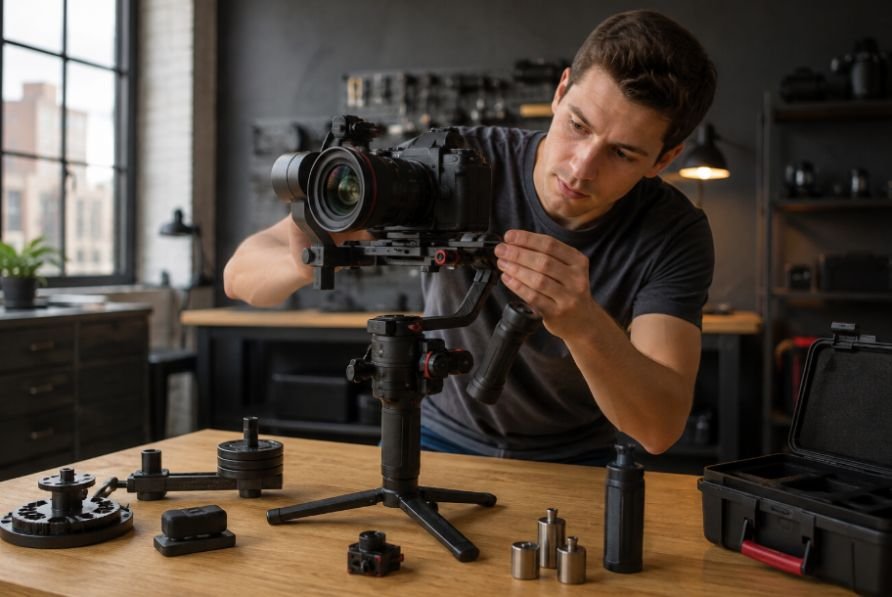
Motor tuning cannot compensate for poor mechanical balance.
Start with the complete configuration you actually intend to shoot. Do not balance a bare camera and then attach a monitor, focus motor, or heavier lens afterward. Every major change can affect the center of gravity.
The practical sequence is straightforward:
- Mount the complete camera configuration.
- Balance the tilt axis.
- Balance the roll axis.
- Balance the pan axis.
- Check the camera through its intended range of movement.
- Power on the gimbal.
- Run motor tuning according to the manufacturer’s recommendations.
The exact adjustment process varies between models, but the principle remains the same. Mechanical balance comes first, electronic tuning comes second.
ZHIYUN also highlights precise multi-axis balancing as an important part of achieving smooth stabilization, including balance indicators on the CRANE 4.
Build the Rig Around the Shot
The best gimbal configuration depends on what the camera needs to do.
A commercial production may require a wireless video transmitter, focus motor, cinema lens, and monitoring system. A documentary shooter walking through a crowded location may benefit more from removing everything that does not directly contribute to the shot.
That is where a portable field monitor for filmmaking can be useful, but the monitor does not necessarily need to become part of the gimbal payload. Depending on the monitoring workflow, you may be able to position it differently or use a smaller display to reduce the load.
Think about every accessory in terms of function. If it improves focus control, framing, exposure, or communication during the shot, it may justify its weight. If it rarely gets used, leaving it off the gimbal can make the entire setup easier to operate.
Keep Recording Gear From Taking Over the Gimbal
External recording can create another payload decision.
Some cameras need additional hardware for higher-quality recording formats, while others can handle the required workflow internally. A production using an external raw recording setup may need a recorder, cable, mounting arm, and additional power. Every one of those components changes the physical configuration.
That does not automatically mean external recording is a bad idea. It simply means the recorder should be treated as part of the rigging calculation.
If the recorder can be mounted in a way that keeps the camera balanced and does not restrict the gimbal axes, it may work well. If it creates a heavy offset or makes cable management difficult, moving that equipment off the gimbal may produce a better overall setup.
The goal is not to strip every camera down to its smallest form. The goal is to carry only what the shot requires.
Why Lightweight Rigs Can Be Better
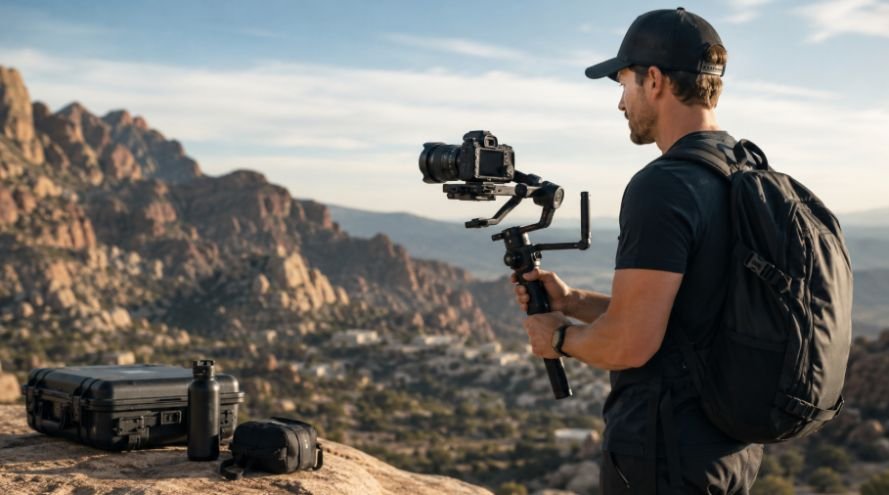
A lighter camera configuration is not automatically less professional.
In many real production situations, reducing unnecessary weight improves the operator’s ability to hold a consistent frame, make controlled transitions, and work for longer periods without excessive fatigue. A lightweight camera stabilizer paired with a sensible camera configuration can be particularly useful for travel productions, interviews, events, and fast-moving documentary work.
The tradeoff is that lighter rigs may have fewer mounting options or less accessory capacity. That is why the right approach is to build around the shot rather than trying to create one universal configuration.
A good rig should feel predictable when you accelerate, stop, change direction, or move between low and high camera positions.
Signs Your Gimbal Setup Is Too Heavy
The camera does not always announce an overloaded setup immediately. Watch for repeated warning signs during testing.
Persistent vibration is one of the clearest. You may also notice slow axis response, difficulty achieving balance, unusual motor noise, excessive heat, reduced battery runtime, or unwanted movement after changing direction.
If the camera is technically within the payload specification but continues to behave poorly, check balance before assuming the gimbal itself is defective.
Remove accessories one at a time and test the configuration again. This can quickly reveal whether the problem comes from excessive weight, poor weight distribution, cable tension, or an improperly adjusted axis.
A Practical Payload Check Before Shooting
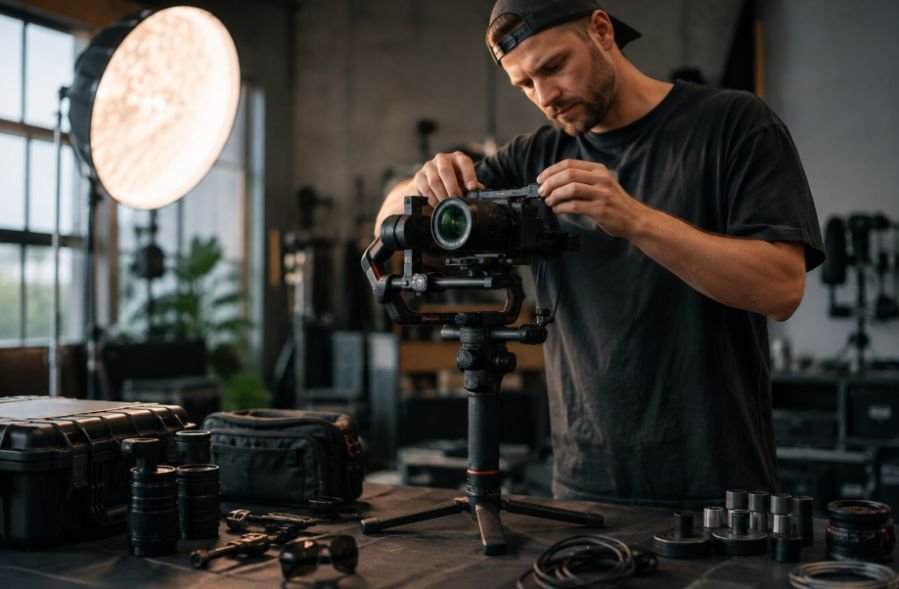
Before leaving for a production, run through the exact configuration you will use. Weigh the complete camera package rather than relying on individual component specifications. Then compare that figure with the gimbal’s official payload rating and check the manufacturer’s compatibility list for your camera and lens.
Next, balance the rig with every accessory installed. Move each axis through its expected range and look for cable interference or contact with the gimbal arms. Finally, perform a short movement test before committing to the setup for a full shoot.
This small preparation step can prevent a lot of frustration on location. It also makes it easier to create different configurations for different shots instead of forcing one heavy setup to do everything.
Frequently Asked Questions
1. What counts toward a gimbal’s payload?
The payload generally includes the camera, lens, battery, cage, quick-release plate, and accessories attached to the camera or gimbal. Always check the manufacturer’s specifications for the specific model.
2. Is staying below the maximum payload enough?
Not necessarily. Center of gravity, accessory placement, mechanical balance, and cable tension can affect performance even when the total weight is within the rated limit.
3. Should I balance before turning on the gimbal?
Yes. Mechanical balancing should come first. Once the camera is properly balanced across the axes, you can power on the gimbal and perform motor tuning as recommended by the manufacturer.
4. Can a heavier gimbal setup improve stabilization?
A heavier setup is not automatically more stable. A properly balanced configuration with enough motor capacity and reasonable weight is usually easier to control and more comfortable during extended handheld shooting.
The Best Gimbal Rig Is the One You Can Actually Operate
Payload specifications are useful, but they should be treated as a starting point rather than the entire decision. A camera that fits within a gimbal’s rating can still become difficult to operate when a heavy lens, cage, monitor, recorder, focus motor, and cables are added. Center of gravity, axis balance, motor torque, accessory placement, and operating headroom all influence how that setup behaves once the camera starts moving.
The strongest rig is usually not the one with the most equipment attached. It is the configuration that gives the filmmaker the control needed for the shot while staying balanced, responsive, and comfortable enough to use for hours.