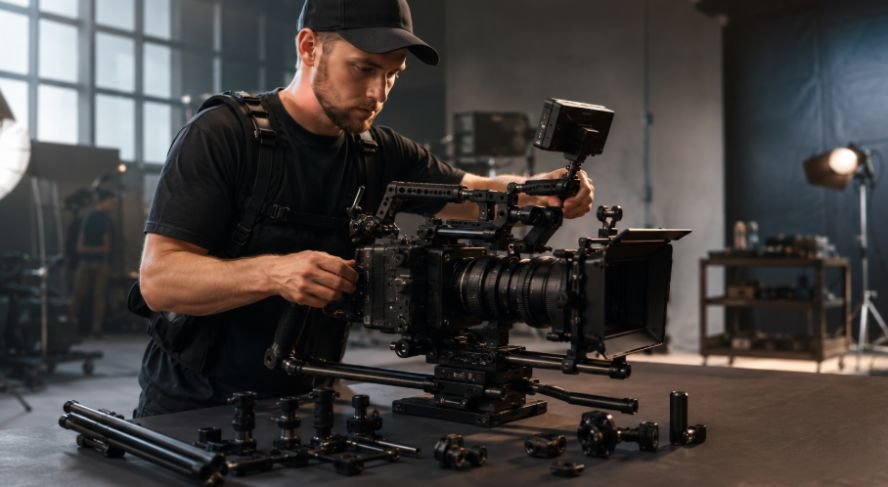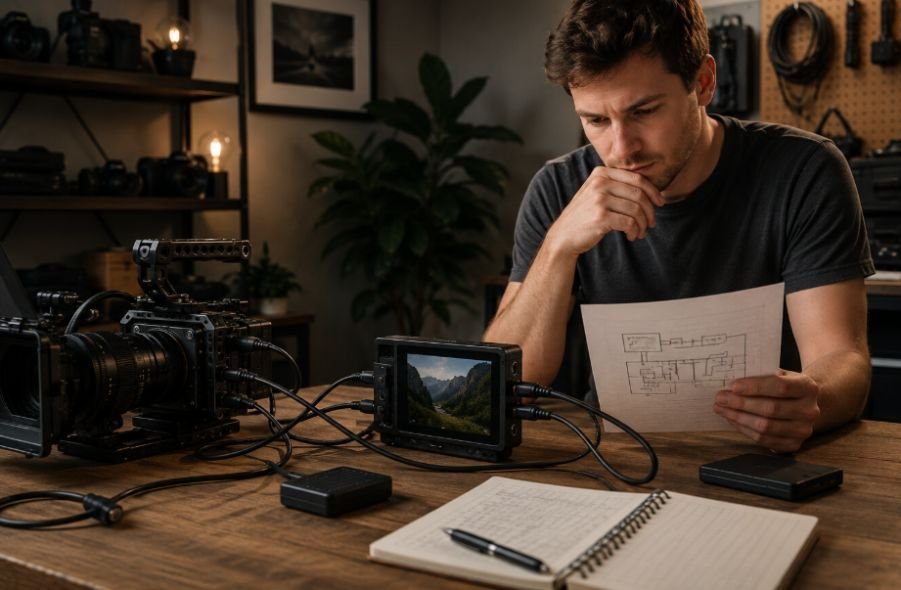
I have found that building an external RAW recording setup looks simple until all the pieces have to work together. A camera, monitor-recorder, cable, storage drive, batteries, and a few mounting accessories can quickly turn a compact camera into a much larger rig. The real challenge is not buying the most expensive equipment. It is making sure every part can handle the signal your camera is actually capable of sending.
I also think the biggest mistake is starting with the recorder instead of the camera. RAW output varies by camera, connection, resolution, frame rate, and supported codec. Once those limits are clear, the rest of the setup becomes much easier to plan. A reliable rig should give you better image flexibility without creating unnecessary problems on set or in post-production.
Start With Your Camera’s RAW Output
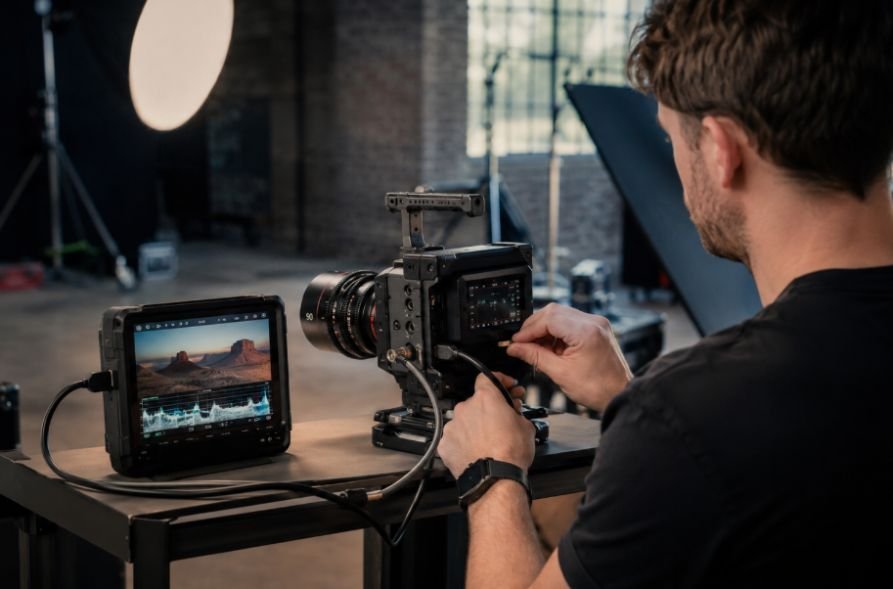
Before buying anything, check your camera’s specifications for external RAW output. A camera may offer a clean HDMI or SDI signal without actually sending RAW data through that connection. Some models also restrict RAW output to specific resolutions or frame rates.
The recorder must support the signal coming from that particular camera. Compatibility lists are useful here because monitor-recorders can accept different combinations of video signals, while RAW recording is limited to compatible camera and recorder combinations. Atomos, for example, specifically advises users to confirm that a camera can provide a clean output and notes that RAW recording is available only with selected cameras and monitor-recorders.
Choose the Recorder Around Your Workflow
An external recorder can do much more than capture RAW files. Modern monitor-recorders can combine recording, exposure monitoring, camera control, LUT previewing, and playback in one device.
For example, the current Atomos Ninja RAW can record ProRes RAW over HDMI at up to 6Kp30 and provides waveform, vectorscope, false color, focus peaking, and other monitoring tools. It can also accept CFexpress Type B media or compatible USB-C storage.
That combination can make an external recorder more useful than a separate monitor and recorder. It also means you need to think about how you actually shoot. A lightweight handheld setup may benefit from a small HDMI monitor-recorder, while a studio or multicamera rig may make better use of SDI connectivity and longer cable runs.
This is where a portable field monitor for filmmaking can become useful even when RAW recording is not the only priority. A bright display with waveform, false color, focus peaking, and LUT support can help you make better exposure and focus decisions instead of relying entirely on the camera’s small built-in screen.
Plan Your Storage Before the Shoot
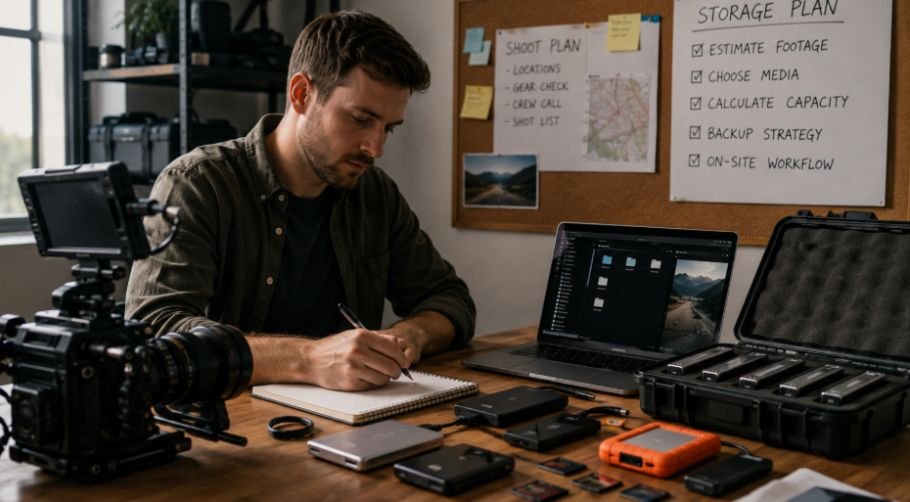
RAW footage can consume storage quickly, so media should be part of the initial setup rather than something you figure out later.
Look at sustained write performance, not just the headline read speed printed on a drive. Video recording places a continuous workload on storage, and a drive that performs well in short benchmarks may not maintain the required speed during long recordings. Atomos specifically notes that sustained write speed is the important consideration for video and RAW recording.
Capacity matters just as much. A long shooting day can produce hundreds of gigabytes of footage, especially when recording high-resolution RAW. Plan for enough media to avoid constantly deleting clips on set, then maintain a separate backup strategy for the original files.
Your post-production system also needs enough storage for working files, cache files, proxies, and backups. RAW is valuable because it preserves substantial image information for grading, but that flexibility comes with a larger data footprint.
Build the Power and Rigging System
Adding an external recorder means adding another device that needs power. A small camera battery that lasts several hours by itself may drain much faster once a monitor-recorder is attached.
For longer shoots, a larger V-mount or Gold Mount battery system can simplify power management. Smaller productions may prefer NP-F batteries or USB-C power banks, depending on what the equipment supports. The current Ninja RAW, for example, supports NP-F batteries, USB-C power banks, and DC power.
Mounting deserves the same attention. Use a sturdy cage or mounting point and position the recorder where you can see it without making the camera awkward to operate. Secure the cable near the connection so accidental pulls do not transfer directly to the camera’s HDMI port.
A good rig should feel balanced when you move it. Adding a large battery, recorder, monitor arm, and storage drive to a small mirrorless camera can quickly make the setup front-heavy.
Think About Monitoring and Wireless Options
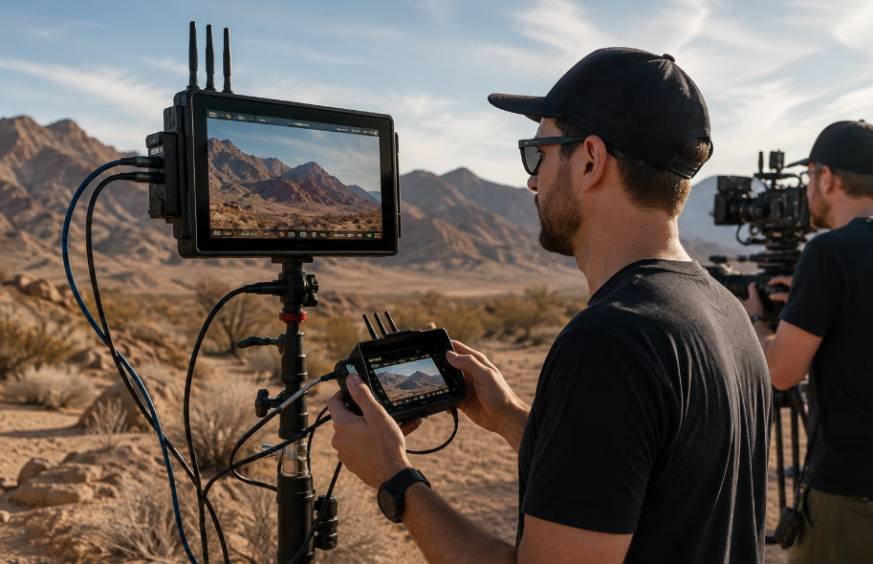
A RAW workflow is not just about preserving more image data. You still need to judge exposure, focus, framing, and color while you’re shooting. A good monitor can make those decisions considerably easier.
False color can help evaluate skin tones and exposure, while waveform gives you a more objective view of luminance. Focus peaking and image magnification can help when working with shallow depth of field. LUT previewing can also give the crew a better idea of how a Log or RAW image may look after grading.
For productions where the director, client, or focus puller needs to watch from somewhere else, wireless video monitoring for filmmakers can complement the physical monitor on the camera. Wireless monitoring does not replace the recording connection. It simply extends who can view the image and where they can view it.
That distinction matters. The core camera-to-recorder connection still needs to remain stable and properly configured, while wireless monitoring can be treated as an additional viewing layer.
Match the Codec to Post-Production
The codec you choose should make sense for your editing workflow.
ProRes RAW can be attractive when your post-production environment supports it, while Blackmagic RAW may make more sense for teams built around DaVinci Resolve and compatible hardware. Do not choose a RAW format simply because it sounds more advanced.
Before a major shoot, record a short test clip and take it through your actual editing and grading workflow. Check whether the software reads the files correctly, whether metadata is available, and whether playback performance is acceptable.
The same principle applies when evaluating customizable cinema camera features. Extra control over recording formats, frame rates, monitoring, and output options is valuable only when those features fit the way the camera will actually be used.
Test the Complete Setup Before Shooting
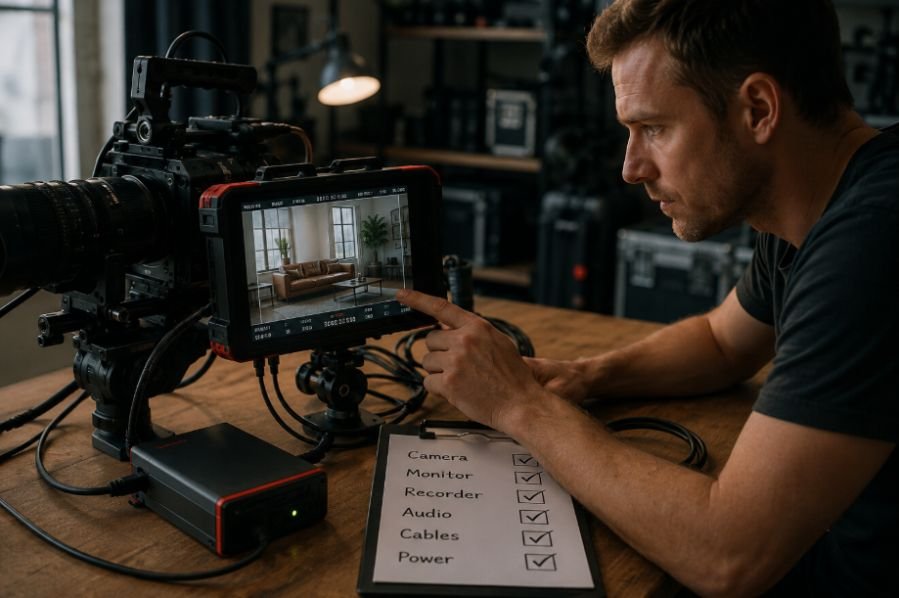
The best time to discover a compatibility problem is before the production starts.
Record several minutes at the exact resolution and frame rate you plan to use. Check the footage on a computer, confirm the audio, review the RAW files, test the media, and run the setup long enough to see how the batteries and storage behave.
Also test the physical side. Move the camera, adjust the lens, change batteries, remove the storage media, and walk around with the complete rig. If a cable catches on the cage or the monitor arm slowly moves out of position, fix it before the shoot.
Frequently Asked Questions
1. Does every camera support external RAW recording?
No. The camera must specifically support RAW output through a compatible HDMI or SDI connection, and the recorder must support that camera’s signal.
2. Is HDMI good enough for external RAW recording?
It can be. HDMI works well for many mirrorless and compact cinema setups, but cable quality and strain relief matter. SDI can be preferable for longer professional cable runs.
3. Do I need a fast SSD for RAW video?
You need storage that can sustain the required write speed for the selected codec, resolution, and frame rate. Always check the recorder’s approved media requirements.
4. Is external RAW always better than internal recording?
Not necessarily. RAW provides more flexibility in post-production, but it also adds equipment, power demands, storage requirements, and workflow complexity. The right choice depends on the project.
Why the Best RAW Rig Is the Reliable One
An external RAW recording setup should solve a production problem, not create five new ones. The strongest setup is the one where the camera output, recorder, cable, media, power system, monitoring tools, and editing workflow all make sense together. Once those pieces are matched properly, the extra hardware becomes much less intimidating.
There is no prize for building the biggest rig. A dependable setup that records the required format, survives a full shooting day, and moves cleanly into post-production will always be more useful than a collection of impressive specifications that you rarely need.