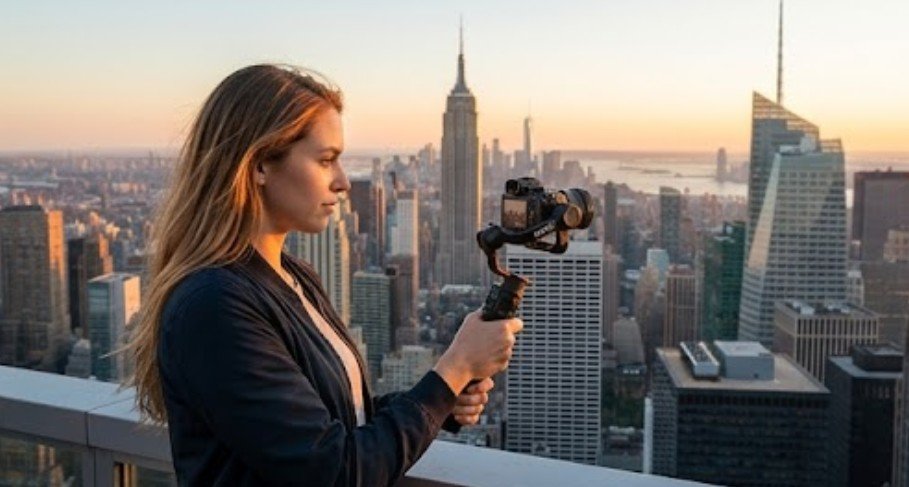
Learning how to use gimbal systems is the ultimate secret weapon for modern videographers looking to elevate their visual storytelling. Whether you are capturing high-energy sports action, cinematic travel vlogs, or smooth B-roll sequences, mastering this single tool will completely change the quality of your content.
Knowing how to use gimbal stabilizers properly prevents embarrassing motor melt-downs and saves your shoots from the dreaded “shaky-cam” look. Let’s make stabilization fun, easy, and painless.
Key Takeaways
- Balance First: Always balance all three axes before powering on to prevent motor damage.
- Body Mechanics: Use the “ninja walk” to absorb your footsteps and eliminate vertical bounce.
- Post Processing: Use gyro data in post-production to clean up micro-jitters automatically.
- Battery Safety: Never balance your setup while the battery is switched on.
- Device Agnostic: Master the fundamental physical principles to balance any smartphone or camera.
Decoding the Physics of Your Stabilizing Rig
Understanding the science behind motorized stabilization is the first step to mastering fluid camera movements.
Many creators buy a motorized stabilizer thinking it is a magic wand, only to find their footage still looks shaky or bouncy. To fix this, you must understand that the device works through a delicate partnership of hardware and physics. By mastering how the system counteracts force, you can easily control your camera motions to match your creative vision.
The Golden Axes of Stabilization
Every professional stabilizer relies on three motorized pivot points to keep your camera perfectly level. The roll axis maintains a straight horizon, preventing the camera from tilting sideways when you move.
The tilt axis, also known as the pitch axis, controls the up-and-down movement, which is highly useful when tracking subjects moving on stairs. Lastly, the yaw axis, or pan axis, controls left-to-right panning, ensuring smooth horizontal sweeps.
How Sensors and Motors Cooperate
A stabilizing rig does not just hold your camera; it actively fights gravity and hand tremors using technology. Inside the device, high-frequency gyro sensors detect even the most microscopic vibrations imperceptible to human hands.
These sensors send instant correction commands to the brushless motors, which spin in the exact opposite direction to neutralize shake.
Why Perfect Physical Balance Matters
Forcing your stabilizer’s motors to work against an unbalanced camera is the quickest way to ruin your gear. When you turn on an unbalanced system, the motors have to work overtime just to keep the camera level, causing them to overheat and drain the battery in minutes.
Achieving physical balance means the camera stays completely still at any angle even when the stabilizer is turned completely off.
Balancing Your Gear Without Damaging the Motors
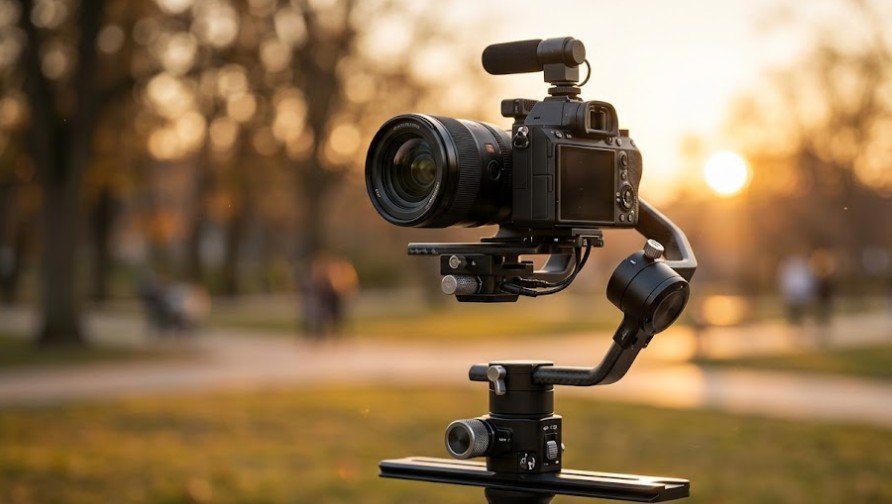
A perfect, stress-free calibration process is the foundation of any successful shoot.
Balancing a camera setup can feel intimidating, but taking a systematic approach ensures your gear remains safe and runs smoothly. Always remember to perform these physical adjustments with your device completely powered off.
Step 1: Mounting and Preparing
Begin by physically mounting your camera to the setup plate or snapping your phone into the magnetic clamp. Ensure the device is centered and level before making any micro-adjustments. Attach your phone or camera to the gimbal, and manually balance the device on its axes before powering on.
Step 2: The Physical Balance Phase
Never turn the gimbal on without balancing it first, as this can permanently damage the motors. Adjust the position of the device on the arms until it stays relatively level on its own. Modern smartphone gimbals like the DJI Osmo Mobile 7 generally automate or simplify this step, making it much easier for creators on the go.
Step 3: Powering Up Safely
Once you are confident the physical balance is perfect, you can safely turn the system on. The brushless motors will automatically adjust, calibrate, and stabilize with a quiet hum. If you hear grinding or feel strong vibrations, immediately turn the power off and recheck your physical axis balance.
Basic and Advanced Stabilizer Modes Explained
Selecting the correct mode on your device allows you to dictate how the camera responds to your hands.
Choosing the right stabilizer mode can mean the difference between a natural, flowing shot and a robotic, rigid sequence. Most modern devices offer a variety of modes to suit different shooting scenarios.
Mastering the Pan Follow Mode
Pan Follow is the most common and versatile setting for general filmmaking. In this mode, the camera smoothly pans left and right but stays locked on the horizon for steady, horizontal movements. This setting is perfect for walking alongside a subject or capturing beautiful scenery.
Lock Mode for Absolute Target Tracking
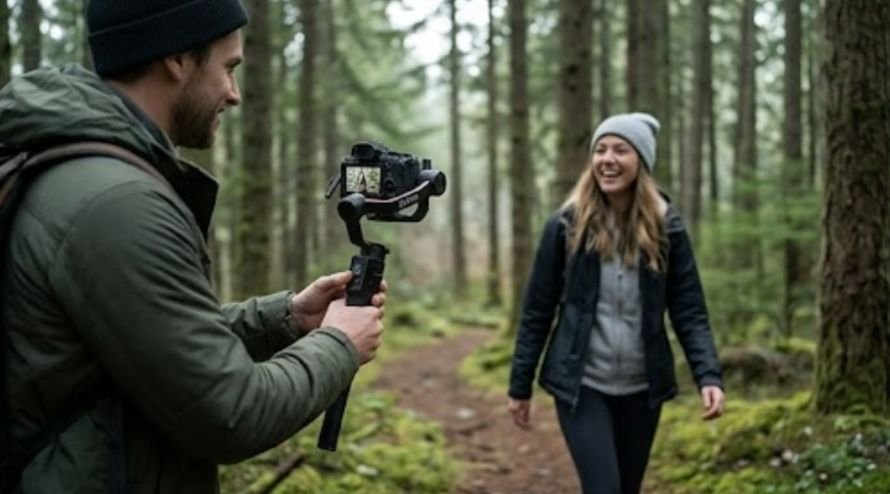
Lock mode is your go-to setting when you want to keep your camera pointed at a single, unchanging target. The camera stays completely fixed, pointing in a single direction regardless of how you move the handle. This is ideal for straight-line walk shots where you want zero lateral drifting.
First Person View for Freeform Creativity
First Person View, or FPV mode, allows all three axes to follow your hand movements naturally. The camera mimics all of your movements, including tilting and rolling, allowing for dynamic, freeform B-roll. This is the perfect setting for high-energy action sports or immersive transitions.
Filmmakers can combine FPV mode with controlled camera movements to create tension, using sudden rolls, forward pushes, or unsettled tracking motions to make a scene feel more urgent and unpredictable.
Cinematic Camera Movements to Try
Harness your visual storytelling by combining stabilizer technology with classic filmmaking techniques.
Simply walking with a stabilizer is not enough; you must use purposeful camera movements to engage your viewers. These classic techniques add incredible depth and drama to any production.
Understanding what is a tracking shot helps you coordinate smooth camera movement with a moving subject while maintaining consistent framing and visual focus.
The Iconic Ninja Walk Technique
No motorized stabilizer can completely eliminate the vertical bobbing motion caused by normal walking. To remove the bounce of your footsteps, walk with a low stance, landing your feet heel-first before rolling onto your toes. Hold the gimbal with both hands close to your body, and use the “ninja walk” to eliminate vertical bobbing while walking.
Executing Push-ins and Pull-aways
Moving toward or away from your subject creates a powerful sense of scale and emotion. Slowly walk forward into your subject to draw the audience’s attention deeper into the scene. Conversely, walk backward to establish a scene, revealing the environment surrounding your main subject.
The Creative Reveal Shot
A reveal shot is a fantastic way to introduce a new location, character, or key object in your story. Start with the camera pointing down at the ground or an object, and slowly push forward while tilting the camera up to reveal the main subject or location. This movement feels incredibly cinematic and professional when executed smoothly.
Advanced Troubleshooting and Post-Production Hacks
Getting professional-quality footage requires a solid understanding of physical techniques and software tools.
Even with the best hardware, minor issues can pop up during a long day of filming. Knowing how to handle these challenges keeps your workflow smooth and efficient.
Fixing Micro-Jitters with Gyro Data
Sometimes, micro-tremors from your hands can slip past the physical stabilizer motors. To fix this, record your camera’s internal gyro-data during the shoot, then use specialized post-production software to smooth out the remaining jitters. This combination of physical and digital stabilization delivers incredibly polished results.
Maintaining Your Stabilizer Motors
Overloading your stabilizer’s motors will quickly shorten their lifespan and ruin your shoots. Always check that your camera and lens weight do not exceed the payload capacity of your device. Additionally, perform a quick auto-calibration in your device’s app whenever you change lenses or accessories.
Frequently Asked Questions
1. Is it difficult to use a gimbal?
No, it is not difficult because modern stabilizers feature automated calibration and intuitive mobile apps. Once you learn how to use gimbal systems, master physical balancing, and practice the “ninja walk,” capturing smooth footage becomes easy.
2. What is the best gimbal for beginners?
The DJI Osmo Mobile series is the best smartphone option for beginners due to its ease of use. For mirrorless cameras, the Zhiyun Crane or DJI Ronin series offers great auto-tuning features at an accessible price.
3. How to use a gimbal on a phone?
To use a smartphone stabilizer, clamp your phone into the holder, balance it manually while powered off, and turn it on. Pair the device with the manufacturer’s official app to unlock tracking modes and creative features.
4. What is a gimbal best used for?
It is best used for capturing fluid handheld camera movements without distracting camera shake. This tool allows solo filmmakers to shoot high-energy action, tracking shots, and dynamic B-roll with professional-grade stability.
Pack Up and Roll Camera
Learning how to use gimbal stabilizers is a highly rewarding skill that instantly elevates the production value of your videos. By focusing on physical balance, practicing your body movements, and choosing the right modes, you can capture breathtaking cinematic sequences. Grab your gear, head outside, and start creating smooth, beautiful stories today.