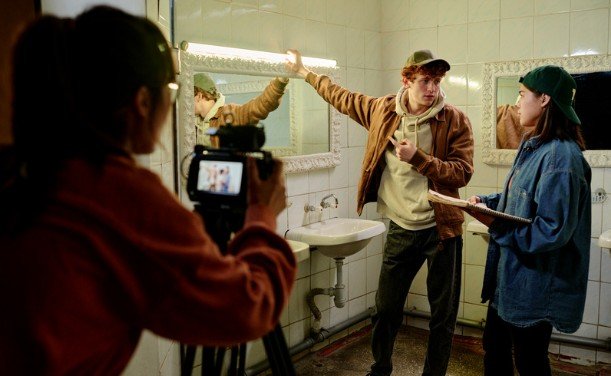
I used to think an action sequence needed a sprawling set, elaborate camera rigs, and plenty of open floor space. In reality, a narrow hallway, compact kitchen, or cramped bedroom can make action feel more immediate and intense. The key to filming action scenes in a location with limited space is designing every movement around the environment instead of trying to work against it.
A restricted location can create claustrophobia, urgency, and physical tension that a larger set cannot easily reproduce. With careful planning, controlled choreography, strategic camera placement, and convincing sound design, even a modest room can support an unforgettable sequence.
Survey the Location Before Planning the Action
Begin by measuring the usable floor area, entrances, windows, ceiling height, and distance between walls. Identify glass, sharp furniture, loose rugs, low fixtures, electrical cables, and anything else that could become dangerous.
Create a simple overhead sketch showing performer routes, camera positions, lighting zones, and crew access. Remember that a room offering enough space for two performers may become unusable once cameras, lights, monitors, and sound equipment arrive.
Determine whether the camera can shoot through an open doorway or window. A camera positioned outside the room often provides a wider composition while keeping the operator away from the performers.
Make the Environment Part of the Choreography
A small location should influence the action. A table can separate opponents, a doorway can create a sudden reveal, and a wall can interrupt an attempted escape. These environmental interactions make the scene feel deliberately designed rather than restricted by production limitations.
Avoid choreography filled with large kicks, long charges, or uncontrolled turns. While the best TikTok dances may use expansive gestures to capture attention, confined action scenes require a different approach. Build the sequence around short movements, changes in level, defensive reactions, grabs, escapes, and carefully staged interactions with objects.
Divide the action into manageable sections containing one or two important movements. Rehearse each section separately before joining the complete sequence together. This method improves consistency and allows every camera setup to capture a repeatable performance.
Create a Simple Previsualization
Record rehearsals with a phone before bringing in the main camera. Test the direction of each movement, the visibility of important reactions, and the apparent distance between performers.
Previsualization exposes unusable angles and continuity problems early. It also gives the cast and crew a shared reference, reducing confusion and unnecessary takes during production.
Preserve Clear Screen Geography
Choose a line of action and keep the camera on one side of it. If performers change positions, use a neutral frontal angle, visible camera move, or clear crossing movement to establish the new screen direction.
Do not assume that rapid cutting automatically creates excitement. Confusing geography weakens an action scene because the audience stops following the conflict. Clarity should come first; speed can be created later through performance, editing, and sound.
Select Lenses for Space and Impact
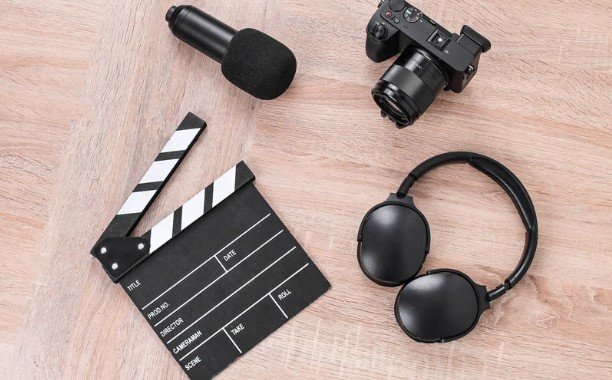
A moderately wide lens can show the performers and environment while making movement toward the camera feel faster. When space permits, use a camera slider to add controlled motion without requiring a large operating area. However, an extremely wide lens may distort faces and make objects near the frame edges appear unnatural.
Longer lenses provide another useful effect: they compress the visible distance between performers. When the angle is carefully controlled, a strike passing safely away from an actor can appear much closer on screen.
Use wider compositions to explain the action and tighter angles to emphasize impacts, reactions, hands, feet, and environmental details. Switching between these views creates scale without requiring the performers to move farther or strike harder.
Build an Efficient Shot List
Next, capture medium two-shots of important exchanges, over-the-shoulder angles that safely sell strikes, reaction shots, and inserts of hands, props, footsteps, or damaged objects. Record clean entrances and exits so shots can be rearranged without obvious continuity errors.
Every setup should have a purpose. Too many similar close-ups create editing options without providing useful visual information.
Light Without Crowding the Performance Area
Keep stands and cables outside the action path whenever possible. Bounce light from a wall or ceiling, place compact fixtures above doorways, or motivate the illumination through practical lamps already visible in the room.
Shadows can add depth and separate performers from flat backgrounds. Negative fill can increase contrast without introducing another powered fixture. Practical lighting also helps the location feel believable while leaving valuable floor space open.
Protect Everyone on Set
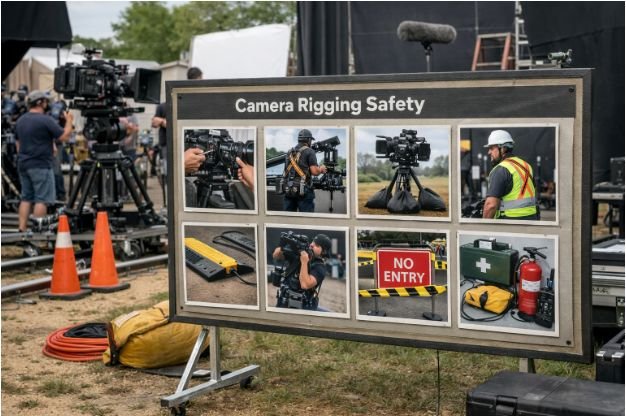
Use breakaway materials when objects must be damaged. Never substitute uncontrolled contact for convincing camera placement. Scenes involving falls, weapons, breakable objects, fire, or significant physical contact require appropriately qualified professional supervision.
Strengthen the Scene Through Editing and Sound
Cut on movement to connect different angles smoothly. Hold wider shots long enough for viewers to understand complicated actions, then use closer shots for decisive moments. Reaction shots can make controlled contact feel more powerful than showing the strike alone.
Sound provides much of the perceived force. Layer clothing movement, footsteps, breathing, furniture vibration, impacts, debris, and room ambience. Vary the intensity of these elements so every movement does not sound identical.
Avoid removing frames simply because it is a familiar action-editing trick. The technique can sharpen an impact, but excessive use creates visible jumps and damages continuity. Editors should create continuity between two shots by matching movement, screen direction, and timing so the transition feels natural.
Frequently Asked Questions
1. What lens works best in a small action location?
A moderately wide lens is useful for establishing geography, while a longer lens can compress distance and safely sell an impact. The best approach usually combines both.
2. Should every confined action scene use handheld movement?
No. Handheld footage can create urgency, but uncontrolled shaking can hide choreography and disorient viewers. Locked shots, compact stabilizers, and deliberate handheld movement are often more effective.
3. How can I approach filming action scenes in a location with limited space safely?
Measure the location, simplify the choreography, rehearse at reduced speed, protect hazardous surfaces, keep equipment outside performer routes, and obtain qualified supervision for higher-risk action.
4. Which shots are essential for editing?
Capture a readable master, medium exchanges, impact angles, reactions, environmental inserts, clean entrances, clean exits, and room tone. These elements provide clarity and flexibility.
Final Take
I see a confined location as a creative advantage rather than an obstacle. It forces every movement, angle, cut, and sound to serve a clear purpose. When I map the room, simplify the choreography, preserve screen direction, and prioritize safety, the resulting action feels immediate instead of restricted.
Powerful action does not come from the size of the location. It comes from readable movement, controlled performance, purposeful cinematography, and carefully timed sensory detail.