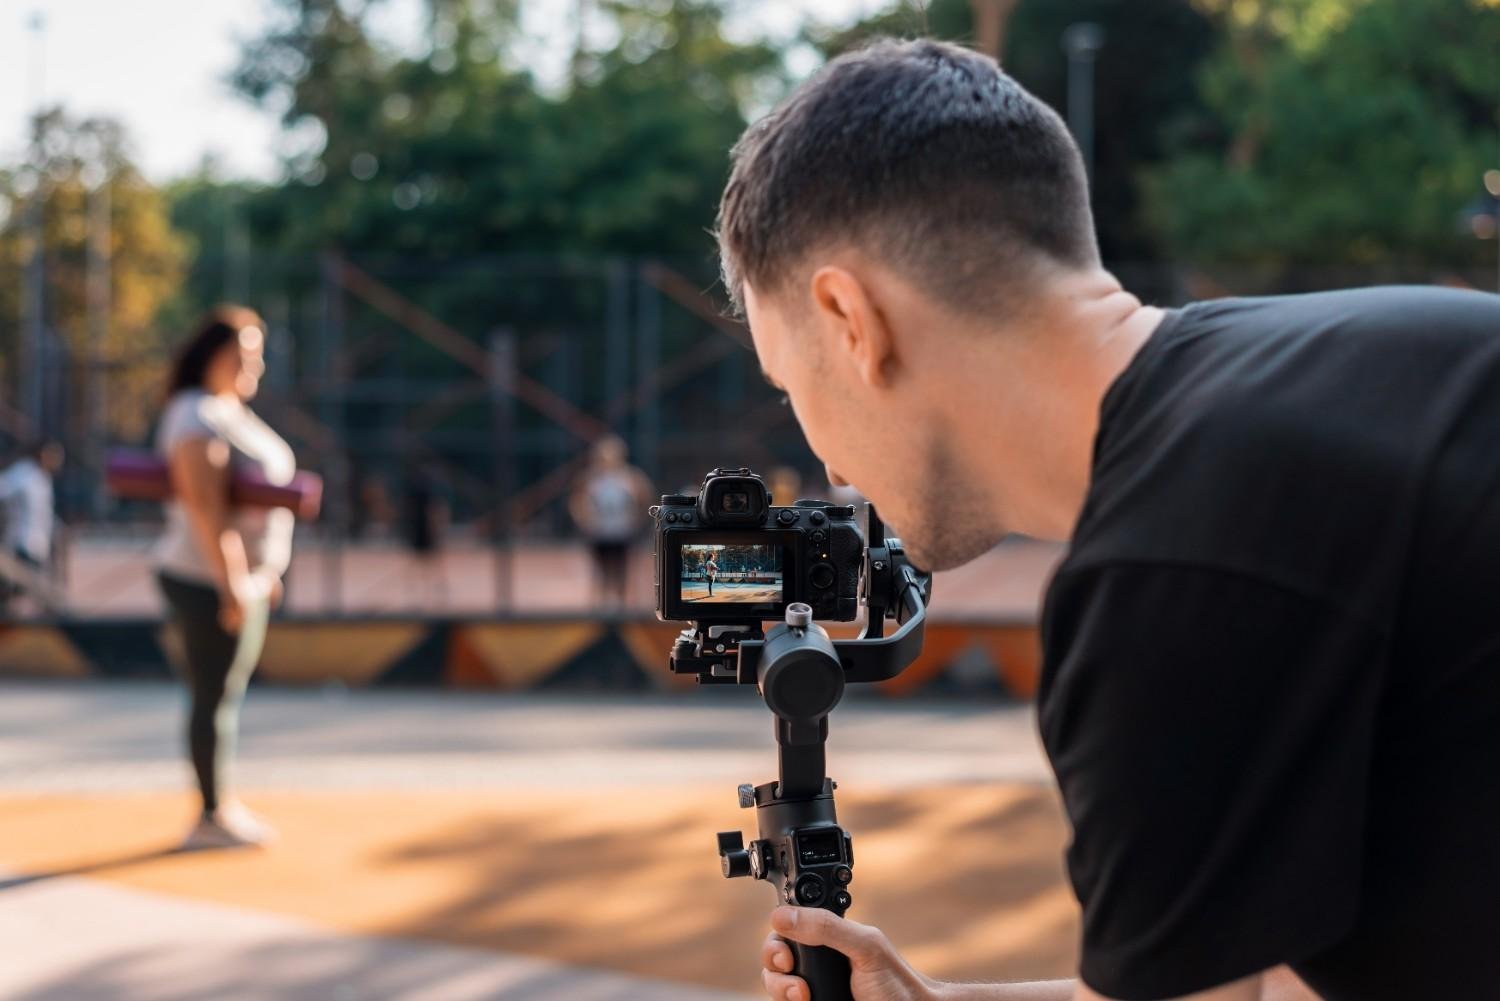
The difference between a flat-looking video and a cinematic one often comes down to one thing: how the camera moves. A gentle push-in can build emotion, a fast pan can create urgency, and a smooth orbit can make even a simple scene feel more dynamic.
When I started practicing camera movement techniques for beginners, I found that the best results came from learning the purpose behind each move rather than copying flashy shots. Once you understand how movement changes perspective, pacing, and viewer attention, even a basic camera or smartphone can produce footage that feels far more intentional and professional.
What Are the Three Main Types of Camera Movement?
Rotational Camera Movements: Pan, Tilt, and Whip Pan
Rotational movements happen while the camera stays in one physical location, often on a tripod.
A pan swivels the camera horizontally. Use it to follow a subject, introduce a setting, or reveal something outside the original frame. A fluid-head tripod can make a pan shot smoother, while a zoom cine lens can add another layer of visual control when you want to adjust framing without physically moving the camera.
A tilt moves the camera vertically while the base stays fixed. Tilting upward can emphasize height, while tilting from a character’s shoes to the face creates a reveal.
A whip pan is a fast horizontal rotation that creates intentional motion blur. It works well for energetic transitions, action, and comedic timing.
Translational Camera Movements: Dolly, Truck, Pedestal, and Arc
These movements physically move the entire camera through space.
A dolly or push-in moves closer to the subject; a pull-out moves away. A push-in can increase emotional intimacy, while a pull-out can reveal scale or isolation. Because the camera changes position, dolly movement changes perspective and creates parallax.
A truck or track moves sideways, usually parallel to the subject. It works well for following someone through a location.
A pedestal moves the whole camera straight up or down without tilting. It can maintain eye-level framing when someone sits or stands.
An arc, or orbit, travels around a subject in a curved path. It can reveal the surroundings or build visual intensity.
Optical Camera Techniques: Zoom and Rack Focus
A zoom changes focal length, making the subject appear closer or farther away while the camera remains stationary. Use it carefully; excessive zooming can feel less natural than physical movement.
Rack focus shifts sharp focus from one subject or depth plane to another. I might start with a foreground character in focus and then shift to someone in the background. The camera stays still, but the audience’s attention changes.
Camera Movement Comparison for Beginners
| Movement | Camera Base | Visual Effect | Narrative Purpose |
| Pan | Stationary | Horizontal sweep | Reveal space or follow action |
| Tilt | Stationary | Vertical sweep | Show height or reveal |
| Dolly | Moving | Changes perspective depth | Build intimacy or distance |
| Truck | Moving | Sideways tracking | Follow action and pacing |
| Zoom | Stationary | Lens-based reframing | Create quick emphasis |
What Is the Difference Between a Dolly and a Zoom?
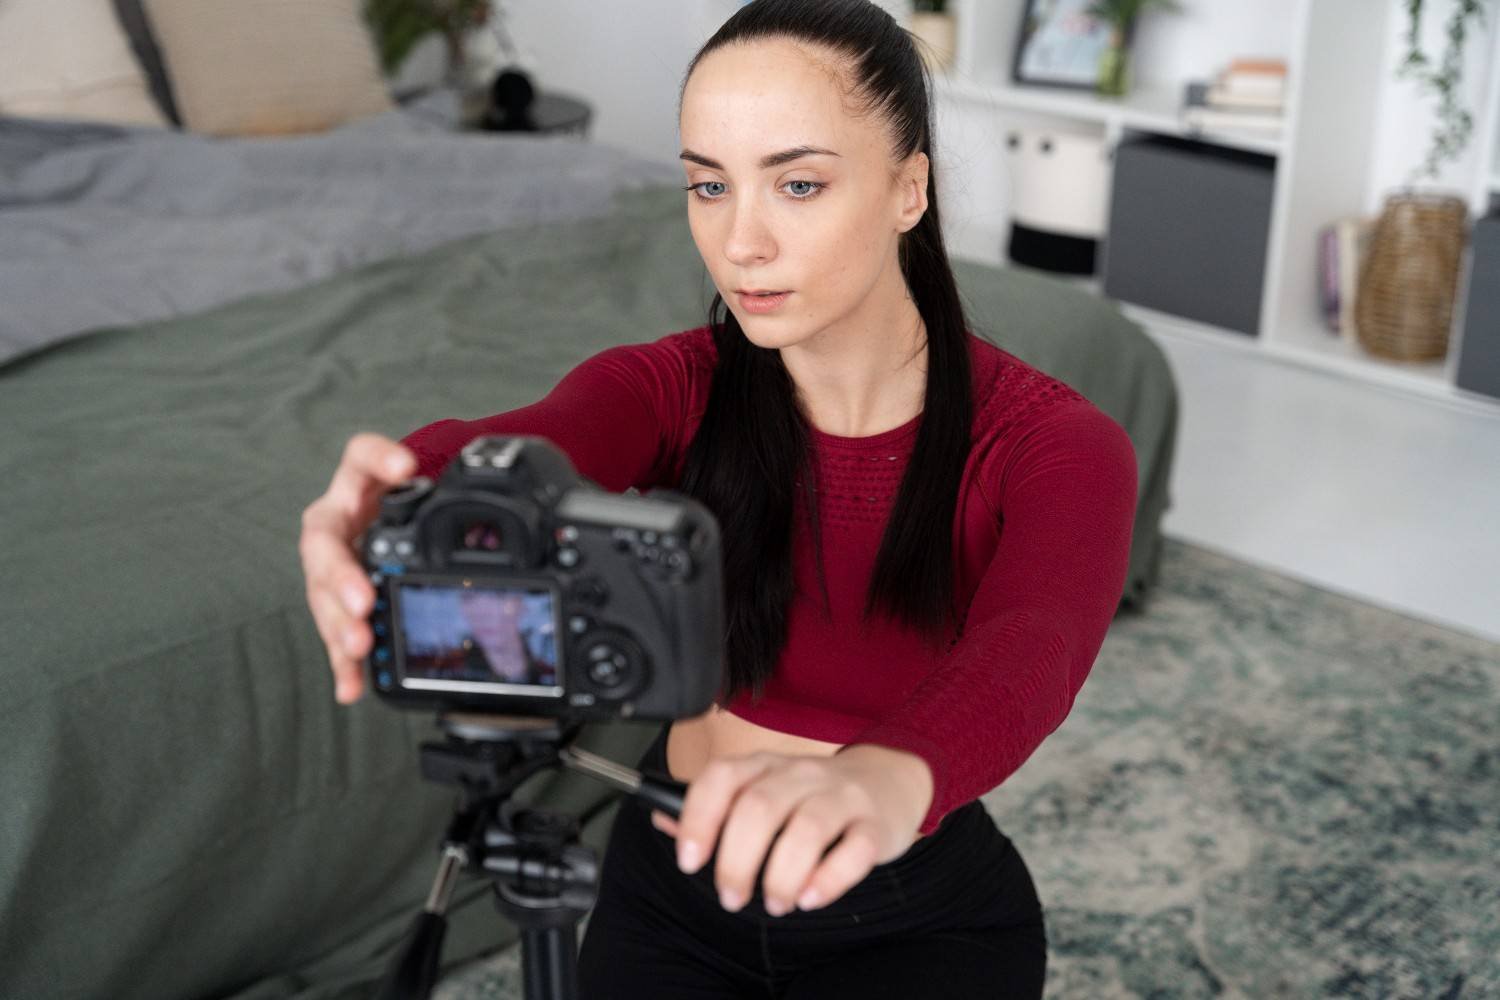
A zoom changes focal length while the camera stays in place. A dolly physically moves the camera, changing perspective and the relationship between foreground and background.
Combining them creates a dolly zoom, sometimes called the Vertigo effect, where the camera moves one way while the lens zooms in the opposite direction.
This distinction matters for visual storytelling. Zooming changes how tightly the lens frames a scene, while a dolly shot actually moves viewers through the physical space.
What Camera Movement Should Beginners Practice First?
I recommend starting with a static shot. A locked-off camera teaches framing, composition, and background control.
Next, practice pans and tilts. Then move into dolly, truck, tracking, pedestal, and arc shots. Handheld movement also matters for smartphone and mirrorless-camera creators.
For steadier handheld footage, keep the camera close to your chest, use a wider lens when appropriate, bend your knees slightly, and walk heel-to-toe. A gimbal can help, but strong operator technique matters more than buying gear too early.
These basic cinematography techniques teach you to control shot composition, subject placement, movement speed, and camera stabilization before attempting complex tracking shots.
What Are the Golden Rules for Smooth Camera Movement?
My first rule is simple: have a motivation. Let a character, reveal, emotional change, or story beat give the movement a reason.
I also recommend holding the camera still for two to three seconds before starting a move and again after finishing it. Those clean handles give editors better places to cut.
Control acceleration as carefully as speed. Jerky starts, abrupt stops, unnecessary zooms, and inconsistent framing are common beginner mistakes.
I also avoid moving simply because a shot feels visually empty. Sometimes a carefully composed static shot communicates more than an unnecessary pan, tilt, or handheld move.
How Can You Practice Camera Movements at Home?
You can practice with a smartphone, DSLR, or mirrorless camera. Film one person walking through a room. Start with a static wide shot, pan as the subject crosses the frame, follow with a tracking shot, push in when the subject stops, and finish with a slow arc. Practicing these camera movements for cinematic video helps you understand how different techniques affect pacing, composition, and visual storytelling.
Review your framing, horizon, speed, and starts and stops. A tripod helps with pans and tilts, a slider with push-ins, and a gimbal with walking shots.
I recommend repeating the same sequence several times rather than constantly creating new shots. Repetition makes it easier to notice uneven movement, poor framing, distracting camera shake, and inconsistent distance from the subject.
Frequently Asked Questions About Camera Movement
1. What are the easiest camera movements for beginners?
Start with static shots, pans, and tilts. They build timing, framing, composition, and smooth operating habits before you progress to dolly or tracking shots.
2. What is the difference between a pan and a truck shot?
A pan rotates horizontally from a fixed position. A truck shot physically moves the entire camera sideways. Although both create horizontal motion on screen, they produce different changes in perspective.
3. What is the difference between tilt and pedestal movement?
A tilt changes the camera’s vertical angle while the base stays still. A pedestal moves the whole camera vertically while keeping the angle more consistent.
4. Do I need a gimbal to learn camera movement techniques for beginners?
No. A smartphone or camera, a stable grip, and deliberate practice are enough. Stabilizers become more useful after you understand framing, movement speed, and visual storytelling.
5. Is rack focus really a camera movement?
Not physically. Rack focus is a focus technique rather than a true camera movement. Beginners should still learn it because it redirects audience attention between foreground and background subjects without moving the camera.
Final Thoughts
When I plan a shot, I think about motivation before motion. Understanding the types of camera movements in film helps me decide when to pan to reveal, tilt to establish scale, dolly to change emotional distance, track to follow action, or use zoom and rack focus when the lens can guide attention.
Beginners do not need expensive cinema equipment to develop strong cinematography skills. A phone, tripod, open space, and repeated practice can teach the fundamentals. Once every movement has a purpose and every start and stop feels controlled, the footage looks much more cinematic.