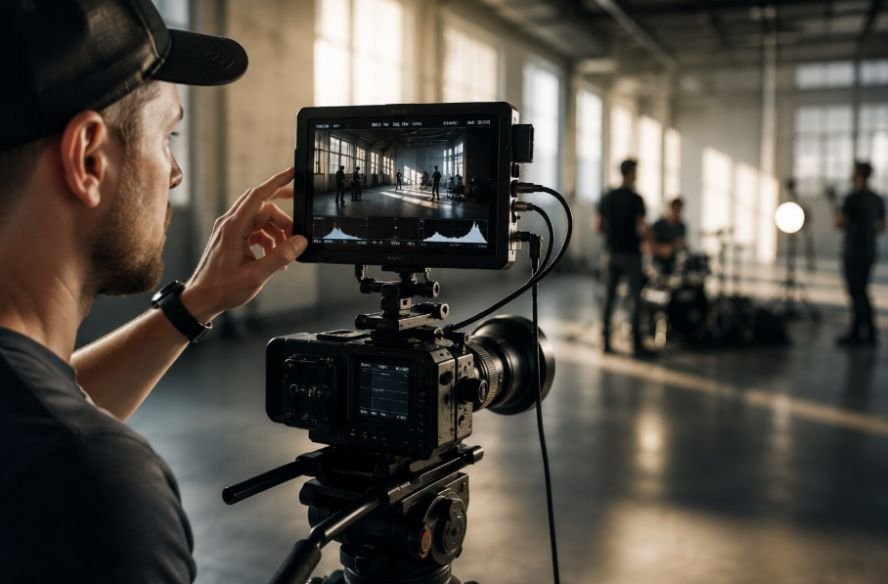
I have found that choosing a monitor recorder for a cinema camera can look much harder than it actually is. Product pages throw around terms like ProRes RAW, 12G-SDI, 10-bit, HDR, LUTs, and waveform monitoring, but not every feature makes a meaningful difference on every shoot. The right recorder depends heavily on what the camera can output and how that footage will be used afterward.
I also noticed that the best setup is rarely the one with the longest specification sheet. A compact 5-inch recorder can make more sense for handheld work, while a larger 7-inch display may be worth the extra weight when precise focusing matters. The goal is to match the recorder to the production, not simply buy the most advanced model available.
Start With Your Cinema Camera
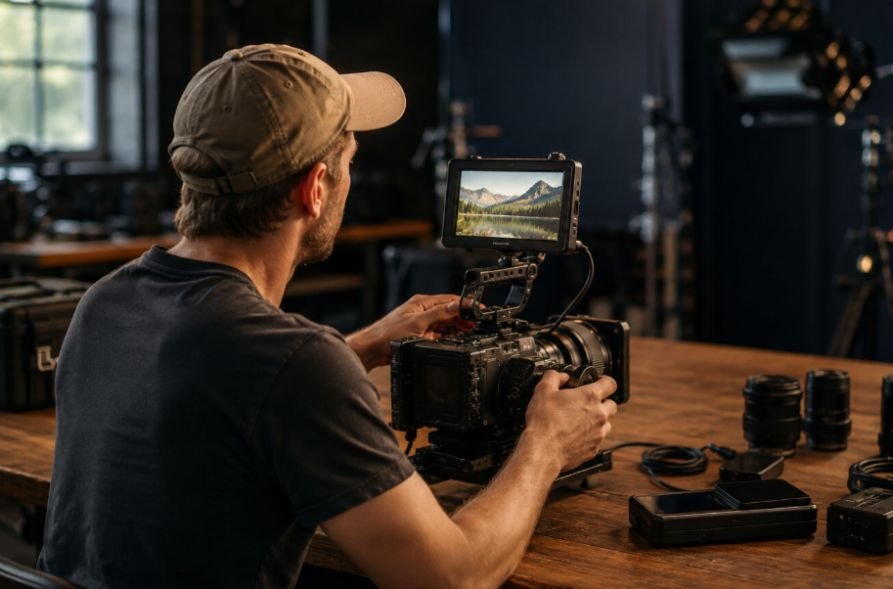
Before comparing monitor recorders, check the camera’s actual video output. This is the step that can save you from buying an expensive device that cannot handle your camera’s signal.
Look at the available HDMI or SDI connection, maximum output resolution, frame rates, bit depth, chroma subsampling, and whether the camera can send a compatible RAW signal. A recorder may support 4K or 6K recording, but that does not mean your specific camera can send that signal through its output.
HDMI is common on smaller cinema and mirrorless cameras, while SDI is widely used in professional production because it is designed around longer cable runs and more robust connections. Some modern recorders support both, which can make them more flexible when your camera package changes.
Compatibility also extends to recording protocols. ProRes RAW, Blackmagic RAW, and other RAW implementations are not interchangeable. The camera and recorder need to support the same workflow.
Choose the Screen Based on How You Shoot
Screen size sounds simple, but it changes how practical a recorder feels on set.
A 5-inch monitor is usually easier to mount on a compact camera rig, gimbal, or handheld setup. It keeps the package relatively small and does not pull the rig forward as much. A 7-inch screen gives a focus puller or operator more room to inspect fine details, making it attractive for tripod, studio, and controlled narrative work.
Brightness matters just as much. If you regularly shoot outside, look for a daylight-viewable display. Around 1,000 nits can be useful for outdoor monitoring, while current professional models reach 1,500 to 2,500 nits. For example, Atomos lists its Ninja RAW at 1,500 nits, while Blackmagic Design’s Video Assist 5-inch 12G HDR uses a 2,500-nit display.
Don’t judge brightness alone, though. A high-nit panel with poor viewing conditions or weak color handling can still be frustrating. Consider resolution, viewing angle, color gamut, HDR support, and whether you can use a sun hood when necessary.
Pay Attention to Monitoring Tools
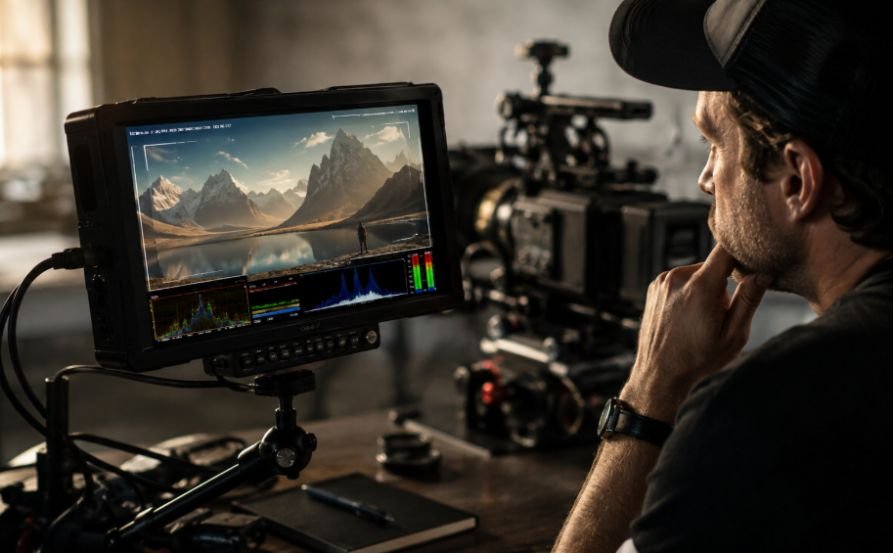
A monitor recorder should do more than show a larger version of the camera’s LCD.
Waveform monitoring helps you evaluate luminance levels, while false color gives you a faster visual reference for exposure. A vectorscope helps evaluate hue and saturation. Focus peaking and image magnification can make manual focusing much easier, especially when shooting at wide apertures.
3D LUT support is another useful feature. A LUT can provide a viewing transform while the camera continues recording a flatter log image. That gives the crew a more familiar representation of the final look without baking the display transform into the original footage.
Professional monitoring tools become particularly useful when you’re working with log profiles, HDR workflows, or controlled exposure. Current monitor-recorders from Atomos and Blackmagic Design include combinations of waveform, false color, vectorscope, histogram, LUT, and focus-assist tools.
These tools can also make a difference when building a professional camera media workflow. A recorder that lets you check exposure, framing, and recording status in one place can reduce unnecessary interruptions and make the handoff from production to post much cleaner.
Think About Recording Codecs
The recording format is one of the biggest reasons to add an external recorder.
Some cameras have internal recording limitations related to codec, bitrate, resolution, or bit depth. An external monitor recorder can sometimes provide a higher-quality recording format directly from the camera output.
Apple ProRes is widely used because it provides high-quality intraframe compression and works smoothly across professional post-production environments. ProRes RAW goes further by retaining RAW image data for compatible camera and recorder combinations. Avid DNx formats can also make sense when they fit the editorial pipeline.
However, don’t automatically choose RAW because it sounds better. RAW files can require more storage, faster media, and a more deliberate post-production workflow. If the project does not benefit from that flexibility, a high-quality ProRes recording may be the more practical choice.
Current Atomos Ninja models support formats including ProRes RAW, ProRes, DNx, and H.265, while Blackmagic Video Assist models offer combinations of ProRes, DNx, and Blackmagic RAW depending on the model and compatible camera.
Check Your Media Requirements
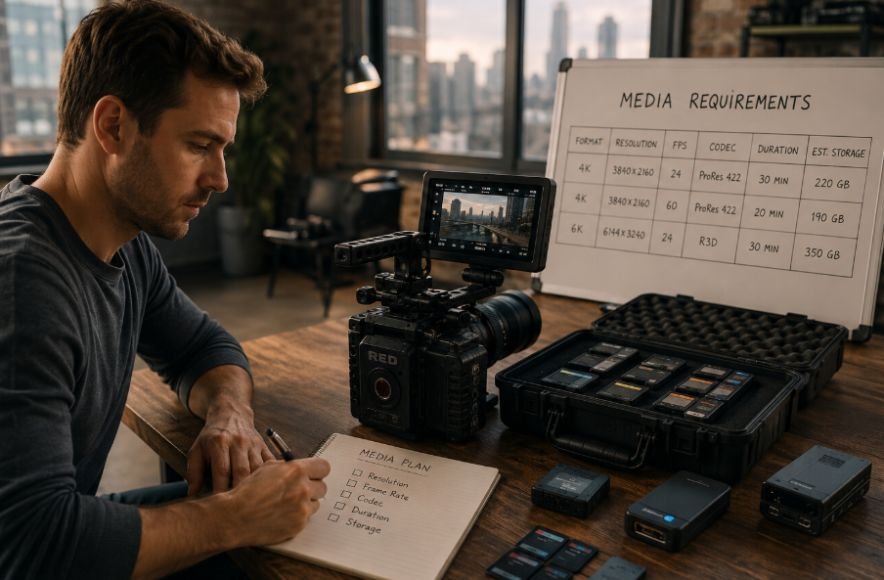
External recording changes how you manage storage. A recorder may use SD cards, CFexpress Type B media, SATA SSDs, or external USB-C drives. The supported media type matters because sustained write performance is more important than simply having a large capacity.
For high-bitrate recording, use media approved or recommended by the recorder manufacturer. A card that works perfectly for still photography may not sustain the required write speed for continuous video recording.
Think about your entire shoot rather than just one clip. A higher-resolution RAW workflow can consume storage quickly, so calculate expected recording time, media capacity, backup requirements, and transfer time before production begins.
This is also where file organization matters. Consistent camera, reel, scene, shot, and take information can make footage much easier to manage once the cards reach the post-production team.
Don’t Ignore Power and Rig Weight
A monitor recorder becomes another power draw on the camera rig. That matters during long production days.
Check whether the recorder accepts NP-F, V-mount, Gold Mount, USB-C PD, or another power source. Then consider whether the same battery system can power other accessories. A recorder that works with your existing batteries may be more useful than one requiring a completely separate power ecosystem.
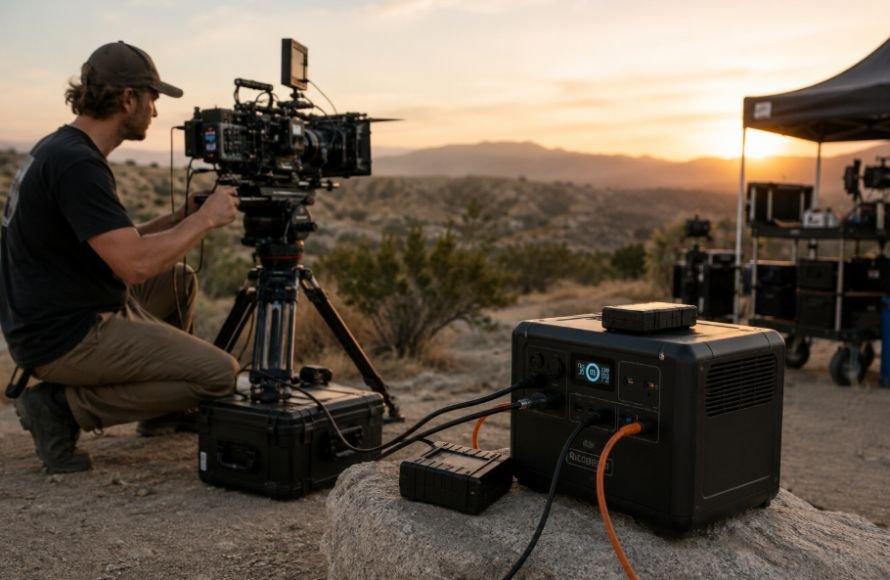
This is where high-capacity camera batteries can become an important part of the setup. A bright display, external recorder, wireless accessories, camera body, and other electronics can quickly turn a small battery into a limiting factor. Building around a common power platform can simplify battery swaps and reduce the number of chargers and battery types traveling with the crew.
Also consider cable routing. A short, properly secured cable can be fine on a compact rig, while an awkward HDMI connection can become a weak point during handheld production. Locking connectors or protective cable solutions are valuable when the camera will move frequently.
Match the Recorder to the Production
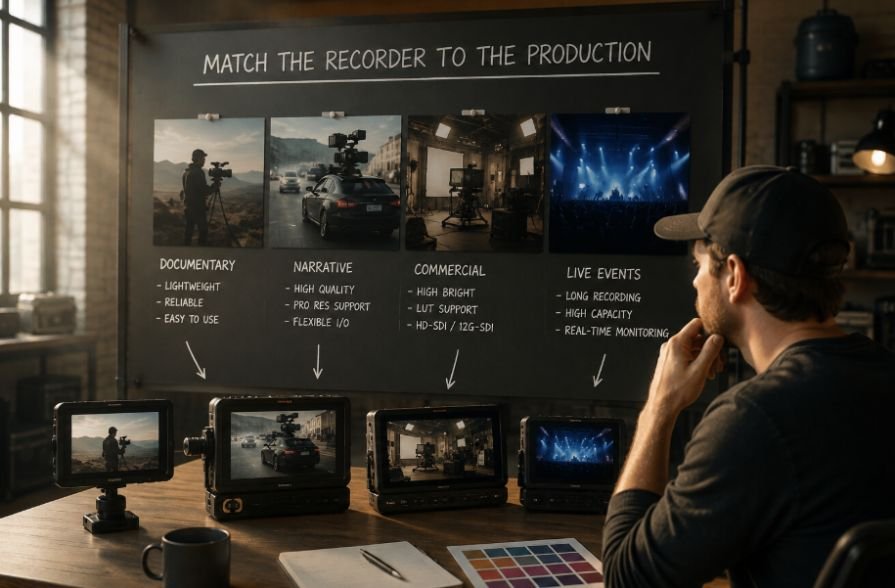
The best recorder for a documentary shoot may not be the best choice for a narrative set.
For handheld or gimbal work, prioritize low weight, a compact display, reliable recording, and manageable power consumption. For studio work, a 7-inch screen, SDI connectivity, larger monitoring tools, and expanded power options may be more valuable.
If you’re frequently moving between locations, portability becomes part of the technical specification. A recorder that fits easily into the rig and can operate from common batteries may save more time than a larger unit with features you rarely use.
For crews building mobile cinema production gear, the same principle applies to the whole package. Camera, monitor recorder, wireless transmission, focus system, batteries, media, and mounting hardware should work together instead of becoming a collection of unrelated accessories.
Avoid Buying Features You Won’t Use
The easiest mistake is buying based on specifications rather than production needs.
A recorder capable of 8K RAW does not help if your camera outputs 4K. A 7-inch display may be unnecessary on a lightweight gimbal. Advanced HDR monitoring may not matter for a project finishing in a standard SDR delivery. And a recorder with extensive connectivity can add cost and weight if the production only needs HDMI recording.
Before buying, write down your camera’s output, preferred codec, required resolution and frame rate, media type, screen size, brightness requirement, power source, and monitoring tools. Then compare products against that list.
Models such as Atomos Ninja, Atomos Ninja RAW, Blackmagic Video Assist, and SmallHD monitors illustrate how different manufacturers prioritize different combinations of recording, monitoring, connectivity, brightness, and portability.
Frequently Asked Questions
1. Is a monitor recorder better than a regular camera monitor?
A monitor recorder combines image monitoring with external recording. If you need a larger display but never record externally, a standard monitor may be lighter and less expensive.
2. How bright should a cinema camera monitor be?
For outdoor production, 1,000 nits is a useful starting point. Higher brightness, such as 1,500 to 2,500 nits, can provide better visibility in direct sunlight.
3. Should I choose HDMI or SDI?
Choose the connection your camera supports and consider your cable requirements. HDMI works well for many compact rigs, while SDI is often preferred for professional setups and longer cable runs.
4. Do I need ProRes RAW?
Only if your camera and post-production workflow can take advantage of it, RAW provides greater flexibility, but it also increases storage and workflow demands.
Choose the Recorder That Fits the Shoot
A good monitor recorder should make production easier rather than turn the camera rig into a technical project of its own. Start with camera compatibility, then work through recording format, screen brightness, monitoring tools, media, power, and physical size. That order keeps the decision grounded in what the production actually needs.
The best choice is the recorder that disappears into the workflow. When the display is easy to see, the signal is reliable, the media keeps up, and the recorded files move smoothly into post, the equipment is doing its job without becoming the story.