I have found that building an anamorphic setup is less about buying the most expensive lens and more about making every part of the camera package work together. The first time you put anamorphic glass in front of a camera, the squeezed image, unusual focus behavior, extra weight, and dramatic flare can make the rig feel very different from a standard spherical setup.
I also noticed that the lens itself is only one part of the equation. The taking lens, squeeze factor, sensor format, lens support, monitoring, focus system, and recording workflow all affect the final image. A good anamorphic setup should deliver the character you want without becoming so complicated that it slows down production.
Start With the Look You Actually Want
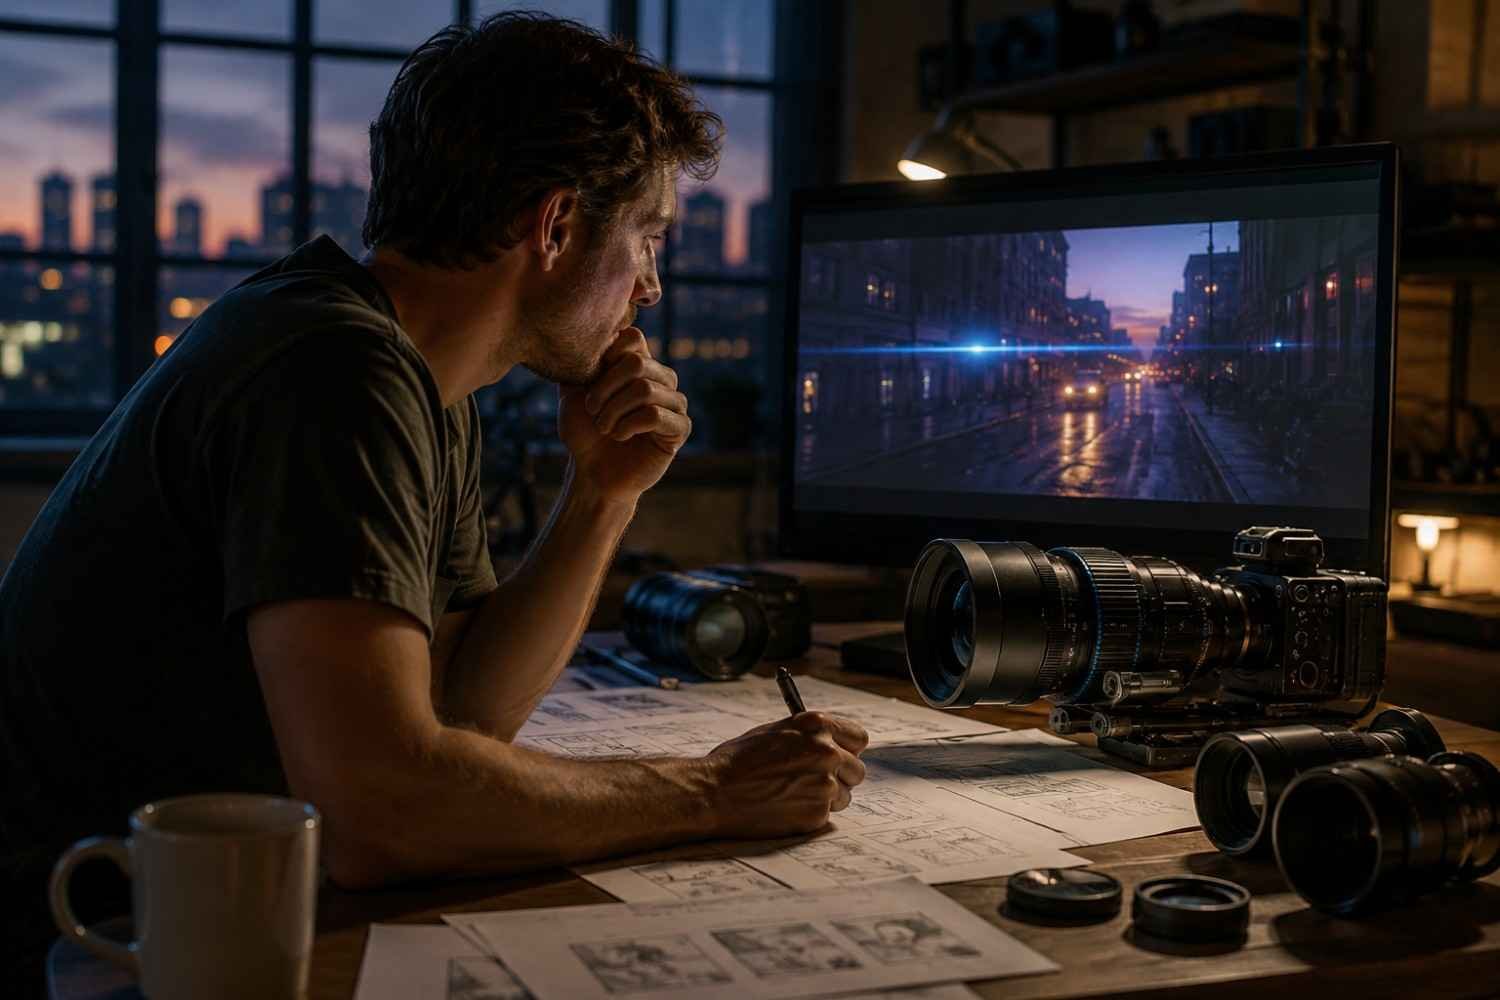
Anamorphic lenses create a wider horizontal field of view by optically compressing the image during capture. The image is then de-squeezed during monitoring or post-production to restore its intended proportions. A 2x anamorphic lens, for example, records an image that is compressed horizontally by a factor of two.
That optical compression is responsible for several characteristics associated with anamorphic cinematography, including elliptical bokeh, horizontal streak flares, and a distinctive rendering of perspective. A 2x squeeze can also produce a 2.39:1 widescreen image from a suitable sensor area after de-squeeze.
The important point is that anamorphic is not simply a shortcut to a wider frame. The squeeze factor affects the visual character. Traditional 2x designs generally produce stronger anamorphic artifacts, while 1.33x, 1.5x, and 1.8x options can provide a more restrained look and work well with modern full-frame and mirrorless cameras.
Choose the Anamorphic Route First
There are three practical ways to approach an anamorphic lens setup.
A dedicated anamorphic prime is the cleanest option. The anamorphic optical group is engineered into the lens, so you avoid the alignment and mechanical complexity associated with stacking separate optics. Modern cinema lenses are available for Super 35 and full-frame formats, with different squeeze ratios and mount options. Cooke, for example, offers 2x Super 35 anamorphics and 1.8x full-frame anamorphic lenses.
An anamorphic adapter gives you another route. Here, a spherical taking lens sits behind the anamorphic attachment. This can be more affordable and gives you flexibility with existing lenses, but the optical stack requires careful alignment and mechanical support.
A projection-lens build is the more experimental option. Vintage anamorphic projection optics can produce strong character, but they often require custom clamps, step rings, rails, lens support, and a dedicated focusing solution. This approach can be rewarding, but it is rarely the fastest option for a professional production.
Match the Lens to the Camera
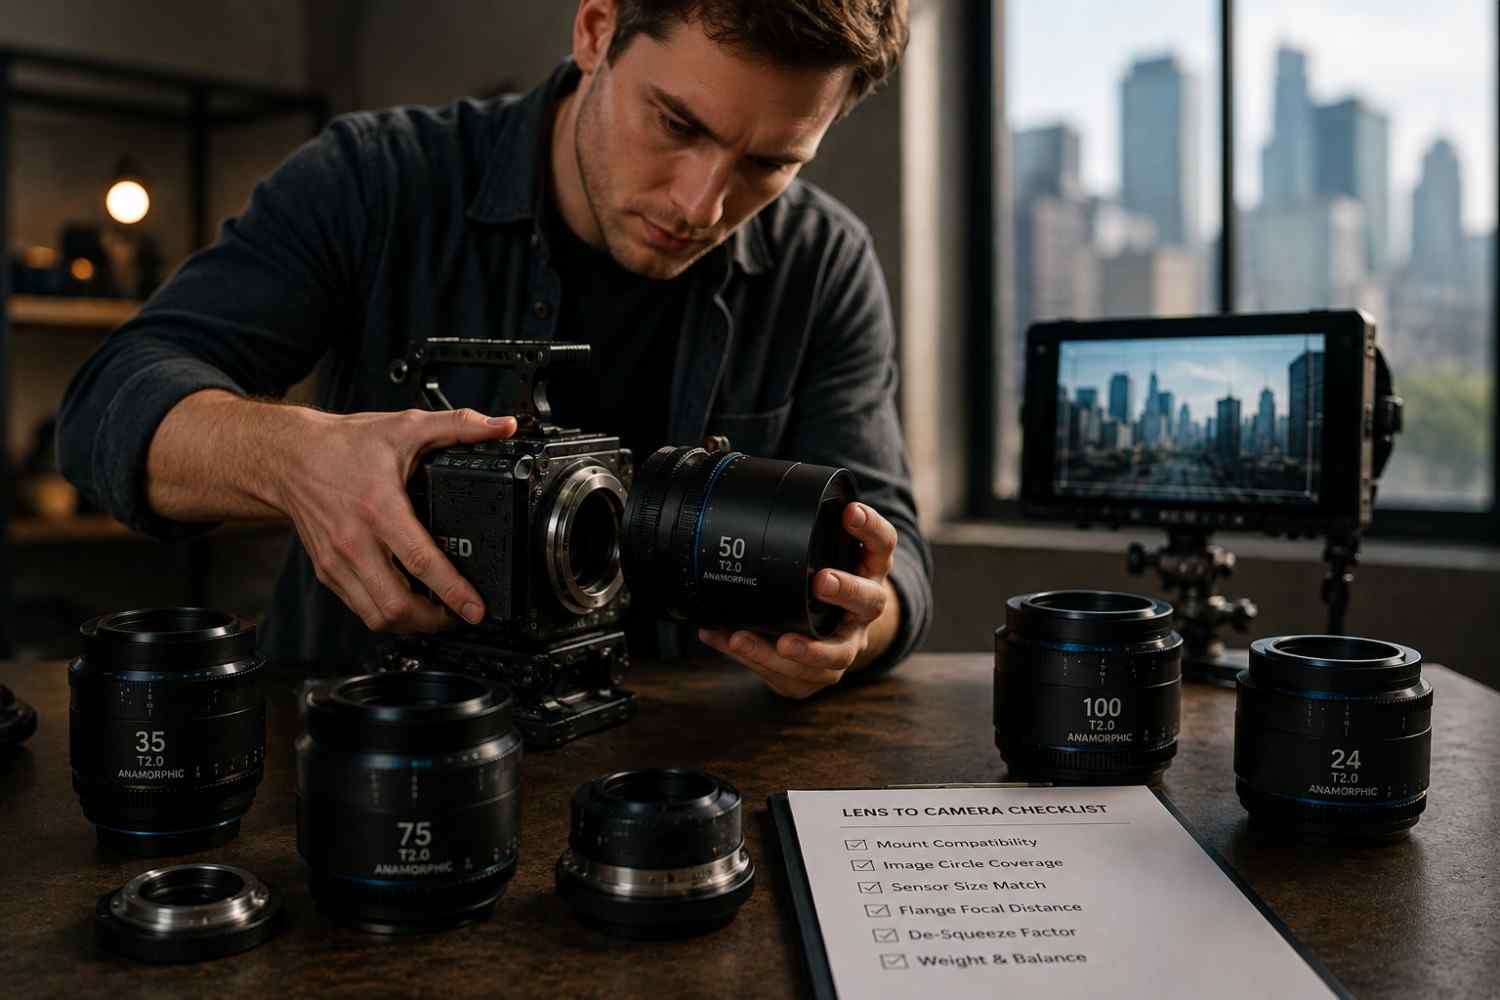
Before choosing focal length, check the image circle and sensor format. A lens designed for Super 35 does not automatically provide the same coverage on a full-frame sensor.
The squeeze ratio also needs to match the intended framing. A 1.5x lens on a full-frame camera gives a different result from a 2x lens on a Super 35 sensor, even when the nominal focal length appears similar.
For a dedicated cinema package, check the mount, flange distance, rear clearance, lens metadata support, focus rotation, close-focus distance, and maximum aperture. Professional anamorphic lenses can also provide useful metadata such as focus distance and iris position for VFX and post-production workflows.
If you’re adapting a separate anamorphic block to a spherical taking lens, the combination becomes even more important. A taking lens that looks excellent on its own may show vignetting, excessive softness, or aberrations when used behind an anamorphic adapter.
Build the Rig Around the Front Element
Once the optical combination is selected, build the mechanical system around it.
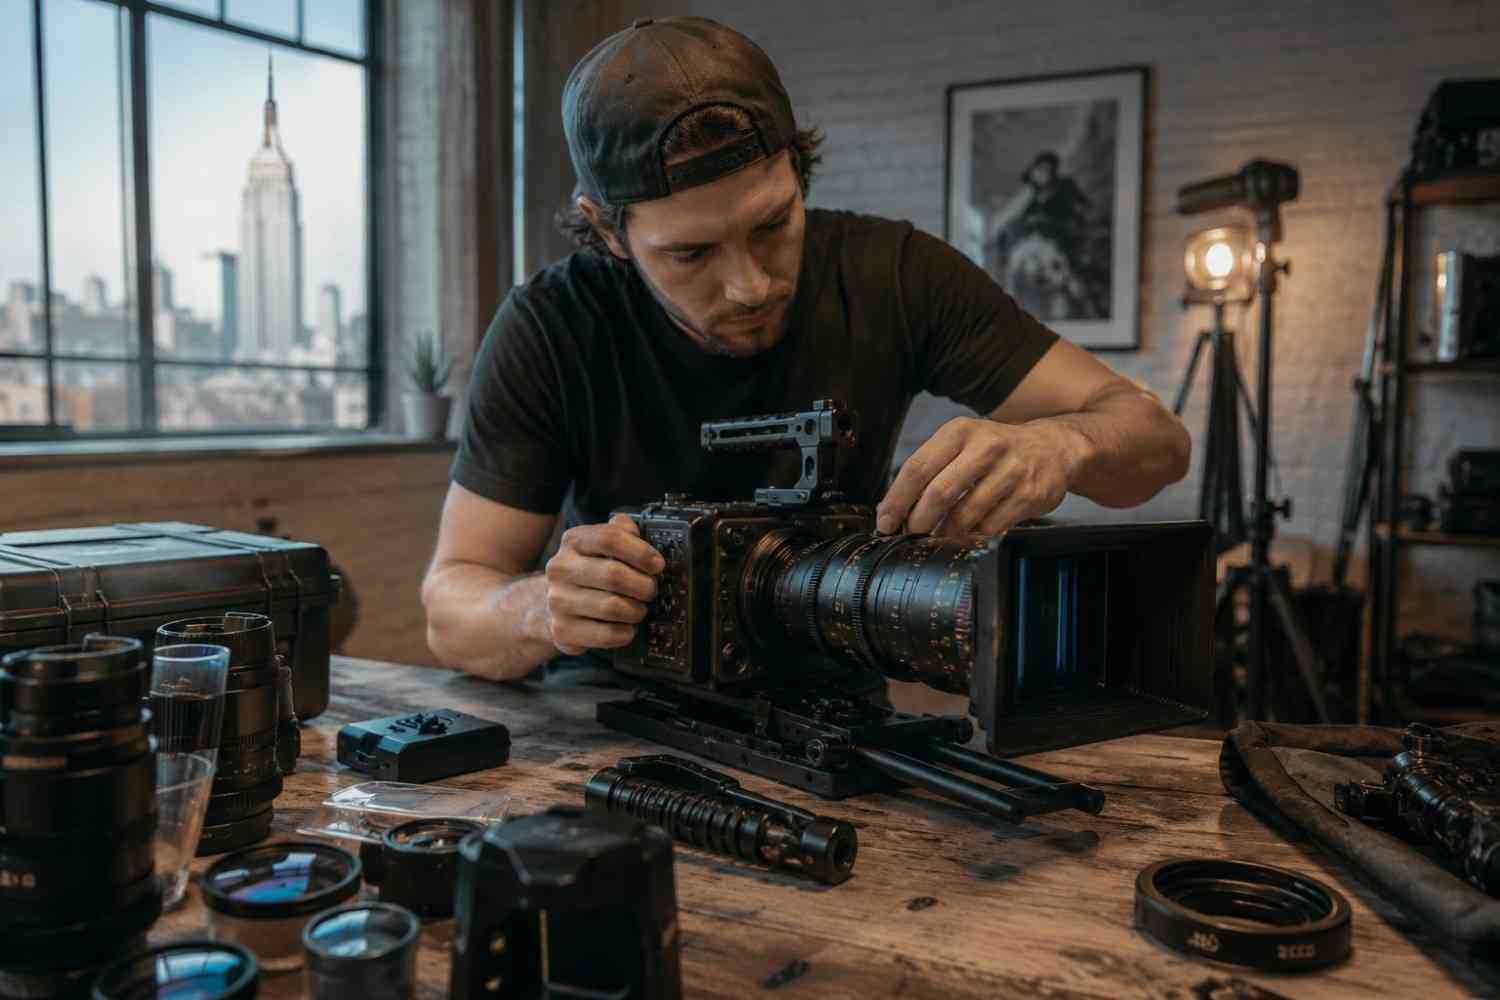
A typical adapter-based package may include a camera body, spherical taking lens, anamorphic adapter, step-up or step-down rings, lens clamp, 15mm LWS or studio rails, lens support, follow-focus system, matte box, and external monitor.
Lens support deserves particular attention. A heavy anamorphic block hanging from a filter thread or lightweight mount can introduce flex and alignment problems. Even a small amount of movement between the taking lens and anamorphic element can become visible as focus shifts or the rig moves.
If you’re putting the package on a gimbal, calculate the complete operating weight rather than the lens weight alone. Camera body, battery, cage, monitor, wireless transmitter, follow focus, media, and lens support all contribute to payload.
That is where a practical gimbal payload guide for filmmakers becomes useful. The goal is not simply to stay under the manufacturer’s payload number. You also want enough adjustment range to balance the camera mechanically across tilt, roll, and pan axes.
Keep the Recording Package Practical
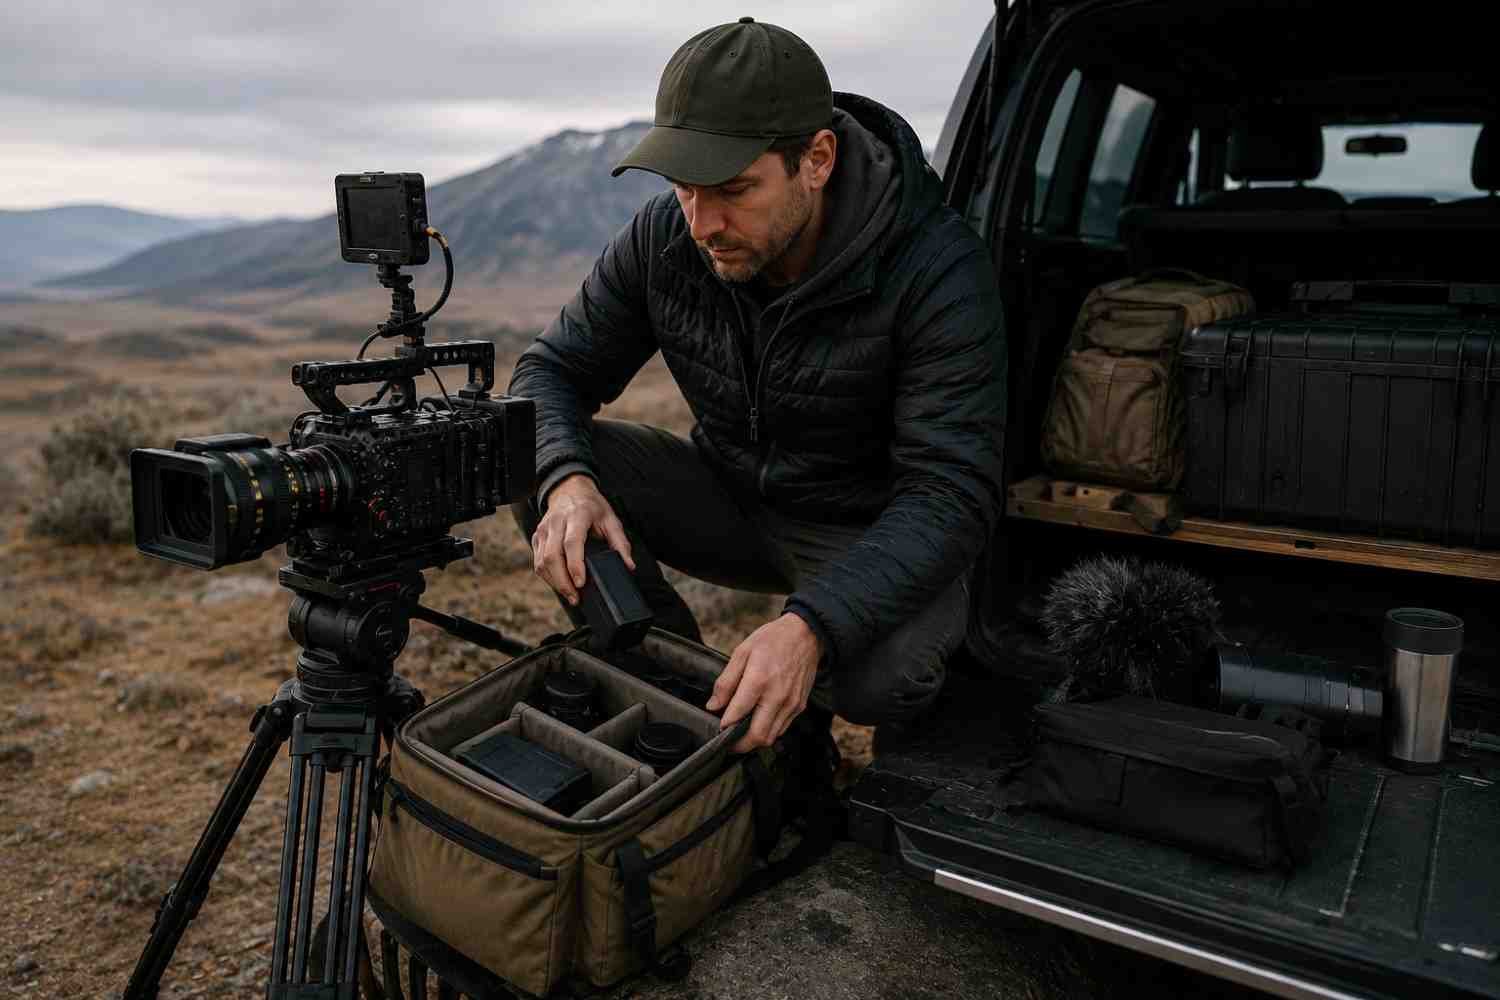
An anamorphic build can become surprisingly large once you add a monitor, rails, power distribution, wireless video, and a follow-focus motor.
That extra hardware affects handheld operation as well as stabilization. A compact body with a lightweight anamorphic prime may be comfortable for a long handheld sequence, while a large cinema camera paired with a heavy 2x anamorphic and accessories may require shoulder support or a more substantial rig.
Your recording format matters here too. If you plan to capture maximum grading flexibility, make sure the camera, media, storage, and power system can sustain the chosen codec and resolution. An anamorphic lens does not require RAW recording by itself, but the additional latitude may be valuable when the production depends heavily on highlight control, color separation, or visual effects.
A carefully planned external raw recording setup can make sense when the camera’s internal codec does not meet the project’s post-production requirements. The important thing is to decide this before building the rig, because an external recorder changes the weight, power requirements, mounting points, and cable management.
When a Lighter Build Makes More Sense
The most cinematic setup is not necessarily the largest one. A smaller anamorphic prime, compact camera body, lightweight follow focus, and minimal monitoring package can be easier to operate for documentary work, music videos, travel productions, and moving camera shots.
Modern mirrorless anamorphic lenses show how much this category has evolved. Cooke’s AP3 series, for example, uses a 1.5x squeeze factor across 35mm, 50mm, and 85mm full-frame-compatible primes while keeping the design aimed at mirrorless cameras.
A properly balanced lightweight camera stabilizer can therefore be a better production choice than building the heaviest possible cinema rig. The objective is to preserve the optical character while keeping the camera responsive and manageable.
Common Anamorphic Setup Mistakes to Avoid
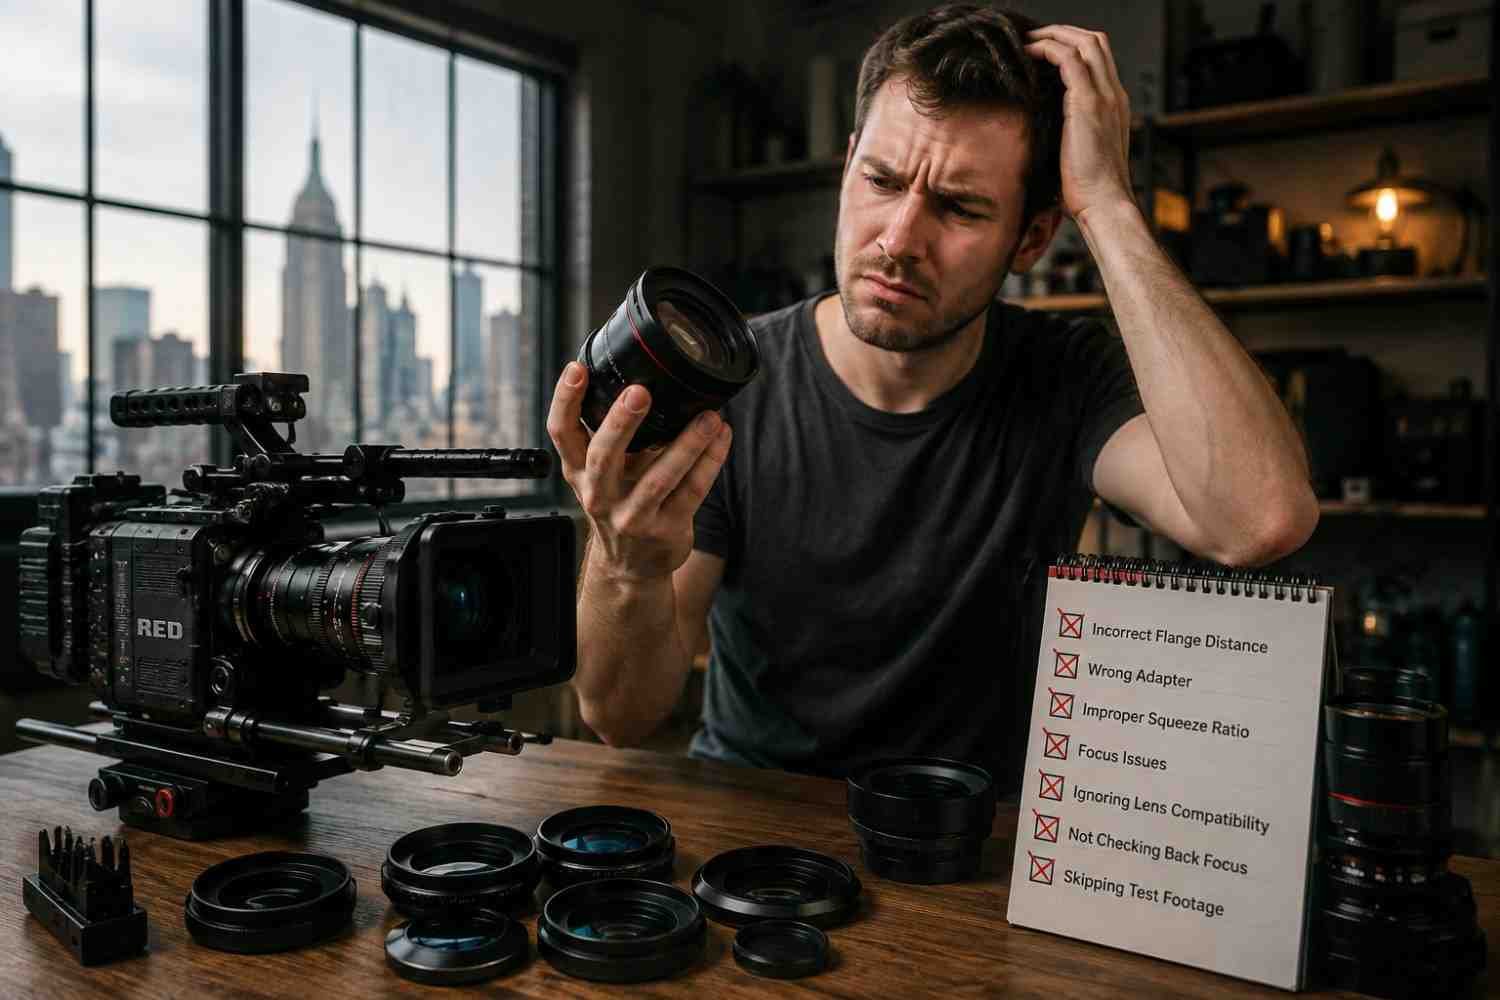
The biggest mistakes usually happen before the first take.
Don’t choose a lens only because it produces attractive flares. Check its sensor coverage, squeeze factor, mount, weight, close-focus performance, and mechanical compatibility first. Don’t ignore lens support when using a heavy adapter. Don’t assume your camera monitor is showing the correct geometry without confirming the de-squeeze setting.
Most importantly, don’t treat anamorphic footage like ordinary spherical footage in post. The squeeze factor needs to be interpreted correctly so the final image retains the intended proportions.
FAQs: How to Build an Anamorphic Lens Setup for Cinematic Footage
1. What is the best squeeze ratio for an anamorphic setup?
There is no universal best ratio. A 2x squeeze gives stronger traditional anamorphic characteristics, while 1.33x, 1.5x, and 1.8x options can be easier to integrate with modern sensor formats.
2. Do anamorphic lenses work with mirrorless cameras?
Yes. Several modern anamorphic primes are specifically designed for mirrorless systems. Always confirm the lens mount, sensor coverage, flange distance, and electronic compatibility before purchasing or renting.
3. Do I need an external monitor?
Not necessarily. A camera with built-in anamorphic de-squeeze can handle monitoring internally. An external monitor becomes useful when the camera lacks the required squeeze factor or when you need a larger, more detailed viewing surface.
4. Why does my anamorphic image look soft?
Softness can result from the lens design, adapter alignment, taking-lens combination, wide-open aperture, poor support, or incorrect focus calibration. Test the complete optical stack rather than blaming the anamorphic element alone.
The Best Anamorphic Setup Is the One You Can Actually Operate
A strong anamorphic package balances optical character with production practicality. The lens needs to cover the sensor, the squeeze ratio needs to match the intended composition, and the mechanical support needs to keep the optical stack rigid. Monitoring and post-production then have to preserve that geometry from capture through delivery.
The real advantage comes when all those pieces disappear during the shoot. Once the rig is balanced, focus behaves predictably, the de-squeeze preview is correct, and the recording workflow is reliable, the anamorphic lens can do what it was chosen to do: give the image a wider, more distinctive cinematic character without becoming the biggest problem on set.