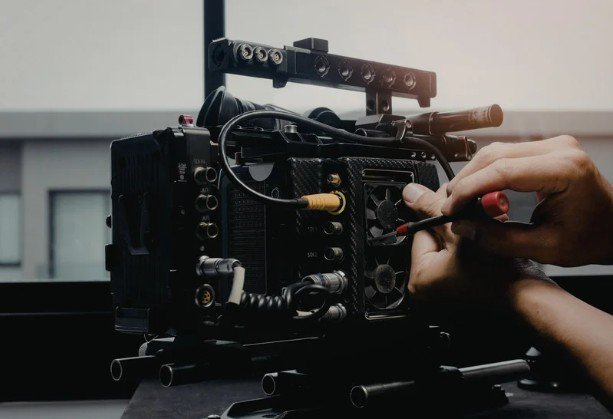
The first time I planned building a custom camera rig for a car commercial, I realized that the hardware could not be my starting point. I first had to understand the shot: where the camera needed to travel, how much of the vehicle had to remain visible, and whether the movement should feel fast, smooth, intimate, or aggressive.
Once I established the visual objective, every decision about mounting, stabilization, power, and control became easier. A successful setup is not merely a camera attached to a vehicle. It is a coordinated system that must protect the camera, the featured car, the crew, and everyone near the filming area.
Start With the Commercial Shot List
Before choosing clamps or suction mounts, translate the creative treatment into individual shots. A low wheel shot needs a different structure from a front three-quarter angle. A profile tracking shot may require a camera mounted to a tracking vehicle, while an interior driving scene may use a compact camera secured inside the featured car.
Identify the lens, camera height, movement direction, working distance, road surface, expected speed, and duration of every take. Storyboarding these details prevents the crew from constructing an impressive rig that cannot capture the required composition.
Choose the Right Vehicle Configuration
There are two common approaches. The camera can be attached directly to the featured vehicle, or it can be mounted on a separate tracking vehicle.
Mounting it on the featured car works well for wheel details, body panels, driver perspectives, and locked-off angles that move with the vehicle. A tracking vehicle provides greater flexibility for changing distance, height, and perspective while keeping the advertised car completely visible.
Calculate the Complete Camera Payload
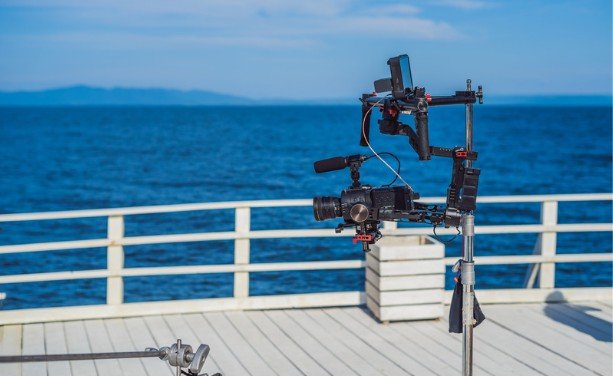
The camera body is only one part of the payload. Include the lens, cage, filter system, media, battery, wireless transmitter, focus motor, cables, mounting plate, gimbal, and isolation equipment.
After calculating the complete weight, verify that every component in the load path is appropriately rated. The capacity of the system is determined by its weakest connection, not its strongest mount. Camera position also affects leverage. A package extended away from the vehicle can place considerably more force on its supporting structure.
Keep the centre of gravity close to the support whenever the desired angle permits it.
Inspect the Vehicle Before Rigging
Examine the featured and tracking vehicles before bringing out the hardware. Look for stable structural areas, roof rails, rack mounting points, chassis-supported locations, panel gaps, glass, composite surfaces, and fragile trim.
A glossy body panel should not automatically be treated as a load-bearing surface. Suction mounts require clean, smooth, nonporous areas. Magnetic systems only work on compatible metal and must be padded to reduce cosmetic damage.
Document the vehicle’s existing condition with photographs. Clean every contact area and use suitable protective material between the hardware and painted surfaces.
Select an Appropriate Mounting System
Suction mounts are adaptable and useful on smooth bodywork, but they require careful cleaning, inspection, and monitoring. Magnetic mounts can be fast and powerful on compatible surfaces, although their force and removal method demand care.
Speed rail provides a rigid framework that can connect several support points. A properly rated roof rack may offer a strong foundation for a tracking-car build. Compact interior rigs can use approved clamps, mounting plates, or opposing support points, provided they do not obstruct visibility or create a hazard.
Build Independent Safety Retention
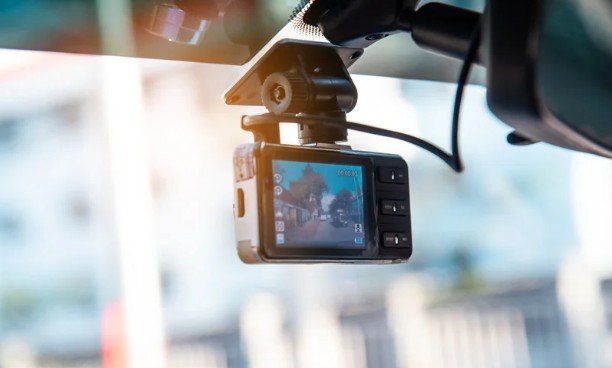
The main mount supports the camera during normal operation. A separate safety system retains it if that mount fails. The secondary connection should not depend on the same clamp, cup, rail, or attachment point as the primary system.
A safety cable should be short enough to prevent the equipment from becoming a swinging object after a failure.
Control Vibration and Camera Movement
Vehicle vibration can travel through the tyres, suspension, chassis, rack, rails, mount, and camera. Adding a gimbal does not automatically eliminate high-frequency vibration.
Start with a rigid support structure. Remove unnecessary extensions, tighten connections, secure cables, and position the payload close to the mounting points. Add a correctly loaded vibration isolator when required. An isolator designed for a different payload may perform poorly.
Balance the fully equipped camera before calibrating the gimbal. Perform calibration only after filters, motors, cables, and transmitters are installed.
Configure Remote Operation
A camera outside a moving vehicle should not require physical adjustment during a take. Configure remote recording, monitoring, focus, iris, and zoom control when the lens system supports them.
The operating vehicle may need a monitor, wireless receiver, camera serial interface, gimbal controller, power distribution, and secure equipment station. Test the wireless range along the entire route, including corners and areas where objects could interrupt the signal.
Secure every battery and cable. Power capacity should cover rehearsals, repeated takes, delays, and weather-related interruptions.
Protect Automotive Paint and Reflections
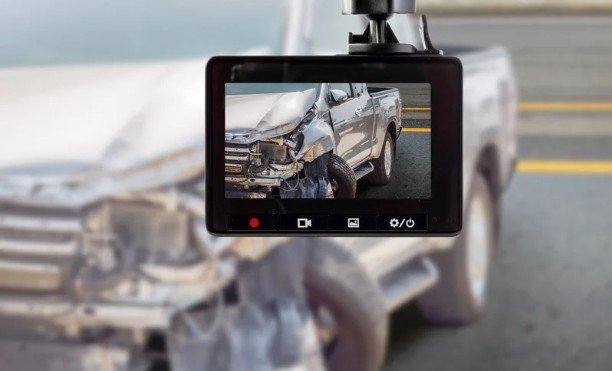
Car commercials reveal problems that ordinary action footage can hide. Glossy paint and windows can reflect the camera vehicle, crew, rails, lighting equipment, and surrounding traffic.
Check reflections from the camera’s actual angle, not merely by standing beside the car. Adjust distance, rig position, wardrobe, and background where necessary. A polarizing filter can help manage certain reflections, but its effect changes with the angle to the light and may vary across curved panels.
Never tighten hardware against painted surfaces without proper protection and approval.
Capture the Essential Commercial Angles
A versatile rig should help capture front three-quarter views, low wheel details, side profiles, rear tracking shots, cabin perspectives, and gradual reveal shots. These are often considered the best photography angles for presenting the vehicle’s design, movement, and distinctive features. Record clean passes at different distances so the editor can control pace.
Match vehicle speed, camera movement, lighting, and road position between takes. Capture additional footage of badges, lights, wheels, interior controls, and body lines. These details give the edit visual rhythm and help connect wider driving sequences.
Frequently Asked Questions
1. What is the safest approach to building a custom camera rig for a car commercial?
Begin with the shot requirements and complete payload. Use rated components, several appropriate support points, independent secondary retention, staged testing, controlled locations, and experienced vehicle-rigging personnel.
2. Can suction mounts hold a cinema camera?
Some professional systems can support substantial loads when correctly configured, but capacity depends on the surface, cup condition, direction of force, speed, leverage, vibration, and complete rig design.
3. Does a car-mounted camera always need a gimbal?
No. A rigid fixed mount can produce excellent results when the camera should remain locked to the vehicle. A gimbal is useful when the operator needs controlled pan, tilt, or stabilized reframing.
4. How can vibration be reduced?
Use a rigid frame, minimize extensions, secure cables, balance the payload, select an appropriately loaded isolator, calibrate the gimbal, and test progressively on the actual road surface.
Final Thoughts
I approach every automotive rig as a complete production system rather than a collection of exciting hardware. The shot determines the position, the payload determines the support, and controlled testing reveals whether the design is genuinely ready.
When I combine careful planning, independent safety retention, reliable remote control, paint protection, reflection management, and disciplined driving coordination, the resulting footage feels polished instead of improvised. No image is valuable enough to justify an unstable mount, an unprotected vehicle, or an uncontrolled filming environment.