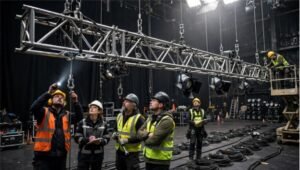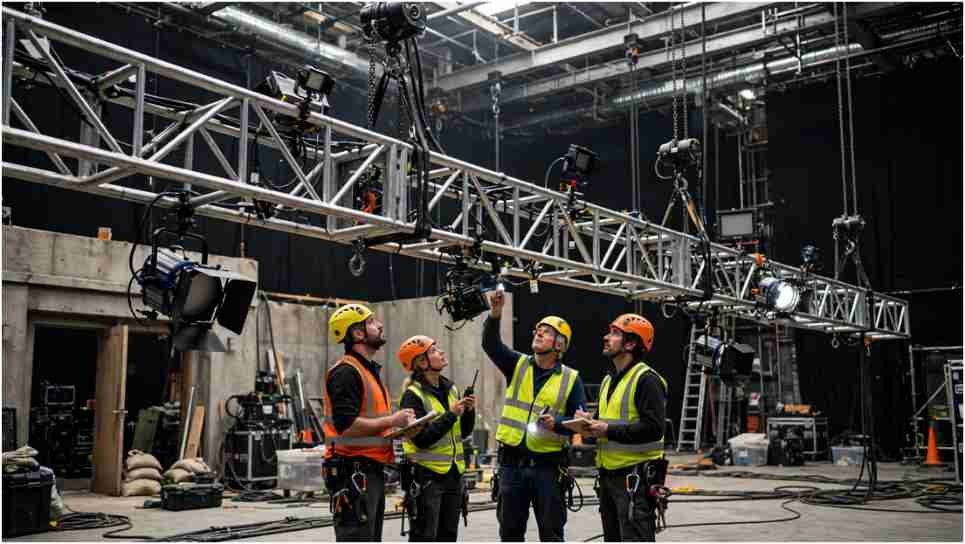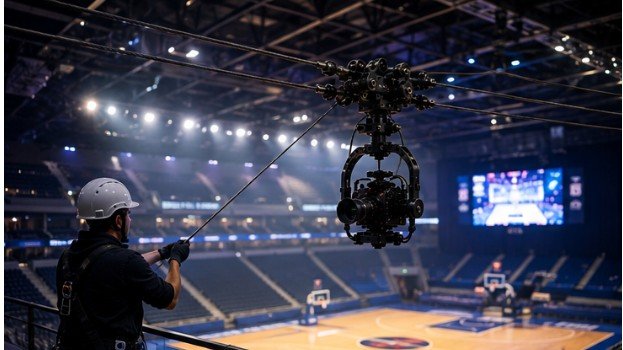
The riskiest mistake in an arena cable-camera build can happen before the camera moves: treating a “strong-looking” beam as an approved anchor. A reliable indoor arena cable camera setup guide starts with the load path, not the lens.
Current US entertainment-rigging standards emphasize documented support points, planning, inspection, and competent personnel; cable-camera guidance adds motion paths, emergency stops, payload forces, and control behavior.
An Arena Cable Cam Needs Engineering
A cable cam may look like a line, carriage, gimbal, and camera, but the complete system must safely handle the forces created during normal movement, braking, emergency stops, and foreseeable fault conditions.
The National Rigging Advisory Group recommends a motion plan covering payload, travel path, rated speed, loads on the system and supports, controls, emergency procedures, and foreseeable failures. ESTA’s ANSI ES1.18 similarly addresses planning, setup, operation, and removal of temporary entertainment rigging indoors and outdoors.
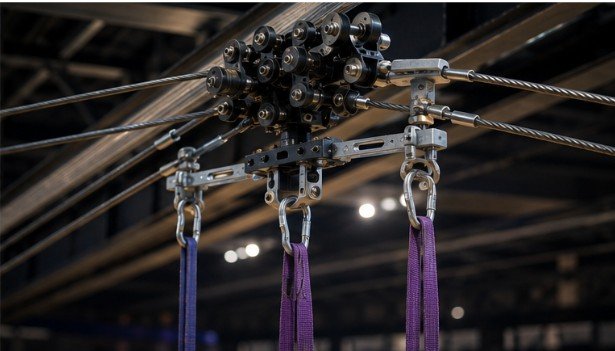
An arena catwalk, scoreboard steel, railing, duct support, or lighting pipe is therefore not automatically a usable anchor. ANSI E1.56-2026 covers permanent rigging support points and their design, inspection, and documentation. In practice, use venue-approved points with known capacities and permitted load directions, or have the proposed attachment professionally validated.
Start With the Load Path, Then Design the Shot
Sketch the full load path from anchor to anchor. Include shackles, slings, brackets, tensioners, line, carriage, gimbal, camera, battery, transmitter, and any secondary retention.
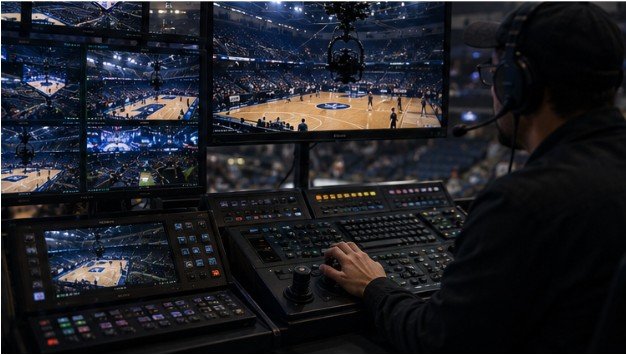
This is where a film set overhead rigging load calculation matters. Cable tension and the forces transferred into supports need to be established by the system design rather than judged by how straight or tight the line appears.
OSHA 29 CFR 1926.251 requires covered rigging equipment to be inspected before use, carry legible load markings, and stay within recommended safe working loads. The exact OSHA rule that applies depends on the work being performed, but those are sound habits for production rigging.
Do Not Copy a Generic End Buffer
Leaving one or two meters between the carriage and each anchor is not a universal rule.
Wiral LITE shows why. Its manual lists estimated horizontal braking distances from 4 to 7 meters depending on payload, with horizontal safety zones from 3 to 5 meters. Descending runs can require more room. Use the manufacturer’s figures for your actual payload, speed, and slope rather than a copied distance.
A Practical Indoor Arena Setup Sequence
Use this sequence before mounting expensive cinema or broadcast gear:
- Obtain the venue rigging plot, point IDs, capacities, and restrictions on load direction.
- Define the camera path, lowest clearance, exclusion zone, and emergency-stop behavior.
- Calculate anchor and line forces for travel, acceleration, braking, and credible faults.
- Select rated hardware and inspect the system before installation and operation.
- Install the line to the specified sag or tension; never tension by appearance alone.
- Run the carriage with a test payload. Verify wheel seating, braking, physical end stops, and software limits.
- Add the final camera package, rebalance the gimbal, recheck payload, and repeat low-speed tests.
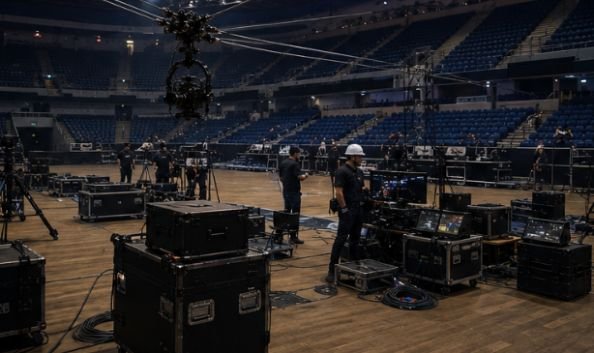
- Rehearse with the floor controlled before increasing speed.
These checks align with industry guidance calling for competent setup, commissioning checks, documented system limits, and inspection before use.
A lesson from this outdoor film shoot camera rigging case study guide applies indoors too: design the camera move inside the rig’s proven operating envelope.
| Check | Verify before first run |
| Anchors | Approved point, capacity, load direction |
| Line | Correct material, condition, sag/tension |
| Carriage | Payload, wheel seating, secure mount |
| Limits | Physical stops, digital limits, braking room |
Redundancy Must Be Designed
Adding a second steel cable beside the primary line does not automatically create a safe backup. NRAG says safety factors and the need for redundancy should match the system’s mode of use and be defined in the motion plan.
A poorly planned secondary line can create additional clearance, interaction, or load-path issues. The system designer should specify how redundancy or secondary retention works rather than having it added independently during installation.
This distinction matters over occupied space. Wiral LITE’s manual explicitly says not to use its line above people or large crowds. A creator-grade cable cam can be excellent for controlled filmmaking without being suitable for live spectator operation.
Test Controls, Video, and Power Under Show Conditions
Test wireless video, remote control, and emergency communication with the production systems operating, not only in an empty arena. Define what happens if video, telemetry, or control is lost.
ESTA’s event communications standard calls for planned channels for operational and safety information. The operator, rigger, floor manager, and show caller should know who authorizes movement and who can call an immediate stop.
If the setup uses fixed wiring, keep cables out of pulleys, carriage paths, walkways, and egress routes. This video production case study is also useful for thinking through how camera movement and crew timing interact.
For permanent or semi-permanent camera wiring, US requirements depend on cable type, location, fire rating, plenum or riser conditions, protection from damage, venue rules, and the locally adopted electrical code. NFPA 70 is the national benchmark for electrical design, installation, and inspection, while local requirements still need to be checked for the specific venue.
Frequently Asked Questions
1. How do you set up an indoor camera?
Secure it to a rated mount, confirm power and recording, set exposure and focus, then test the full movement path with the area controlled.
2. How to setup a wired camera?
Mount the camera, provide approved power, route and strain-relieve the signal cable, keep it clear of moving parts and walkways, then confirm the receiving device sees a stable feed.
3. How do I set up the Wiral Lite?
Install and tension the Quick Reel line within the manufacturer’s limit, fit physical end stops, mount the powered unit and camera, connect the remote, set digital end stops, then test slowly.
4. Do camera wires need to be in conduit?
Not always. Requirements depend on cable listing, routing, plenum or riser use, damage exposure, venue rules, and local code. Confirm the installation with the venue electrician or local authority.
Make the Safety Margin Part of the Shot
The best cable-camera move is not the one that uses every foot of line. It is the one that stays predictable when the carriage brakes or the operator stops early.
Use this indoor arena cable camera setup guide as a planning rule: verify the structure, calculate loads, follow manufacturer braking distances, rehearse slowly, and keep every move inside a documented operating envelope. Smooth footage is the visible result; disciplined rigging is what makes it repeatable.