I have always found that the most memorable outdoor footage comes from placing a camera where viewers do not expect it. Drones can create impressive aerial views, but they are not suitable for every location or shot. This representative production scenario examines how a small filming team used a cable camera to follow an athlete through a wooded trail while maintaining smooth movement, predictable positioning, and safe control.
This case study of an outdoor cable cam production covers the complete process, from surveying the location and choosing equipment to solving rigging problems and capturing the final footage. It also reveals the practical decisions that helped the crew use its limited production time effectively.
Outdoor Cable Cam Project Overview
The production required a continuous tracking shot of a mountain biker travelling along a narrow forest trail. Trees surrounded the route, the ground was uneven, and overhead branches restricted the available space.
A conventional slider could not cover enough distance. A vehicle-mounted camera could not access the trail, while a crane would have required excessive space and installation work. A drone was considered, but its propellers, changing flight path, limited proximity to trees, and potential distraction to the rider made it less suitable.
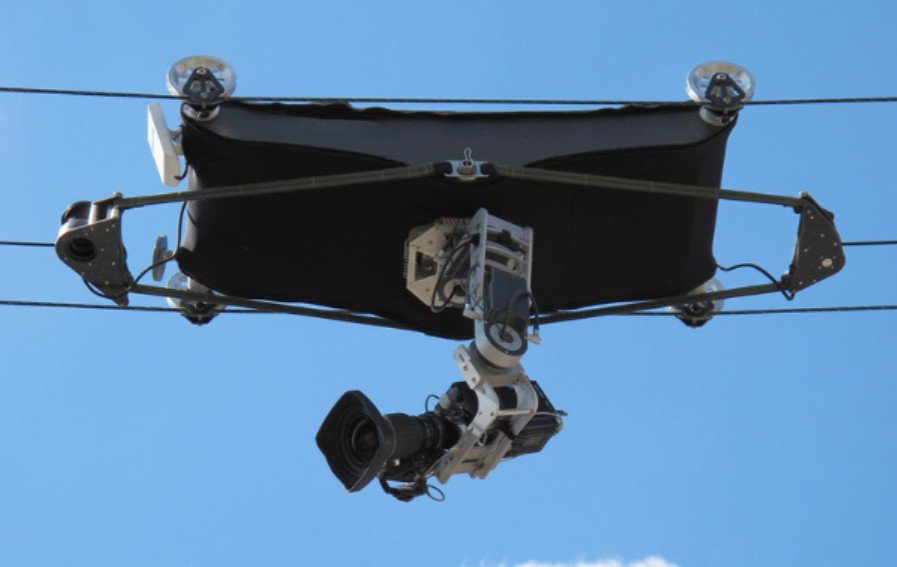
The team therefore planned a one-dimensional cable cam route. The camera would travel along a tensioned line between two carefully selected anchor points, creating a repeatable path above and beside the rider.
Why the Team Selected a Cable Camera
The cable system provided several benefits for this particular production.
Its movement was predictable because the carriage could only travel along the installed line. That allowed the director to rehearse the rider’s timing and repeat the same camera movement until the framing was correct.
The system could also operate relatively close to the subject without producing propeller wash. Its low position created a stronger sense of speed than a high aerial view. Most importantly, the crew could design the complete movement area before filming began.
A cable cam was not automatically better than every alternative. It required suitable anchors, more preparation and careful safety checks. However, it was the most practical equipment for the shot the production needed.
Surveying the Outdoor Location
The crew visited the trail before the filming day. This prevented the production schedule from being consumed by decisions that could have been made earlier.
Selecting the Camera Route
The planned route measured approximately 70 metres. The team looked for a path that followed the rider while avoiding branches, rocks and sudden changes in elevation.
Both ends of the route needed strong anchor points. The team selected established trees positioned beyond the intended filming area. Protective tree straps were used to prevent the rigging equipment from damaging the bark.
Checking Clearance and Access
The crew checked camera clearance across the entire route rather than inspecting only the anchor points. This revealed a low branch near the middle of the line that could have interfered with the moving carriage.
They also identified safe walking routes for the operator and spotters. Equipment had to be carried into the location, so unnecessary cases and accessories were left at the staging area.
Cable Cam Equipment Used
The production package included a motorised cable carriage, a lightweight camera, a wide-angle lens, a compact stabilised gimbal and wireless video monitoring. The team also carried rated rigging lines, a separate safety line, protective anchor straps, communication radios and spare batteries.
A lightweight camera package reduced stress on the system and made acceleration easier to control. The wide lens captured the rider and surrounding landscape while making small vibrations less noticeable.
Before installation, the crew confirmed the combined weight of the camera, lens, battery, gimbal and mounting hardware. Every component had to remain within the system’s recommended payload.
Rigging and Testing the System
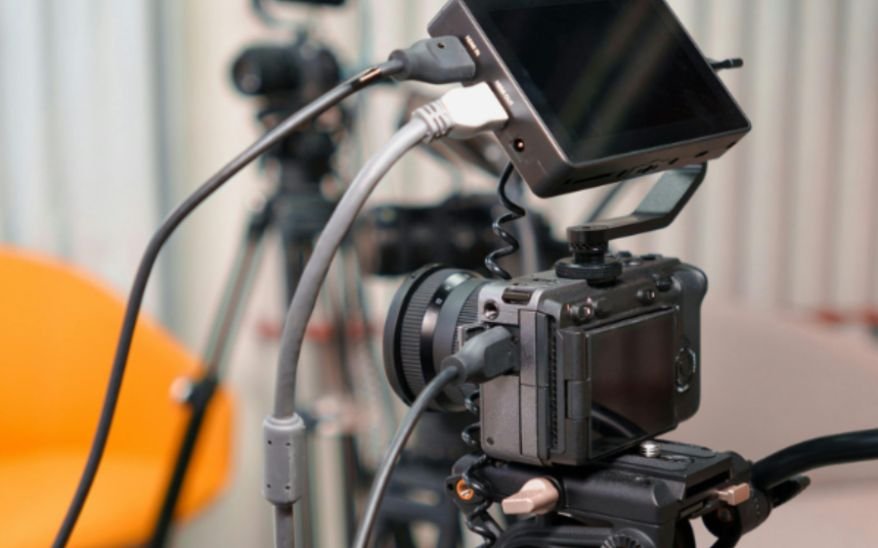
Rigging began well before the rider arrived. A practical camera rigging case study for outdoor film shoots can also help crews understand how anchor selection, line setup, equipment testing, and location-specific constraints affect a safe and efficient installation.
The team installed the main line between the two anchor points and gradually adjusted its tension.
The line was not made excessively tight. Outdoor cable rigging must account for the span, equipment weight, anchor strength and the forces created by a moving carriage. The crew followed the system manufacturer’s procedures rather than estimating tension by appearance.
After installing the backup line, the operators moved the empty carriage slowly along the route. They then added the camera package and repeated the test at progressively higher speeds.
Managing Safety and Weather
A controlled production area was established beneath and around the camera path. Only essential crew members and the rider were permitted inside it during an active take.
One operator controlled the carriage while another watched the camera feed. Spotters monitored the line, rider and surrounding area. Radio communication allowed anyone to stop the take immediately.
The weather was checked throughout the day. Understanding weather considerations for cable camera systems is especially important on outdoor shoots because wind, rain, lightning, temperature changes, and nearby vegetation can all influence equipment performance and safe operating decisions.
Strong wind could have affected the cable, nearby branches and camera stability. Filming would also have stopped if rain made the trail unsafe or threatened equipment that was not properly weather protected.
Capturing the Planned Outdoor Shots
The hero shot followed the rider from behind before moving alongside as the trail curved. Accurate camera relocalization helped the crew maintain a consistent position and repeat the intended movement across multiple takes. Several rehearsals were needed to coordinate camera acceleration with the rider’s changing speed.
The crew also captured slower passes, reverse movement, wide environmental footage and close tracking shots. Because rigging required significant time, the team used the installed route for as many useful variations as possible.
Changing the carriage speed created noticeably different results. A slow pass produced a calm establishing shot, while a faster movement close to the trees communicated energy and speed.
Production Challenges and Solutions
Cable Sag Along the Route
The initial camera position was lower than expected near the centre of the span. The crew adjusted the anchor height and system tension within the manufacturer’s operating limits, then tested the complete route again.
Changing Natural Light
Sunlight passing through moving branches produced inconsistent exposure. The camera operator selected settings that protected highlights and scheduled the principal takes during a more stable lighting period.
Timing the Rider and Camera
The rider’s speed varied between attempts. Instead of relying on guesswork, the crew marked a visible starting position and introduced a radio countdown. This made the movement easier to repeat.
Results and Practical Lessons
The production achieved a smooth tracking sequence that would have been difficult to capture with a slider, crane or handheld camera. Its strongest result came from combining a low camera position with controlled acceleration and a repeatable route.
The main lesson was that preparation mattered more than the filming itself. A detailed outdoor film shoot camera rigging case study can further illustrate how terrain, anchor selection, equipment setup, weather conditions, and safety planning shape the success of location-based camera movement.
Location surveys, realistic setup time, tested anchor points, clear crew roles and multiple safety checks gave the team more freedom once recording started.
Frequently Asked Questions
1. What does a case study of an outdoor cable cam production demonstrate?
It demonstrates how location conditions, rigging points, payload, safety procedures, weather and shot requirements influence a real production workflow.
2. How long does an outdoor cable cam take to install?
A lightweight system may take less than an hour in a simple location, while difficult terrain, longer spans and complex rigging can require several hours.
3. Is a cable cam safer than a drone?
Each system has different risks. A cable cam has a predictable route, but it still requires rated equipment, secure anchors, controlled access and trained operators.
4. Can a cable camera be used in a forest?
Yes, provided the location has suitable anchor points, adequate clearance and permission from the landowner or relevant authority. Trees should be protected from rigging damage.
5. What camera works best on a cable system?
The best camera stays within the system’s payload limit and suits the required image quality. Lightweight cameras are often easier to stabilise and operate.
What We Learned
I came away convinced that successful cable cam filming begins long before the camera moves. The most creative shot is only valuable when the route, equipment, communication and safety procedures have been properly planned.
For locations where drones, vehicles and cranes cannot deliver the intended movement, a cable camera can create immersive and repeatable footage. I would choose it when the story benefits from controlled motion close to the action—and when the production has enough time to rig, test and operate it responsibly.