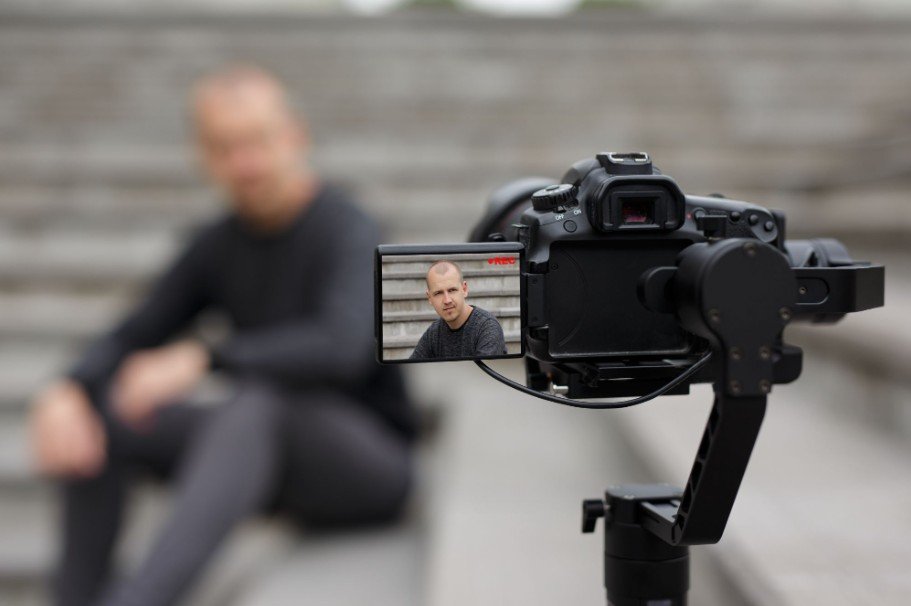
Some of the most memorable shots in film are not perfectly smooth. They move with the character, react to the action, and make the audience feel physically present inside the scene. That is the real strength of handheld camera movement techniques.
When used with control, handheld shooting can add urgency to an action sequence, intimacy to a close-up, or realism to a documentary-style moment. The key is learning how to move the camera with purpose so every sway, push, pan, and step supports the story instead of distracting from it.
How Do You Hold a Camera Steady for Handheld Shooting?
Use Three Points of Contact
I create stable contact points before I move. With a compact camera, I keep both hands on the body, bring it close to my chest or face, and tuck my elbows toward my ribs. Three-point contact helps the camera move with the operator instead of wobbling independently. Camera balance also becomes increasingly important as the camera package gets heavier.
Use Strap Tension and the Ninja Walk
A neck or shoulder strap can act as a simple stabilizer. I extend it and gently push the camera outward until the strap becomes taut, creating additional resistance against small movements.
For walking shots, I bend my knees slightly, engage my core, and take short, controlled steps instead of walking with a rigid upper body. This ninja-walk approach reduces vertical bounce and helps create smoother handheld footage.
What Are the Best Handheld Camera Moves to Practice?
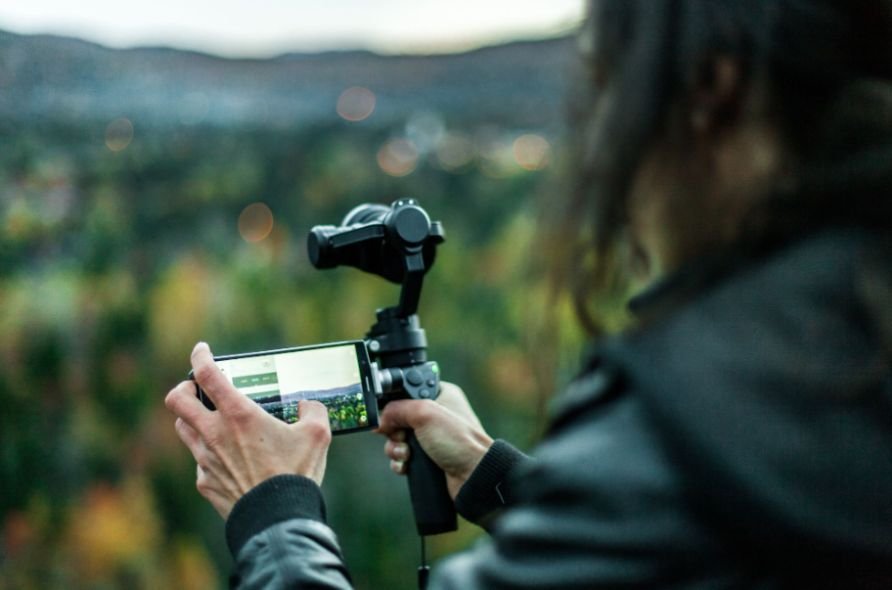
Learning the main types of camera movements makes it easier to understand how handheld push-ins, tracking shots, pans, tilts, and reveals each create a different visual effect.
Handheld Push-In and Pull-Out
A push-in moves closer to the subject, while a pull-out creates distance. For a short move, I often plant my feet wide and shift my body weight forward or backward instead of taking a full step.
This produces an organic camera move without the mechanically perfect feeling of a slider. A push-in can also emphasize emotion, tension, intimacy, or an important visual detail.
Body Sway or Fake Slider
For subtle lateral camera movement, I keep my arms close to my torso and shift my weight from one leg to the other.
The camera travels only a short distance, but the result can resemble a small slider or dolly move while retaining the natural breathing quality of handheld cinematography. I like this technique for product B-roll, interviews, and compact commercial sets.
Follow, Lead, and Side Tracking Shots
A follow shot stays behind a moving subject. A lead shot travels ahead while facing the subject, while a side tracking or trucking shot moves parallel to the action. Tracking shots center on a moving camera following or accompanying a subject, and handheld operation can make that movement feel especially immediate.
I match the subject’s speed and often use a moderately wide lens to maintain composition.
Torso Pan, Tilt, and Whip Moves
When panning or tilting handheld, I avoid steering only with my wrists. Instead, I keep my elbows close and rotate through my torso, waist, or hips. Moving a larger part of the body creates smoother horizontal and vertical sweeps.
When the scene needs more energy, I use a whip pan or whip tilt. I establish one frame, move quickly, and land on another clear point. A deliberate whip can create urgency, reveal information, or provide a natural transition between shots.
Hang Rise and Low-to-High Reveal
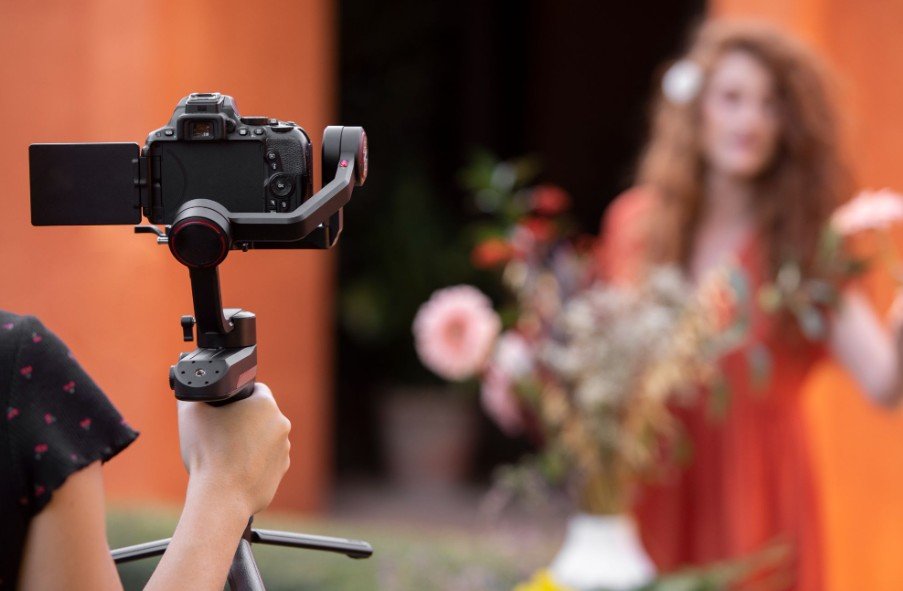
A hang rise can create the feel of a miniature jib or crane movement without a large support system.
With an appropriately rigged camera, I use the top handle, lower my body into a squat, and then rise using my legs rather than lifting mainly with my arms. This works particularly well for revealing products, performers, vehicles, sets, or locations.
Whip-Into-Focus
The whip-into-focus combines physical camera movement with shallow depth of field.
I preset the focus distance and then rock or step toward the position where the subject becomes sharp. The transition from soft focus to a clearly defined subject can direct the viewer’s attention quickly and give documentary-style filmmaking or dramatic coverage additional energy.
How Do Professionals Handhold Heavy Cinema Cameras?
Large cinema packages can become physically demanding during long takes, which is why professional camera operators often add minimal support without completely removing the handheld aesthetic.
A shoulder mount places much of the camera’s weight on the operator’s shoulder and allows the knees and body to absorb movement.
An Easyrig uses a support line and vest system to transfer camera weight through the operator’s body. It can reduce fatigue and make low-to-high camera movements easier, although walking may introduce visible vertical bounce.
Bungee-style rigs suspend heavier camera systems using elastic tension. This can produce a loose, floating operating style while giving the camera operator greater freedom in confined spaces.
Which Lens Is Best for Handheld Cinematography?
Wide and moderate focal lengths usually make small movements appear less aggressive, while longer lenses magnify operator shake.
Artlist notes that even relatively small handheld movements can become much more visible through the lens, which means focal length and physical operating technique need to work together.
That is one reason I often favor wider or moderate focal lengths for run-and-gun filmmaking, event production, documentary coverage, and moving commercial shots.
Handheld vs Gimbal: Which Is Better?
I choose handheld when I want responsiveness, realism, intimacy, unpredictability, or controlled instability. I choose a gimbal or Steadicam-style system when the visual language requires smoother, floating camera movement.
StudioBinder distinguishes traditional handheld work, where the camera relies heavily on the operator’s physical support, from Steadicam operation, which mechanically isolates much of the operator’s movement to create smoother tracking.
Neither option is automatically more cinematic; the right choice depends on the scene.
What Handheld Camera Mistakes Should You Avoid?
The biggest mistake I see is confusing energy with uncontrolled shaking.
Extended elbows, stiff knees, poor camera balance, unnecessarily long focal lengths, sudden changes in walking speed, weak framing, and movement without narrative motivation can make footage uncomfortable instead of immersive.
The camera should move because the story benefits from movement, not simply because the operator is shooting handheld.
Frequently Asked Questions (FAQs)
1. How Can Beginners Make Handheld Footage Smoother?
Start with static framing before practicing body sways, slow push-ins, torso pans, and short follow shots. Add faster movement only after you can hold composition consistently.
2. Is a Wider Lens Better for Handheld Shooting?
Often, yes. Wider focal lengths generally make small operator movements less obvious, while telephoto lenses make camera shake more noticeable.
3. Can Handheld Footage Look Professional Without a Gimbal?
Yes. Strong body mechanics, good camera balance, controlled breathing, suitable lens choice, multiple contact points, and intentional movement can produce professional handheld footage without motorized stabilization.
4. When Should I Use Shaky Handheld Footage?
Use more visible shake when it supports tension, urgency, chaos, documentary realism, action, or a character’s emotional experience. Avoid adding shake only to make a scene appear more cinematic.
Final Take
When I practice handheld camera movement techniques, I focus first on stance, contact points, balance, and footwork. Once those fundamentals become automatic, push-ins, body sways, tracking shots, whip moves, low-to-high rises, and creative focus transitions become much easier to execute.
The strongest handheld cinematography feels intentional without feeling mechanical. When viewers experience the emotion and momentum of the shot before noticing the camera operator’s movement, the technique is doing its job.