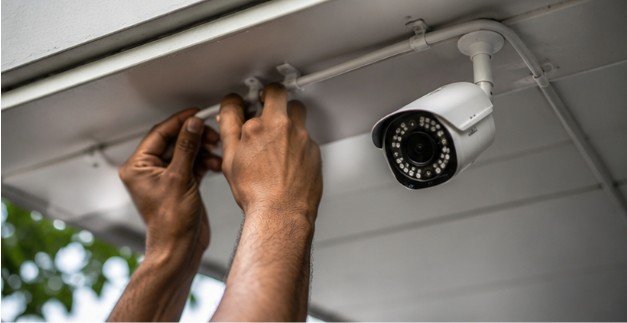
A cable camera can move faster than 60 miles per hour while flying just inches above a roaring stadium crowd—all without the battery limits, airspace restrictions, or safety hazards of a commercial drone. For videographers and riggers, mastering how to install cable camera setups opens up cinema-grade tracking shots that are impossible to capture any other way.
Whether you are rigging a high-speed line for sports coverage, a live concert, or setting up a multi-point security network, successful installations rely on physics, precise anchor ratings, and methodical cable routing.
Cable Cams vs. Fixed Security Lines: Understanding the Technology
A “cable camera” generally refers to two distinct systems: dynamic cable-suspended camera rigs (often called cable-cams) used in film and broadcasting, and traditional wired CCTV security setups running line-powered feeds. While the physical installation process differs, both require rigid cable management, signal integrity planning, and weather-sealed termination.
+———————————————————————–+
| CABLE CAMERA SYSTEM |
+———————————–+———————————–+
| CINEMA / BROADCAST CAM | WIRED SECURITY SYSTEM |
| – Dynamic line suspension | – Fixed point mounting |
| – High tensile steel / Dyneema | – Cat6 / Coaxial cable routing |
| – Precision gimbal & pulley drive| – NVR / DVR centralized storage |
+———————————–+———————————–+
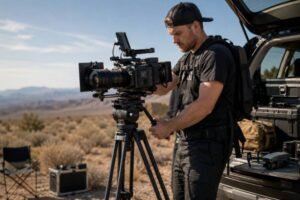
In broadcast environments, wire-suspended camera systems rely on high-tensile synthetic ropes like Dyneema or stainless steel aircraft cables stretched between two structural anchor points. A motorized trolley glides along the tensioned line carrying a stabilized gimbal. Knowing when to use cable cam over drone is critical when operating over live audiences, inside tight forested paths, or in restricted airspace where GPS-guided drones are legally prohibited.
Rigging Physics & Tension Mechanics
Installing a high-tension cable line requires an understanding of mechanical advantage and catenary curves. When you pull a cable tight over a long span, the tension at the termination anchors increases exponentially as the sag approaches zero.
[Anchor A] \ / [Anchor B]
\ /
\—> Trolley / Cam <—/
v
(Sag Angle)
The mathematical relationship governing horizontal line tension ($T$), payload weight ($W$), span length ($L$), and sag distance ($S$) is approximated by:
$$T = \frac{W \cdot L}{4 \cdot S}$$
Rigging experts recommend targeting a sag ratio of roughly 2% to 5% of the total span length. Attempting to pull a cable completely flat places thousands of pounds of force on your anchors, which can result in structural failure or snapped lines.
Essential Hardware & Pre-Installation Checklist
Before mounting hardware or slinging lines through an attic or high truss, systematically inspect every component in a bench-test environment.
| Installation Phase | Key Equipment & Tools | Critical Safety Standard |
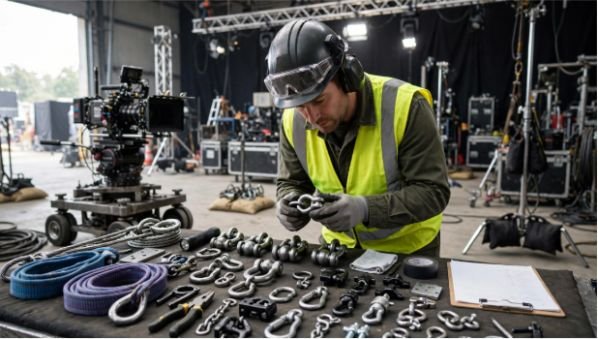
| Anchoring & Rigging | Rated carabiners, tree savers, tensioning winches (Come-Along), Dyneema rope | Minimum 5:1 design factor for static loads |
| Cables & Signal | Shielded Cat6 / RG59 Coax, Fish Tape, Waterproof glands, RJ45 connectors | Shielded twisted pair (STP) for long runs |
| Mounting & Power | Drill, Pilot bits, Anchor bolts, PoE Switch / NVR, Silicone sealant | Weatherproof junction boxes (IP66 or higher) |
Editor Note: A flow diagram or decision tree showing pre-test indoor steps versus on-site deployment would provide a helpful visual layout for site technicians.
Step-by-Step: How to Install Cable Camera Systems
+———————————————————————–+
| STEP-BY-STEP INSTALLATION |
+———————————————————————–+
| 1. Bench Test Hardware –> Check camera, trolley, & power indoors |
| 2. Anchor Selection –> Select structural trees, trusses, or walls|
| 3. Run & Tension Line –> Guide line, apply winch, check 2-5% sag |
| 4. Route Signal Lines –> Run Cat6/Coax using fish tape, add loops |
| 5. Secure & Waterproof –> Seal entry points, mount camera, power up |
+———————————————————————–+
Step 1: Perform an Indoor Bench Test
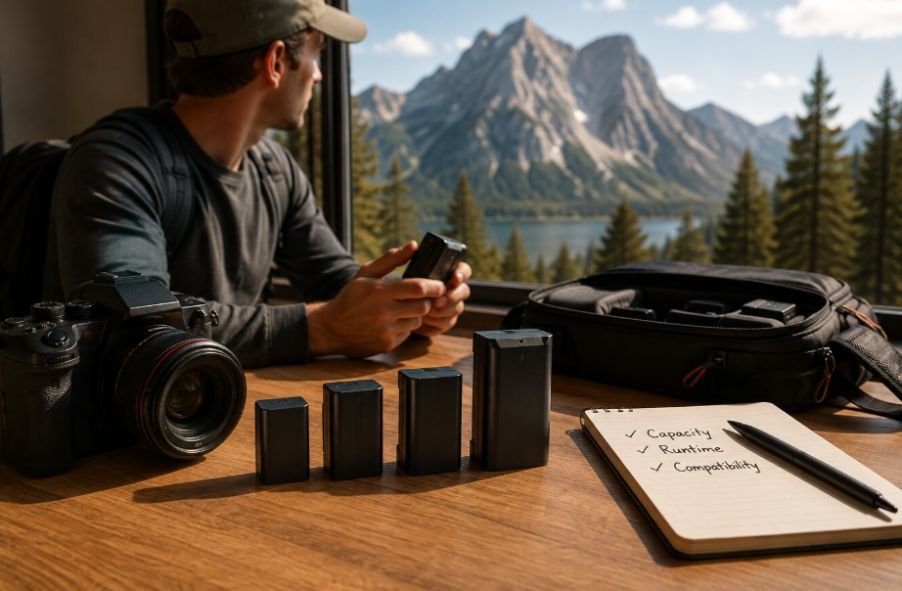
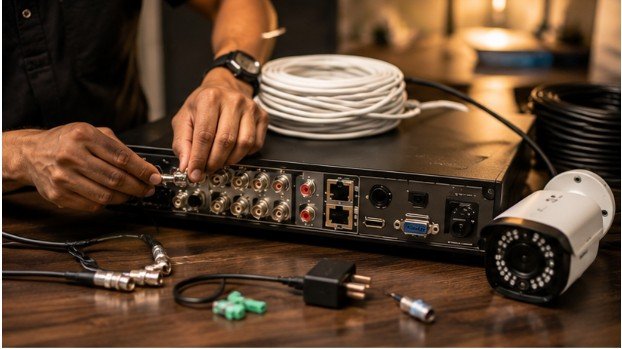
Always assemble the entire system—including the recording unit (NVR/DVR), camera gimbal, transmitter, and motor drive—on a workbench before heading into the field. This identifies faulty cables, booting issues related to firmware updates, or bad wireless links before you are up on a ladder.
Step 2: Establish Structural Anchor Points
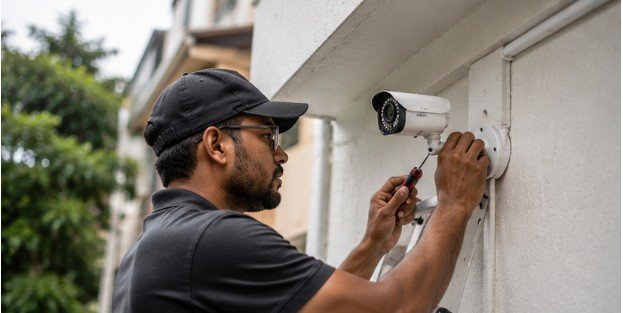
For suspended cable-cams, select solid structural anchors such as live, thick hardwood trees, steel I-beams, or heavy-duty truss structures. Never use electrical conduits, residential gutters, or standard deck railings. For fixed wired cameras, mark mounting holes on a solid wall or soffit using the mounting plate as a template.
Step 3: Run and Tension the Line
Unspool your main line carefully to avoid kinks. If you are routing data lines through walls, attics, or crawl spaces, pull the cable smoothly using fish tape or fiberglass wire-running rods. Once the main support line is in place, attach a rated ratchet winch or block-and-tackle system to bring the line to working tension while maintaining the required sag ratio.
Step 4: Mount the Camera Unit and Weatherproof
Drill pilot holes for the mounting bracket and a center hole for the cable pass-through. Pass the wire through the center, attach the bracket securely, and make your cable connections inside a weatherproof junction box. Always include a downward-curving drip loop in the cable right before it enters the camera body or wall to ensure rainwater drips off the wire instead of flowing into the electronics.
Step 5: Secure Cables and Establish Power
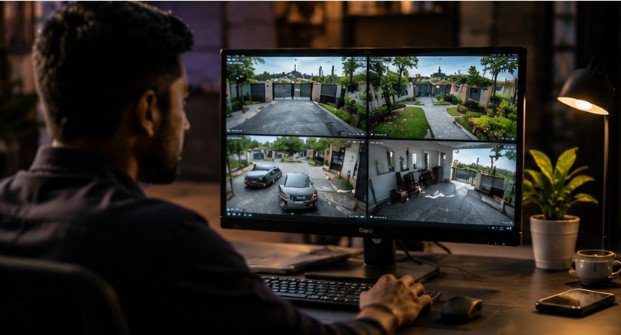
Secure long cable runs every 18 to 24 inches using outdoor-rated UV-resistant cable ties or wall clips. Terminate lines into your PoE switch, NVR, or receiver, then power on the system to set your camera angles, focal points, and motion bounds. Following clear cable camera system safety guidelines throughout this process prevents structural overloads and equipment drops.
Important Exceptions and Installation Misconceptions
While standard DIY videos make cable installation look trivial, several real-world edge cases require specialized adjustments:
- Attic Heat Degradation: Running network cables through uninsulated attics in hot climates can degrade signal speeds over time. Standard PVC-jacketed Ethernet cables degrade faster under extreme heat; use plenum-rated (CMP) cable jackets instead.
- Ground Loop Interference: When connecting wired coaxial cameras across two different buildings fed by separate electrical sub-panels, voltage differentials can cause ground loops. This manifests as rolling horizontal lines on video. Use ground loop isolators on signal lines to fix this issue.
- Complex Rigging Operations: Operating dynamic overhead line systems over crowds requires specialized certification, dual redundancy lines, and experienced crew members. In these commercial scenarios, hiring a professional cable camera operator is necessary to manage liability and guarantee smooth operations.
Frequently Asked Questions
1. Can I install wired security cameras myself?
Yes, homeowners can install wired security cameras using standard tools like drills and fish tape. However, running cables through interior walls, attics, or complex conduits requires patience and basic comfortable knowledge of residential wiring setups.
2. What is the best way to install security camera wires?
Route cables through protected areas like attics, soffits, or conduits to shelter them from weather and physical tampering. Use fish rods to guide lines through tight spots and secure wires every two feet with cable clips.
3. How to connect a wired camera?
Connect the camera’s output port to a Cat5e/Cat6 Ethernet cable for PoE systems, or an RG59 coaxial cable for analog setups. Run the cable to your NVR, DVR, or PoE network switch and plug it in to transmit both power and video signals.
4. How to install an outdoor wired security camera?
Mount the camera under eaves or soffits for shelter. Drill a pilot hole for wires, pass the cable through using a drip loop, secure the camera mount, apply silicone sealant around openings, and connect lines to an indoor recorder.
Rigging a cable camera system blends precise structural mechanics with clean wire management. By respecting anchor physics, bench testing every component before mounting, and protecting signal lines from moisture and tension stress, you ensure rock-solid video performance across every shoot and installation.