A complicated camera move can look effortless on screen, but the equipment behind it may include trusses, motors, wire ropes, clamps, remote heads, vehicle mounts, safety lines, and hundreds of pounds of production gear. I never consider a rig ready simply because it worked yesterday.
Every shooting day introduces new loads, crew activity, weather conditions, vibrations, and setup changes.
A daily film rigging inspection checklist gives US film crews a consistent way to identify damaged hardware, unstable anchors, overloaded systems, and uncontrolled work areas before rehearsal begins. OSHA requires certain rigging equipment to be inspected before use during each shift and defective equipment to be removed from service.
The specific rules that apply will depend on the equipment, location, employer, and work being performed.
Who Should Inspect Film Rigging Before Cameras Roll?
A qualified person who understands the system, its intended load, and its rejection criteria should complete the inspection. Depending on the production, that person may be a rigging grip, key grip, crane technician, entertainment rigger, stunt rigger, or another designated specialist.
The inspector must have the authority to stop work, remove defective equipment, and request an engineering or manufacturer review. A producer, director, or camera operator may identify a concern, but specialized rigging should not be approved by someone who lacks the necessary training.
Before beginning, compare the finished setup with the approved rigging plot, engineering documents, manufacturer instructions, and planned camera move. Confirm the starting position, ending position, travel path, operating speed, lowest clearance, pick points, exclusion zone, and emergency-stop procedure.
How Do You Inspect Structural Supports and Anchor Points?
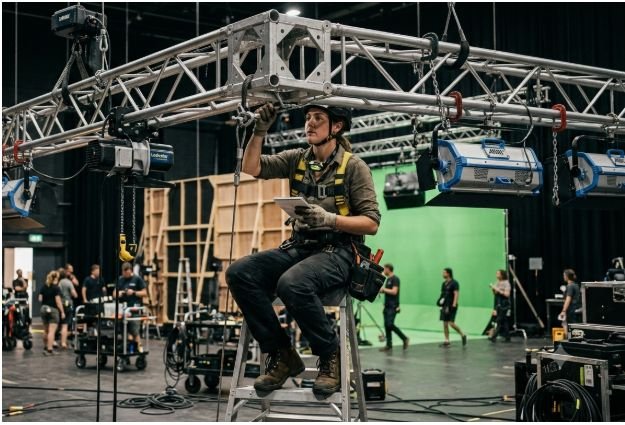
Start at the supporting structure rather than at the camera. Inspect truss lines, overhead beams, grids, scaffolding, platforms, and approved building attachment points for cracks, bends, corrosion, damaged welds, loose connections, or unexpected movement.
Verify that the total suspended or supported load does not exceed the safe working load of the structure or any component in the load path. Never assume that a ceiling beam, handrail, wall, vehicle panel, or existing venue fixture can support production equipment.
Inspect grid clamps, pipe couplers, Cheeseboroughs, bolts, pins, and locking devices. Confirm that each connector sits correctly and has been tightened according to the manufacturer’s instructions or the approved installation procedure. Excessive tightening can damage clamps, threads, and supporting pipe, so “as tight as possible” is not an acceptable standard.
Every high-hung fixture that requires secondary restraint should have an appropriately rated safety cable. Attach it independently where required, route it away from sharp edges, and minimize unnecessary drop distance without forcing damaging bends into the cable.
What Rigging Hardware Must Be Checked Every Day?
Inspect shackles for cracks, distortion, corrosion, damaged threads, and mismatched pins. Make sure each pin is fully seated and secured according to the manufacturer’s instructions. Do not apply a universal “quarter-turn back” rule because shackle requirements vary by design and application.
Check hooks for twisting, throat opening, cracks, wear, and damaged safety latches. The latch should close correctly, but it should not be treated as a load-bearing component.
Examine turnbuckles for bent bodies, stripped threads, severe corrosion, uneven extension, and loose jam nuts. Confirm that enough thread remains engaged at both ends and that the turnbuckle cannot rotate loose during operation.
Discard or quarantine any connector with visible bends, fractures, severe wear, heat damage, unauthorized welding, or unreadable identification. OSHA (The Occupational Safety and Health Administration) requires applicable rigging equipment to have legible manufacturer markings showing its recommended safe working load.
How Should Slings, Wire Ropes, and Safety Cables Be Inspected?
Inspect synthetic web slings across their full usable length. Look for cuts, tears, punctures, snags, melted fibers, chemical damage, exposed core material, or broken load-bearing stitches. The rated-capacity tag must remain attached and readable.
Check round slings and ropes for knots, twists, abrasion, glazing, crushed areas, or damage at attachment points. An unintended knot can significantly change how a rope or sling carries force.
Inspect wire rope and steel cable for bird-caging, broken strands, kinks, corrosion, flat spots, crushing, heat damage, or diameter reduction. OSHA’s wire-rope provisions identify visual inspections before relevant shifts and require apparent deficiencies to be evaluated.
A quick glance is not enough when wear may be hidden near end fittings, drums, sheaves, clamps, or contact points. OSHA has clarified that a daily sling inspection should involve a thorough examination appropriate to the equipment and conditions.
How Do You Check Hoists, Trusses, and Chain Motors?
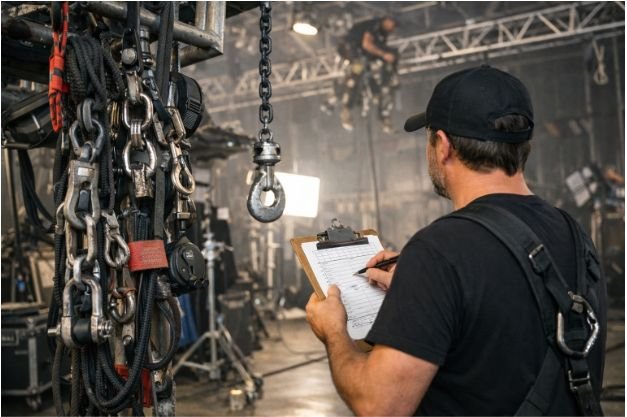
Examine each chain motor, truss connection, pick point, controller, power feed, and chain container. Confirm that load distribution across the motors matches the approved rigging plot and that no unapproved equipment has been added.
Run the system through an approved pre-operational test. Listen for grinding, clicking, binding, or unusual motor noise. Check that the chain feeds without twisting and that the chain container remains securely attached.
Test motor controls, brakes, travel limits, and emergency-stop functions according to the manufacturer’s procedure. Do not improvise a brake test or place people beneath the system during testing.
Inspect truss for bent chords, cracked welds, damaged diagonals, missing pins, and distorted connection plates. Entertainment rigging guidance published through ESTA specifically addresses systems supporting equipment in environments that include film and video studios.
Following Camera Rigging Safety Guidelines on Film Sets further reinforces safe working practices by emphasizing proper load distribution, secure attachment methods, regular equipment inspections, and clear communication between camera, grip, and rigging crews. These precautions help minimize the risk of equipment failure while ensuring a safer environment for cast and crew throughout production.
How Do You Inspect Camera Rigs and Complete Payloads?
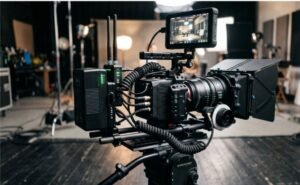
Calculate the full payload rather than weighing only the camera body. Include the lens, battery, media, matte box, wireless transmitter, focus motor, remote head, monitor, stabilization system, mounting plate, cables, trolley, rain protection, and every accessory traveling with the rig.
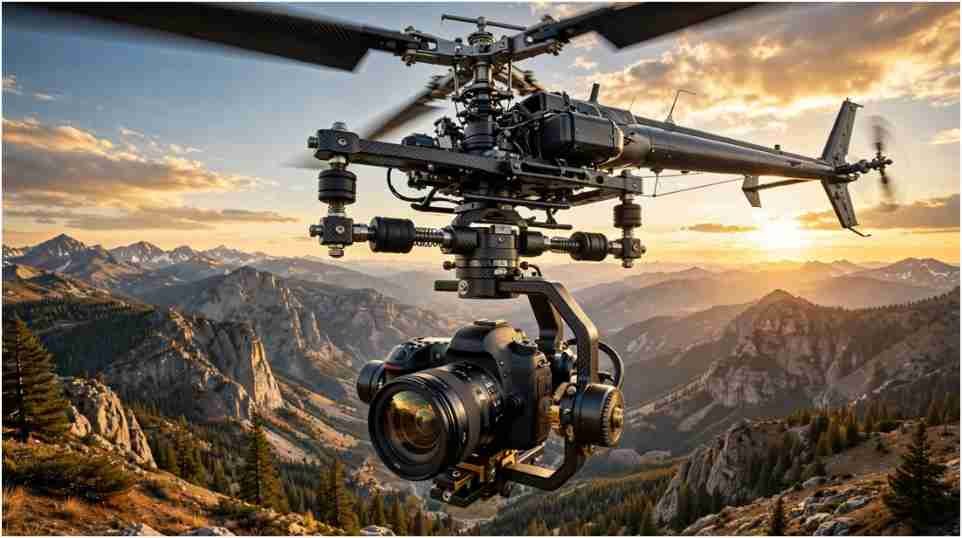
Inspect camera plates, fasteners, bearings, rollers, track, speed rail, remote heads, cranes, jibs, and cable-camera components. Look for play, cracks, loose bolts, worn wheels, leaks, damaged stops, abnormal resistance, and unexpected movement.
Move the system through its complete route before performers enter the operating area. Check for walls, ceilings, lights, scenery, cables, vehicles, power lines, public access, and low clearance. Verify physical stops, software limits, brakes, and emergency controls.
What Should Be Checked on Vehicle-Mounted Camera Rigs?
Inspect suction mounts, vacuum indicators, speed-rail frames, clamps, straps, vibration isolators, safety lines, and vehicle attachment points. Confirm that mounting surfaces are clean, sound, and suitable for the chosen system.
Do not rely on suction alone when independent mechanical restraints are required. Account for acceleration, braking, cornering, wind, vibration, and road impacts.
Review the complete route with the driver and vehicle coordinator. Identify potholes, low branches, sudden turns, traffic, pedestrians, overhead restrictions, and emergency stopping areas. Agree on speed limits, radio calls, hand signals, and stop commands before filming.
How Do You Secure the Rigging Workspace?
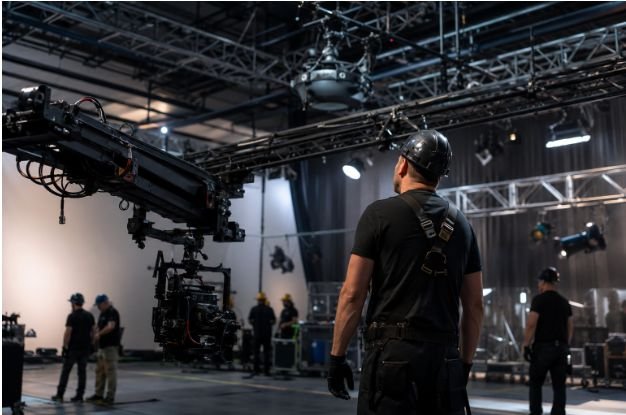
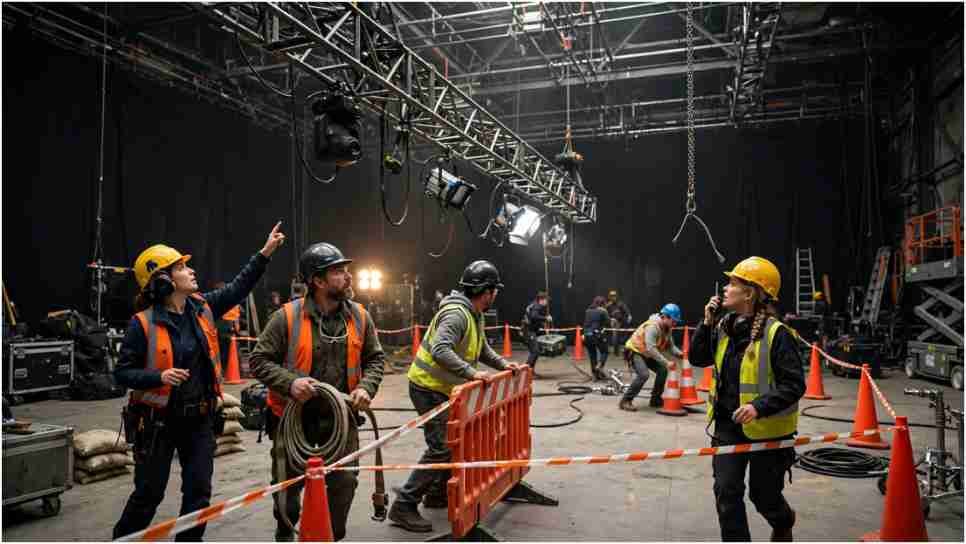
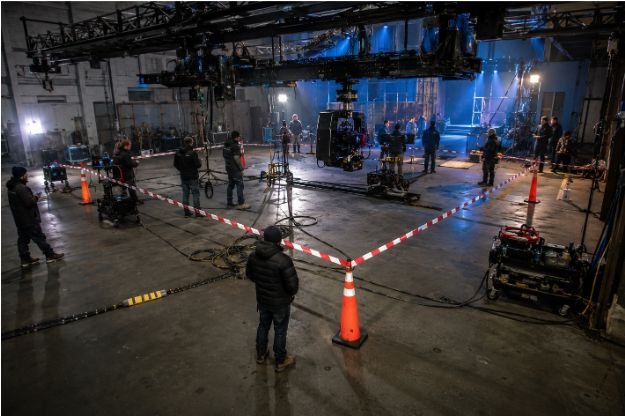
Establish an exclusion zone beneath and around active overhead rigging. Keep unnecessary crew members out during installation, testing, adjustment, and operation.
Dress and secure loose power, data, and control cables so they cannot catch on motors, trusses, dollies, cranes, or other moving equipment. Provide strain relief while preserving enough controlled movement for the system to operate safely.
For exterior, rooftop, or exposed-location setups, monitor local wind, rain, lightning, temperature, and ground conditions. Stop and reassess the rig when weather exceeds the approved limits or changes the stability of the setup.
When Must a Film Rig Be Inspected Again?
Complete another camera rig inspection after changing the lens or camera package, adding accessories, moving an anchor, adjusting cable tension, relocating the system, modifying the travel path, or changing the vehicle route.
Reinspect after an impact, unexpected movement, unusual sound, power interruption, weather change, extended break, shift handover, or interference from another department.
Any credible concern should trigger a pause. A shooting schedule never justifies using a system whose condition cannot be verified.
How Should the Inspection Be Recorded?
Document the production name, date, time, location, setup number, rig description, equipment IDs, inspector, weather conditions, findings, corrective actions, and approval status.
Record failed items and identify who removed, replaced, repaired, or authorized them to return to service. Photographs can help document damaged hardware or unusual location conditions.
The inspector should sign a physical log or digital form only after completing the inspection and confirming that required corrections have been made.
Frequently Asked Questions (FAQs)
1. How often should film rigging equipment be inspected?
Inspect it before use at the beginning of the production day or shift and again whenever loads, locations, components, operating conditions, or movement paths change.
2. What defects require rigging equipment to be removed from service?
Remove equipment with cracks, severe corrosion, deformation, broken wires, damaged stitching, missing safety devices, unreadable ratings, stripped threads, or any condition that makes its safety uncertain.
3. Do camera accessories count toward the rig’s load limit?
Yes. Every item supported by or moving with the rig must be included in the payload calculation.
4. Does a daily inspection replace an engineered rigging plan?
No. A checklist supports pre-use inspections, but it does not replace engineering documents, manufacturer instructions, periodic inspections, specialist evaluations, or applicable regulations.
Final Safety Check Before Filming
I view every rig as one connected system. A properly secured camera cannot compensate for an overloaded structure, damaged sling, uneven motor load, unsecured power cable, or uncontrolled exclusion zone.
Using a daily film rigging inspection checklist helps the production catch problems before they become dropped-object incidents, equipment failures, injuries, or costly shutdowns. When any component, attachment, load calculation, or operating condition remains uncertain, stop the setup and obtain qualified guidance before cameras roll.